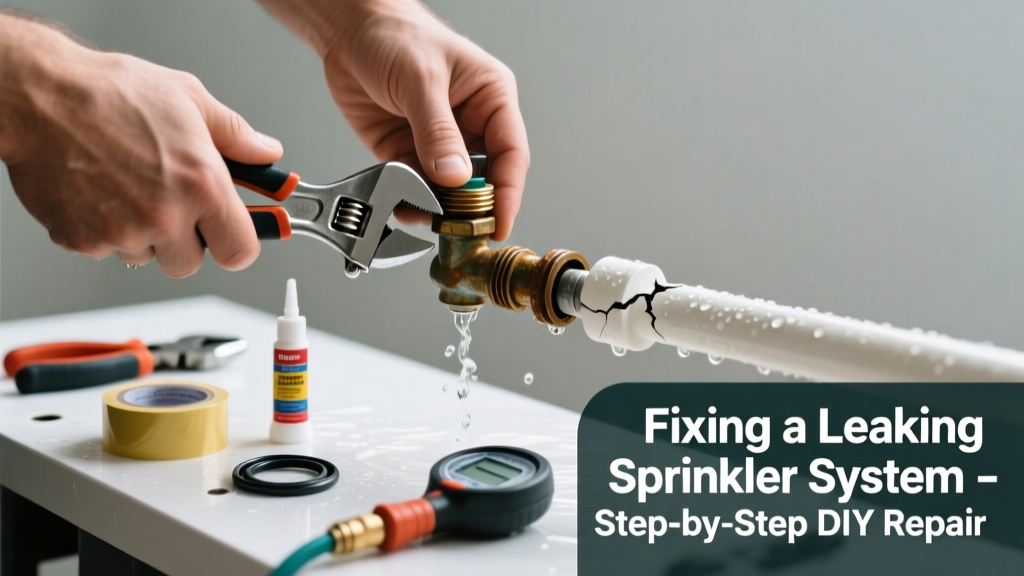
If your sprinkler system is leaking water but not spraying—or worse, dumping gallons into your lawn while the controller shows "off"—you’re likely dealing with a pressure-related failure or valve issue. These problems often start small but escalate fast: the U.S. EPA estimates that 14% of household water usage is from leaks, many originating in irrigation systems (U.S. EPA WaterSense, 2022). Ignoring it risks pipe bursts, soggy foundations, and utility bills spiking 20–30%.
Quick Diagnosis
Before grabbing tools, isolate the problem with these telltale signs:
- Water pooling near a specific head or valve box when the system is off → likely a stuck or damaged valve
- Low or no pressure at one zone, but others work fine → clogged filter, broken lateral line, or solenoid failure
- Constant dripping from the backflow preventer → failed check valves or debris in the assembly
- Sprinkler heads popping up but not rotating or spraying → worn gear drive or sand/debris in the nozzle
- Controller showing "zone active" but no water flow → faulty wiring, broken common wire, or controller board issue
Tools & Materials Needed
| Item | Purpose | Estimated Cost |
|---|---|---|
| Adjustable wrench | Tightens valve bonnets, backflow fittings, and compression couplings without stripping threads | $12–$25 |
| Pressure gauge (0–150 PSI) | Measures static and dynamic pressure to confirm if pump or regulator is failing | $18–$42 |
| Valve repair kit (e.g., Hunter PGV or Rain Bird 100-DV) | Replaces diaphragms, springs, and seals inside electric valves—most common leak source | $8–$16 |
| Wire tracer & continuity tester | Locates broken wires underground and confirms solenoid coil resistance (should be 20–60 ohms) | $24–$65 |
| Brass compression couplings & 3/4" poly tubing | Repair cracked laterals without excavation; rated for 160 PSI and UV-resistant | $3–$9 per coupling |
Step-by-Step Fix
Start with the most frequent culprit: the electric valve. Over 68% of residential irrigation leaks stem from failed valve diaphragms (Irrigation Association Field Survey, 2021).
- Shut off main water and power — Locate the main shutoff valve before the backflow preventer and turn off the controller’s breaker. Verify no pressure remains using the gauge on a test port or bleeder screw.
- Disassemble the leaking valve — Unscrew the bonnet cap, lift out the diaphragm assembly, and inspect for tears, grit, or warping. Rinse all parts in clean water—never use solvents.
- Replace the diaphragm and spring — Install new parts from your repair kit. Ensure the diaphragm seats fully in its groove and the bleed pin moves freely. Hand-tighten only—overtorquing cracks plastic housings.
- Test with manual override — Use the valve’s bleed screw to activate it manually. Watch for even spray pattern and no seepage around the bonnet. If leakage persists, replace the entire valve body.
- Check backflow preventer — If water drips continuously from the relief port, disassemble and clean both check valves and the vent seat. Replace rubber gaskets if hardened or cracked.
When to Call a Pro
DIY ends where safety and code compliance begin. Call a licensed irrigator if you encounter any of these:
- Leak originates under a concrete driveway, patio, or foundation slab
- Mainline PVC pipe (1.25" or larger) has split or separated—requires pressure testing and trenching
- Backflow preventer fails hydrostatic test (required annually in 42 states)
- Controller displays error codes like "ERR 3" or "COM" with no response to reset
- Water hammer noise (loud banging) occurs during startup—indicates improper pressure regulation or air chamber failure
Prevention Tips
Seasonal maintenance cuts leak-related repairs by nearly half. Here’s what works:
- Drain and blow out lines before first freeze—use regulated 50 PSI air, never exceeding 80 PSI
- Inspect valve boxes quarterly for standing water or sediment buildup
- Replace all rubber diaphragms every 3 years—even if working—since ozone and chlorine degrade them silently
- Install a pressure regulator if static pressure exceeds 75 PSI (common in municipal high-rises)
- Use rotor cleaning tools to remove grit before reassembling heads each spring
Why does my sprinkler leak only when the system is off?
This almost always points to a failed anti-siphon valve or a stuck solenoid preventing full closure. The valve isn’t sealing due to debris or a torn diaphragm—not electrical failure. Clean the inlet screen and replace the diaphragm before assuming the controller is at fault.
Can I temporarily stop a leaking sprinkler head?
Yes—but only as a short-term fix. Tighten the head’s retaining nut with channel locks (don’t overtighten), or install a cap-off plug designed for your brand (e.g., Hunter MP Rotator plug). Never use duct tape or epoxy: they mask corrosion and worsen pressure imbalances downstream.
Is it normal for the backflow preventer to drip after shutdown?
No. A brief drip (<5 seconds) from the relief port is acceptable, but continuous flow means internal check valves are compromised. According to the ASSE 1013 standard (2020), backflow assemblies must seal within 3 seconds of shutoff. Anything longer requires immediate servicing.
How do I know if my controller is sending power to the valve?
Set a multimeter to AC voltage, place probes on the common (C) and zone wire terminals while the zone is active. You should read 24–28 VAC. No reading? Check the transformer output first—if it’s below 22 VAC, replace the transformer. If voltage is present but the valve won’t open, the solenoid coil is dead.
What’s the best way to find a buried leak without digging?
Use acoustic listening equipment or rent a helium tracer kit: inject helium into the pressurized line and scan with a sniffer probe. Ground-penetrating radar works but costs $300+/day. For most homeowners, the fastest method is isolating zones and monitoring pressure drop over 15 minutes—loss >5 PSI indicates a leak.
"Over 40% of 'ghost leaks' in residential systems trace back to corroded brass fittings at the valve manifold—not the pipes themselves." — Greg Gentry, Certified Irrigation Technician, Irrigation Association, 2023
Should I replace all valves if one fails?
Not unless they’re the same age and model. But do inspect adjacent valves for identical wear—especially if your system is 8+ years old. Diaphragms from the same batch degrade at similar rates. Replacing them together prevents repeat service calls and balances zone pressure.
A well-maintained sprinkler system shouldn’t leak, sputter, or surprise you with a muddy crater overnight. Most failures stem from predictable wear—not mystery plumbing. Keep your valve kits stocked, test pressure twice yearly, and treat your backflow preventer like a fire extinguisher: inspect it monthly, service it annually. And when in doubt, call someone who’s dug up more than 200 valve boxes—they’ll spot the real issue before you’ve finished unscrewing the first cap.