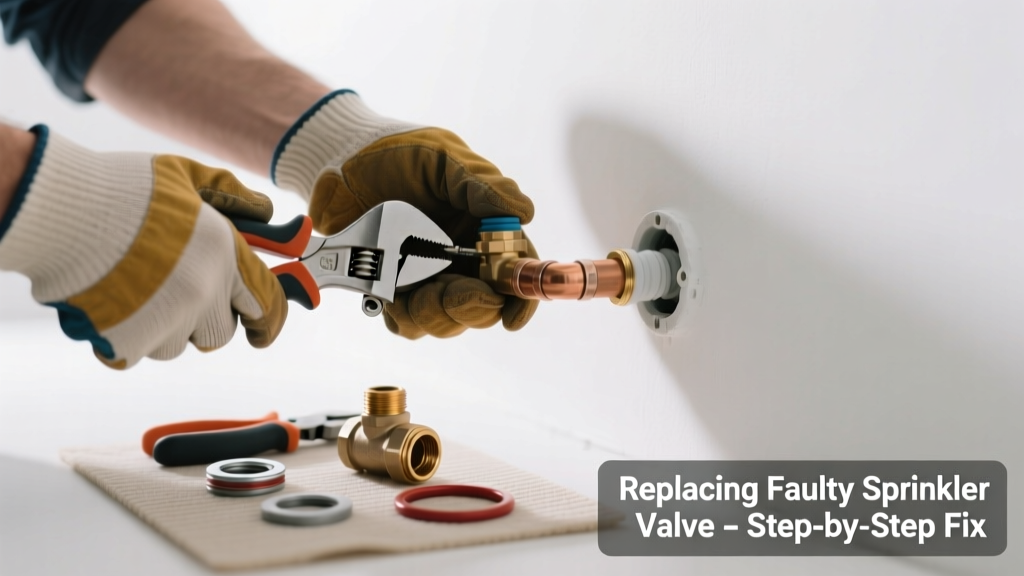
A steady drip from a sprinkler head or a puddle forming near a valve box isn’t just annoying—it’s wasting hundreds of gallons per week and can erode soil, weaken foundations, or drown your lawn. Most leaks stem from one replaceable component, not the whole system. With basic tools and 30 minutes, you can often fix it yourself before calling a pro.
Quick Diagnosis
Before grabbing tools, confirm which part is failing. Common culprits include:
- Cracked or worn-out sprinkler nozzle or rotor body (often visible as misting or sideways spray)
- Failed diaphragm inside an irrigation valve (causes constant seepage even when off)
- Loose or corroded PVC fitting or compression coupling (look for white mineral deposits or wet soil around joints)
- Damaged riser or swing joint (especially after mowing or frost heave)
- Root intrusion into buried lines (less common but causes intermittent leaks under pressure)
Tools & Materials Needed
| Item | Purpose | Estimated Cost |
|---|---|---|
| Adjustable wrench | Tightens or loosens brass valve bodies and compression fittings without stripping threads | $12–$25 |
| Sprinkler head key (or flathead screwdriver) | Removes pop-up heads with standard square or hex sockets | $5–$10 |
| Replacement rotor or valve diaphragm kit | Brand-specific part (e.g., Hunter PGJ, Rain Bird 5000, Toro 570) — match model number exactly | $8–$22 |
| Thread seal tape (PTFE) | Seals threaded connections on valves and adapters; use yellow tape for water lines | $3–$6 |
| Small wire brush & vinegar soak container | Cleans mineral buildup from brass components before reassembly | $4–$9 |
Step-by-Step Fix
Follow these methods based on where the leak occurs:
- For leaking pop-up heads: Turn off water at the main valve. Dig down to expose the head, unscrew it using the sprinkler key, inspect the filter screen and internal O-ring. Replace the entire rotor if cracked or worn — sprinkler head replacement takes under 5 minutes.
- For valve box leaks: Shut off water and power to the controller. Open the valve box, locate the leaking valve (usually damp soil or pooled water). Disassemble the valve, replace the rubber diaphragm and spring (sold in kits), and reassemble with fresh PTFE tape on all threads.
- For leaking PVC joints: Excavate and dry the area. Cut out the damaged section with a hacksaw, clean pipe ends with emery cloth, and glue in a new coupling or elbow using Schedule 40 PVC cement — PVC pipe leak repair requires 30-minute cure time before testing.
When to Call a Pro
Don’t risk DIY if you encounter any of these:
- Leak originates from beneath a concrete driveway or patio slab (requires jackhammering and permits)
- Multiple zones leak simultaneously — suggests mainline corrosion or backflow preventer failure
- Water pressure drops below 40 PSI across all zones (could indicate pump or pressure regulator issues)
- You detect chlorine odor or discolored water — possible cross-connection with potable supply, violating local plumbing codes
"Over 68% of residential irrigation leaks go undetected for more than two weeks, costing homeowners an average of $120 annually in wasted water," according to the U.S. EPA's WaterSense Irrigation Report (2022).
Prevention Tips
Maintain your system year-round to avoid repeat failures:
- Winterize before first freeze: blow out lines with compressed air at 50 PSI max (never exceed manufacturer specs)
- Inspect all heads monthly during watering season — adjust height, clean nozzles, check for sunken or tilted units
- Replace diaphragms every 3 years, even if no leak is visible — rubber degrades with UV and chemical exposure
- Install a smart controller with flow monitoring (like Rachio 3 or Orbit B-hyve) to alert you within minutes of abnormal usage
How do I know if it’s the valve or the sprinkler head leaking?
Turn off the controller and shut the main water valve. If the leak stops immediately, it’s likely zone-specific — isolate each zone manually at the valve box. If water continues dripping after 5 minutes, the problem is upstream: either the main shutoff valve or backflow preventer. A slow drip from the valve body itself points to a failed diaphragm.
Can I use generic replacement rotors instead of brand-specific ones?
Only if they’re certified compatible — e.g., Orbit’s Maxi-Pop works with most Hunter and Rain Bird bodies, but torque specs and flow rates vary. Using mismatched parts causes uneven coverage or premature wear. Always cross-reference model numbers on the irrigation part compatibility chart.
Why does my sprinkler leak only when the system is off?
This classic symptom points to a faulty valve diaphragm or debris trapped under the seal. When pressurized, the diaphragm may seal temporarily; when pressure drops, gravity pulls water past the compromised gasket. Cleaning the valve interior and replacing the diaphragm resolves 90% of these cases.
Do I need to drain the line before replacing a valve diaphragm?
Yes — open the downstream bleed screw or remove the lowest sprinkler head to release residual pressure and water. Skipping this risks spraying pressurized water into your face or flooding the valve box. Keep a towel and bucket handy — expect 1–2 quarts of runoff.
How tight should I make compression fittings on sprinkler lines?
Tighten by hand until snug, then add only 1/4 to 1/2 turn with a wrench. Over-tightening cracks brass bodies and crushes rubber washers — the #1 cause of new leaks after DIY repairs. If it still leaks, disassemble and inspect the washer for nicks or flattening.
What’s the average lifespan of a rotor head before replacement?
Most quality rotors last 5–7 years with seasonal maintenance. In high-sun, high-salt, or high-chlorine areas (e.g., coastal zones or poolside systems), expect 3–4 years. Signs of aging include inconsistent arc pattern, sluggish retraction, or visible hairline cracks near the nozzle housing.
Replacing a single faulty part keeps your system running efficiently without overhauling thousands of dollars’ worth of pipe and wiring. Most leaks aren’t emergencies — but ignoring them turns a $15 diaphragm into a $400 trench repair. Stay proactive: test one zone weekly, keep spare parts on hand, and treat your irrigation like plumbing — because it is.