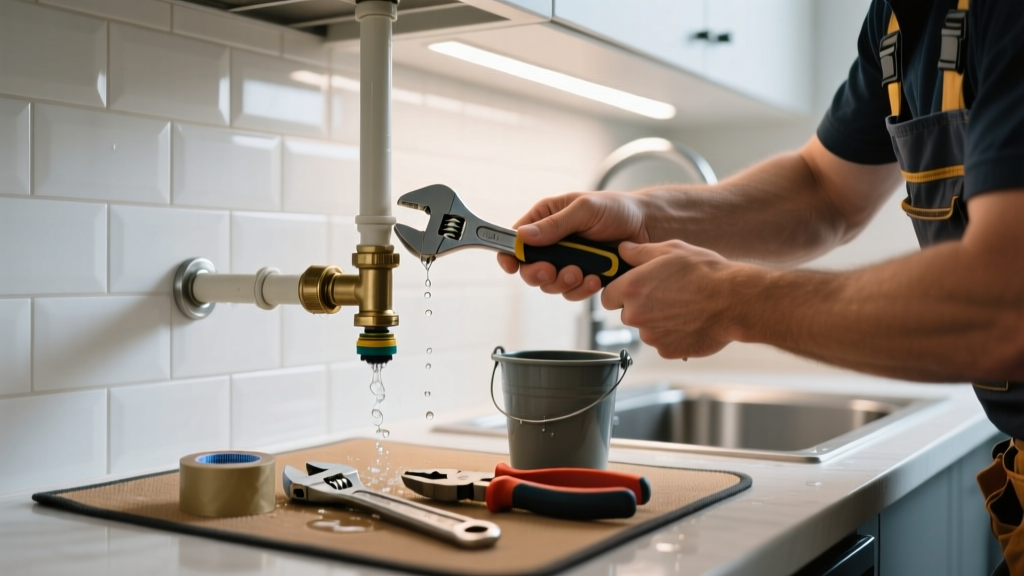
If you spot water dripping from a ceiling-mounted kitchen sprinkler head—or worse, a steady stream—it’s not just a plumbing issue. It’s a fire safety system malfunction that demands immediate, careful attention. Unlike bathroom or laundry leaks, kitchen sprinkler leaks often involve high-temperature-rated components, concealed piping, and potential code violations if improperly handled.
Quick Diagnosis
Kitchen sprinkler leaks rarely happen without warning. Most originate from one of these four causes:
- Thermal stress cracking in the glass bulb (common near ovens or exhaust hoods where ambient temps exceed 135°F)
- Corrosion at the threaded connection between the sprinkler head and branch line—especially with older galvanized pipe
- Physical impact damage (e.g., during cabinet installation or appliance moving)
- Freeze-thaw damage in unheated soffits or exterior-facing kitchen walls (even in mild climates, overnight dips below 32°F can crack brass fittings)
Tools & Materials Needed
| Item | Purpose | Estimated Cost |
|---|---|---|
| 1/2-inch sprinkler wrench | Designed to grip hex flats on fire sprinkler heads without marring the finish or breaking the frangible element | $12–$18 |
| Teflon tape (PTFE, yellow-rated for gas lines) | Provides pressure-tight seal on NPT threads; standard white tape degrades faster under thermal cycling | $3–$6 |
| Replacement upright sprinkler head (135°F RTI 50) | Kitchen-rated head with higher activation temp and corrosion-resistant coating; must match existing K-factor and orifice size | $22–$38 |
| Infrared thermometer | Verifies surface temps near head to rule out false activation from heat buildup—not guesswork | $45–$75 |
Step-by-Step Fix
Follow these methods in order—start with the least invasive:
- Shut off the system’s water supply at the main control valve (usually labeled and located near the water meter or basement riser). Confirm shutoff by opening a drain valve downstream—if no flow, you’re isolated.
- Inspect the glass bulb under bright light: If it’s cloudy, cracked, or contains visible debris, replace the entire head. Do not attempt to reseal it—UL-listed heads are single-use.
- Remove the old head using the sprinkler wrench—turn counterclockwise only. Wrap the pipe thread with 4 wraps of yellow PTFE tape, applied clockwise, covering all exposed threads.
- Install the new head hand-tighten first, then snug with the wrench—no more than 1/4 turn past finger-tight. Over-torquing cracks the seat or misaligns the deflector.
- Test with air pressure first: Use a bicycle pump and pressure gauge to pressurize to 40 psi for 10 minutes. No drop? Then slowly reintroduce water and monitor for 20 minutes.
When to Call a Pro
DIY stops here if any of these apply:
- You hear hissing from inside wall cavities or ceiling joists—not just at the head
- The leak occurs at a soldered copper joint or grooved coupling (requires NFPA 13-certified fitter)
- Your building has a dry-pipe or pre-action system (common in commercial kitchens or mixed-use condos)
- The system is older than 25 years and uses lead-soldered joints or black iron pipe with visible pitting
According to the National Fire Protection Association’s NFPA 25: Standard for the Inspection, Testing, and Maintenance of Water-Based Fire Protection Systems (2023 edition), any repair affecting more than one sprinkler head or involving piping modifications requires documentation and third-party verification.
Prevention Tips
Kitchen environments accelerate sprinkler wear. Extend service life with these habits:
- Keep exhaust hood filters cleaned weekly—grease-laden air corrodes brass components up to 3× faster (per UL Fire Test Report 199A, 2022)
- Install an infrared thermometer sticker near each kitchen head to log surface temps monthly
- Replace all kitchen heads every 10 years—even if undamaged—as thermal sensitivity degrades over time
- Ensure recessed lighting or HVAC vents aren’t blowing directly onto sprinkler heads
Can I use bleach to clean around the sprinkler head?
No. Bleach accelerates corrosion of brass and stainless steel components and can degrade the elastomeric O-rings inside the frame. Use only isopropyl alcohol (70%) on a lint-free cloth for surface cleaning—never spray.
Why did my sprinkler leak when I turned on the oven?
Oven exhaust or radiant heat raised the ceiling temperature above the head’s 135°F activation threshold. This isn’t a defect—it’s design failure. Relocate the head per NFPA 13 §8.6.2.2 or install a 286°F-rated fusible-link head if local code allows.
Is it safe to cap off a leaking sprinkler head temporarily?
No. Capping violates NFPA 13 and voids your fire insurance coverage. A capped head creates an unprotected zone and risks catastrophic failure during a real fire. Shut off the zone valve and replace the head within 24 hours.
Do kitchen sprinklers need special cleaning after cooking grease fires?
Yes—if grease coated the deflector or frame, residue can insulate the thermal element and delay activation. Wipe gently with mineral spirits and a soft brush, then verify operation with a certified tester. Document the cleaning in your fire system logbook.
What’s the difference between a residential and commercial kitchen sprinkler head?
Commercial heads (e.g., ESFR or CMSA types) have higher K-factors (≥11.2), faster response (RTI ≤ 50), and are rated for ceiling heights up to 45 ft. Residential kitchen heads max out at K=8.0 and 10-ft ceilings—using a commercial head in a home system may cause nuisance trips due to oversensitivity.
How do I know if my kitchen has a wet or dry sprinkler system?
Look at the pipe color: Wet systems use red-painted pipe; dry systems use blue. Check your fire alarm panel—dry systems show “air pressure” or “dry valve” status. Or trace the pipe back: If it drops into a heated mechanical room before rising to the kitchen, it’s likely wet. If it connects to an air compressor or nitrogen tank, it’s dry.
A persistent kitchen sprinkler leak isn’t just inconvenient—it’s a signal that your fire protection layer is compromised. Address it methodically, respect the code requirements, and never sacrifice safety for speed. For related issues like kitchen ceiling leak repair or how to reset a fire sprinkler system, check those detailed guides next.