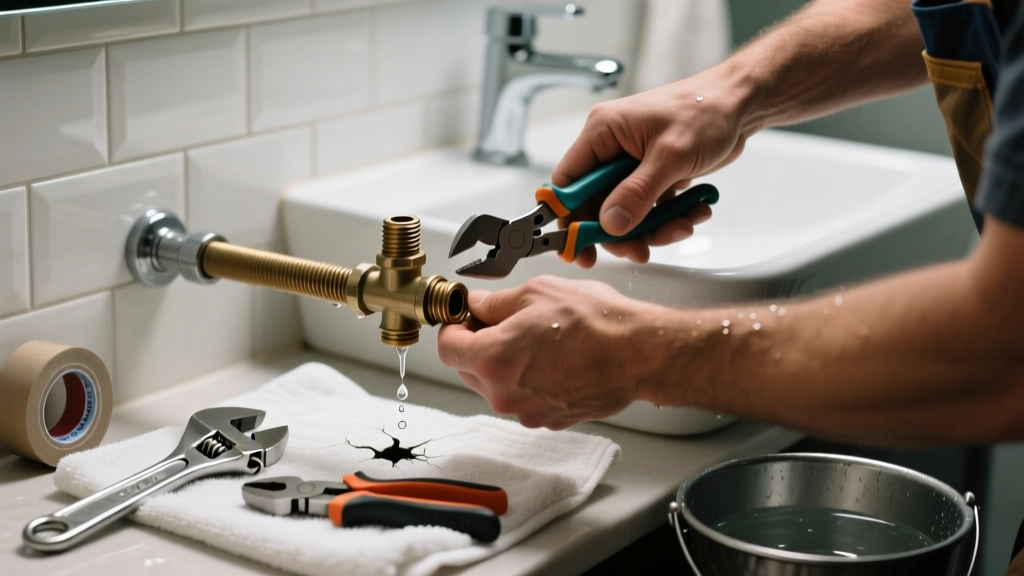
If you spot water dripping from a ceiling-mounted sprinkler head—or pooling near a wall-mounted unit—in your bathroom, don’t assume it’s just condensation. That leak could signal corrosion, thermal stress, or improper installation, and even small drips can compromise fire suppression integrity while damaging drywall, tile grout, and subflooring.
Quick Diagnosis
Start by identifying where the water is coming from—not just where it lands. Most bathroom sprinkler leaks trace back to one of these five causes:
- Loose or cross-threaded sprinkler head (most common)
- Corroded or cracked escutcheon plate seal
- Failed thermal element inside the head (especially after steam exposure)
- Leaking compression fitting at the branch line tee connection
- Cracked CPVC or copper supply pipe behind tile or above ceiling
Tools & Materials Needed
| Item | Purpose | Estimated Cost |
|---|---|---|
| 1/2-inch socket wrench or adjustable basin wrench | Tightens sprinkler heads without stripping threads | $12–$28 |
| Fire-rated silicone sealant (UL-listed) | Seals escutcheon gaps without interfering with thermal response | $9–$15 |
| Replacement 135°F quick-response sprinkler head (K-factor 5.6) | Bathroom-specific head rated for high-humidity environments | $18–$32 |
| CPVC solvent cement & primer (if cutting pipe) | Required for code-compliant CPVC repairs | $7–$11 |
| Non-contact voltage tester | Confirms no live wiring near ceiling access points | $14–$22 |
Step-by-Step Fix
Choose the method that matches your diagnosis. Always shut off the main water supply and isolate the zone valve before starting.
- Retighten the sprinkler head: Use a socket wrench to gently tighten—no more than 1/4 turn past hand-tight. Over-torquing cracks brass bodies or crushes rubber gaskets.
- Replace the escutcheon seal: Remove the decorative cover plate, clean old caulk, apply UL-listed fire-rated silicone around the pipe collar, then reseat the plate flush.
- Swap the entire sprinkler head: Unscrew the old head, wrap 3 layers of PTFE tape clockwise on the male threads, install the new 135°F quick-response head, and torque to manufacturer spec (usually 15–20 ft-lb).
- Repair a cracked CPVC branch line: Cut out the damaged section using a tubing cutter, dry-fit new couplings and pipe, then solvent-weld with primer and cement per IAPMO standards.
When to Call a Pro
Stop immediately and contact a licensed fire protection contractor if you observe any of these:
- Water leaking from multiple heads simultaneously
- Discoloration or white powder (chloride stress corrosion) on copper supply lines
- Leak originates from a concealed pipe run behind tiled walls or under floor joists
- Your building has a monitored wet-pipe alarm system tied to the local fire department
According to the National Fire Protection Association’s NFPA 13D: Standard for Installation of Sprinkler Systems in One- and Two-Family Dwellings and Manufactured Homes (2022 edition), any modification to a listed fire sprinkler system must be performed or verified by a certified installer to maintain insurance coverage and code compliance.
Prevention Tips
Bathroom sprinklers face unique challenges: steam, humidity spikes, and frequent temperature swings. Prevent future leaks with these targeted actions:
- Install only UL-listed, high-humidity-rated sprinkler heads (look for "RH" or "steam-resistant" designation)
- Wipe down heads and escutcheons monthly to remove mineral deposits and soap scum
- Ensure bathroom exhaust fans vent outdoors—not into attics—to reduce ambient moisture
- Schedule annual inspection by a certified technician; NFPA 25 requires documented testing every 12 months
Can I use plumber’s tape on a fire sprinkler thread?
Yes—but only on the male threads of non-fire-service components like escutcheon plates. Never use standard PTFE tape on the sprinkler head itself unless specified by the manufacturer. Instead, use UL-listed thread sealant formulated for fire protection systems, which maintains thermal responsiveness and won’t clog the orifice.
Why does my sprinkler leak only after hot showers?
This points to thermal expansion stress or a compromised thermal element. Steam raises ambient temperature rapidly, causing metal parts to expand unevenly. If the glass bulb or fusible link is degraded, it may partially open without full activation. Replace the head with a 135°F RH-rated model designed for steam-prone zones.
Is it safe to paint over a sprinkler head?
No. Painting obstructs heat transfer and violates NFPA 13D §8.5.2. Even thin latex coatings can delay activation by 30–60 seconds—enough time for flashover. If aesthetics are a concern, use an approved decorative cover that’s UL-listed and tested for compatibility.
How tight should a sprinkler head be?
Torque matters more than force. Hand-tight plus 1/4 to 1/2 turn with a wrench is typical—but always consult the manufacturer’s spec sheet. For example, Tyco R-22 heads require 18 ft-lb; Viking VK300 models need only 12 ft-lb. Over-tightening is the #1 cause of cracked bodies in residential installations.
Do I need a permit to replace a bathroom sprinkler head?
In most jurisdictions, yes—if the system is part of a permitted fire protection installation. Check with your local building department before replacement. In California, for instance, AB 1175 requires all sprinkler modifications in dwelling units to be filed with the State Fire Marshal’s Office. Unpermitted work may void homeowner’s insurance claims.
Can I cap off a leaking sprinkler head temporarily?
No. Capping disables life-safety equipment and violates fire code. Even short-term, it creates an unmonitored hazard. Instead, shut off the zone valve, drain the line, and replace the head within 24 hours—or call a pro if you’re unsure. The U.S. Fire Administration reports that 22% of home fire fatalities occur in properties with disabled or nonfunctional sprinklers.
A persistent bathroom sprinkler leak isn’t just a nuisance—it’s a red flag for system integrity, code compliance, and long-term water damage risk. Address it promptly with the right tools and awareness, and remember: when in doubt about pressure ratings, thermal specs, or local enforcement, reach out to a certified fire sprinkler inspector or consult your home’s main shutoff valve map. Small fixes now prevent costly rebuilds—and worse—down the line.