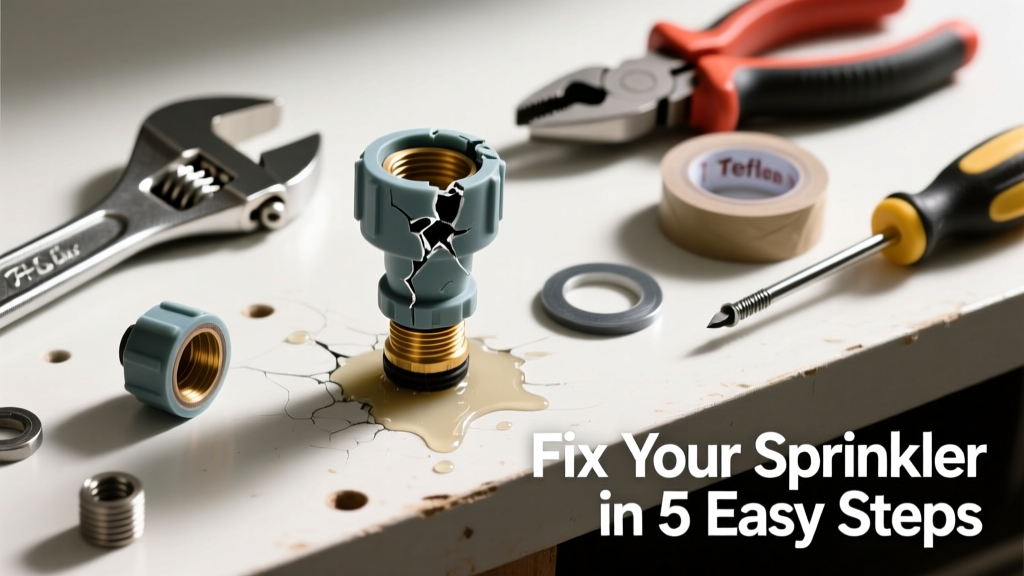
A broken sprinkler head is one of the most common—and most fixable—irrigation problems homeowners face. It might be cracked, stuck upright, spraying sideways, or not popping up at all. Most repairs take under 20 minutes and cost less than $15 in parts—if you know what to look for and how to act.
Quick Diagnosis
Before grabbing tools, identify the root cause. A broken head isn’t always about physical damage—it’s often misalignment, debris, or pressure issues.
- Cracked or shattered housing (visible plastic damage)
- Head won’t retract after watering (often due to grit in the riser sleeve)
- Spraying at a sharp angle or misting excessively (indicates worn nozzle or damaged internal seal)
- No water flow despite zone activation (could be clogged filter or broken internal gear)
- Multiple heads failing simultaneously (points to mainline leak or valve issue)
Tools & Materials Needed
| Item | Purpose | Estimated Cost |
|---|---|---|
| Adjustable wrench or basin wrench | Tightens or loosens buried head threads without stripping | $8–$22 |
| Sprinkler head replacement kit (e.g., Hunter PGP Ultra or Rain Bird 5000) | Matches common residential rotor models; includes nozzle, cap, and filter screen | $12–$28 |
| Small wire brush or stiff toothbrush | Cleans grit and calcium buildup from riser tube and filter screen | $3–$6 |
| Utility knife or razor blade | Cuts away compacted soil or sod around base for safe access | $2–$5 |
| Bucket and clean water | Rinses components and tests flow before reassembly | $0 (if using garden hose) |
Step-by-Step Fix
Most broken sprinkler heads fall into two categories: rotor failures and spray head failures. The repair process differs slightly—but both follow this core sequence:
- Dig carefully around the head using a trowel or utility knife—expose 3–4 inches of riser pipe without cutting irrigation lines.
- Turn off water supply at the zone valve or main shutoff; relieve pressure by opening the lowest downstream drain or running a nearby head briefly.
- Unscrew the head counterclockwise (most are ¾" male pipe thread); if stripped, use locking pliers wrapped in cloth to avoid damaging pipe.
- Clean the riser tube with a wire brush and rinse the filter screen under running water—grit causes 68% of premature rotor failures, per the Irrigation Association’s 2022 Field Service Report.
- Install new head, hand-tighten fully, then give a ¼-turn with a wrench—overtightening cracks plastic housings and warps seals.
When to Call a Pro
Not every broken head is a DIY job. Some signs mean deeper trouble that could worsen with amateur intervention:
- Water pooling near the head or along the trench line (indicates mainline break)
- Zone fails to activate entirely—even after checking controller, wiring, and valve box
- Head repeatedly breaks within 3 months (suggests excessive water pressure >75 PSI or underground rock impact)
- You uncover brittle, cracked PVC pipe or corroded brass fittings during excavation
- Your system uses older, nonstandard threading (e.g., legacy Toro or Nelson models with proprietary couplers)
"Over 40% of service calls labeled 'broken sprinkler head' actually stem from valve or wiring faults—not the head itself." — Irrigation Association Technician Certification Manual, 2023
Prevention Tips
Extend your sprinkler system’s life with routine habits—not just reactive fixes:
- Winterize properly: blow out lines with compressed air before first freeze (prevents freeze-thaw cracking)
- Inspect heads biannually—spring start-up and fall shutdown—to catch wear before failure
- Install pressure-regulating nozzles if static pressure exceeds 60 PSI (measured with a gauge at an outdoor spigot)
- Keep mower blades sharp and set high enough to clear head caps—dull blades chip plastic faster than rocks do
- Use mulch or edging stones around heads to reduce turf compaction and accidental impact
Can I glue a cracked sprinkler head back together?
No—epoxy or PVC cement won’t hold under repeated pressure cycling and UV exposure. Plastic becomes brittle over time, and glued joints fail unpredictably. Replacement is safer and costs less than $15. See our guide on sprinkler head replacement for model-matching tips.
Why does my new sprinkler head pop up but not rotate?
This usually means either debris jammed in the drive gear or insufficient water pressure (<40 PSI minimum for rotors). Clean the filter screen and check for kinked lateral lines. If pressure is low, test with a pressure test kit—many municipalities offer free loaner gauges.
Do I need to dig up the whole pipe to replace one head?
No—you only need to excavate enough to expose the threaded connection (typically 3–4 inches below grade). Avoid cutting lateral lines by probing gently with a plastic-tipped rod first. Most modern heads attach via standard ¾" MPT, so no pipe cutting is required.
Is it okay to mix brands like Rain Bird and Hunter on the same zone?
Technically yes—but not recommended. Different manufacturers design for distinct precipitation rates and arc patterns. Mixing them causes uneven coverage and overwatering in some spots, underwatering in others. Stick with one brand per zone, or upgrade all heads during replacement. Learn more in our sprinkler zone design article.
How deep should a sprinkler head be installed?
The top of the head should sit flush with finished grade—or up to ¼ inch above to prevent sod burial. Too deep (>½ inch) traps dirt and blocks retraction; too shallow invites mower damage. Use a depth gauge tool or a ruler taped to a screwdriver for consistency across your lawn.
Can I replace a rotor head with a spray head?
You can physically screw it in—but don’t. Rotors deliver ~0.4–0.6 inches/hour; spray heads deliver 1.5–2.5 inches/hour. Swapping creates severe overwatering and runoff. If coverage is uneven, adjust nozzle arcs or add a second rotor instead.
A working sprinkler system shouldn’t demand constant attention—but it does reward consistent care. Fixing a broken head yourself builds confidence for bigger irrigation tasks, like valve troubleshooting or smart controller setup. And when you get that smooth, even arc spinning cleanly across the lawn again? That’s the quiet satisfaction of a repair done right—no plumber needed, just patience and the right tool in hand.