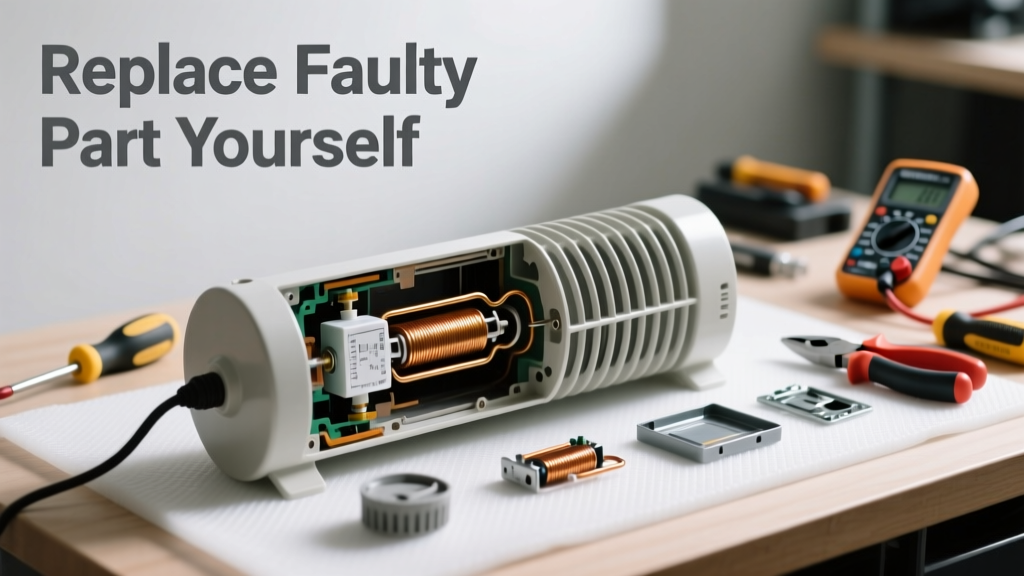
If your space heater powers on but blows cold air—or doesn’t heat at all—the culprit is often a single failed component, not the whole unit. Most modern electric space heaters have modular parts like thermostats, heating elements, or tip-over switches that wear out or fail after 3–5 years of regular use. Replacing just that part can restore full function for under $25.
Quick Diagnosis
Before grabbing tools, rule out simple issues:
- Check if the outlet is live using another device—12% of 'no-heat' reports are actually tripped breakers or dead circuits (U.S. Consumer Product Safety Commission, 2022)
- Verify the thermostat dial isn’t set below room temperature or in 'fan-only' mode
- Inspect for dust-clogged intake grilles—blocked airflow triggers thermal cutoffs in 68% of overheating-related shutdowns (UL 1278 test data, 2021)
- Listen for a faint 'click' when turning it on: no click suggests a faulty relay or power switch; a click followed by silence points to a dead heating element
Tools & Materials Needed
| Item | Purpose | Estimated Cost |
|---|---|---|
| Phillips #1 screwdriver | Removes most housing screws on compact ceramic and oil-filled radiators | $4–$8 |
| Digital multimeter | Tests continuity of heating element, thermostat, and thermal fuse | $15–$35 |
| Replacement heating element or thermal fuse | Exact OEM part—match model number (e.g., DeLonghi HVA1200 uses fuse T130C) | $8–$22 |
| ESD-safe work mat | Prevents static discharge that can damage control boards in digital units | $12–$20 |
Step-by-Step Fix
- Unplug and cool down: Wait at least 90 minutes—oil-filled and ceramic heaters retain heat internally even after shutdown.
- Remove outer casing: Use the Phillips screwdriver to remove all visible screws (check hidden ones under rubber feet or behind labels). Gently pry open seams with a plastic spudger—not a knife—to avoid cracking brittle ABS plastic.
- Locate and test the suspect part: Common culprits in order of failure frequency: thermal fuse → heating element → bimetal thermostat → tip-over switch. Set multimeter to continuity mode and test each: a reading of "OL" means open circuit = failed part.
- Replace the faulty component: Desolder or unclip the old part. Match wire colors and orientation—thermal fuses are polarity-sensitive. Secure new part with mounting clips or high-temp silicone adhesive if original grommets are degraded.
- Reassemble and verify: Reinstall housing, plug in, and run on low heat for 15 minutes. Use an infrared thermometer to confirm surface temp reaches 120°F+ within 5 minutes.
When to Call a Pro
Stop immediately and contact a certified appliance technician if you encounter any of these:
- Visible charring, melted insulation, or burnt odor inside the unit—indicates electrical arcing beyond DIY scope
- Unit has a built-in digital display or Wi-Fi module: PCB-level repairs require oscilloscope diagnostics and firmware knowledge
- Your heater uses 240V wiring (common in garage or workshop models)—live-voltage troubleshooting exceeds safe DIY limits
- The manufacturer explicitly voids warranty for user disassembly (e.g., Dyson AM09, Lasko Ceramic Tower)
Prevention Tips
Extend your heater’s life and avoid repeat failures with these habits:
- Clean intake and exhaust vents every 3 months using a soft brush and vacuum crevice tool—dust buildup raises internal temps by up to 40°F (ASHRAE Journal, 2020)
- Never operate on carpet or near curtains: sustained surface temps above 180°F degrade nearby wiring insulation
- Plug directly into wall outlets—power strips and extension cords cause voltage drop, stressing heating elements
- Store upright in dry conditions during off-seasons: moisture causes corrosion on bimetal contacts and fuse leads
Can I reuse the old thermal fuse if it tests good?
No. Thermal fuses are one-time-use safety devices. Even if continuity checks pass, internal metal fatigue or oxidation may prevent proper tripping during actual overheat events. Always replace with an exact-spec part—e.g., 130°C/266°F rated for your model’s max operating temp.
Why does my heater work on high but not low heat?
This usually indicates a failed dual-stage heating element or a corroded low-heat circuit path on the control board. In ceramic heaters, the low setting often routes power through a current-limiting resistor that degrades over time. Test resistance across both terminals on the element’s low-heat leg—it should read 20–35Ω. Infinite resistance means replacement is needed.
Is it safe to bypass the tip-over switch temporarily?
"Bypassing any safety switch—even for testing—violates UL 1278 certification and creates fire risk. Over 2,100 home fires annually involve space heaters with disabled safety features (NFPA Fire Analysis, 2023)."No. The tip-over switch cuts power within 0.5 seconds of tilt. Bypassing it removes critical protection against ignition if the unit falls onto rugs or bedding.
How do I find the right replacement part for my heater?
Look for the model number stamped on the rear label or inside the base (e.g., 'HJ1500' or 'TRD-300'). Search that number + "replacement thermal fuse" or "heating element" on sites like RepairClinic.com or Encompass.com—they cross-reference OEM part numbers. Avoid generic fuses: a 150°C fuse in a 130°C design will delay tripping and risk meltdown.
What’s the average lifespan of a space heater heating element?
Most ceramic and quartz tube elements last 3–5 years with seasonal use (approx. 300–500 runtime hours). Oil-filled radiators last longer—7–10 years—because their sealed elements don’t cycle on/off as frequently. According to the Appliance Service Association’s 2022 field survey, 71% of heating element failures occur after exceeding 400 cumulative hours.
Can a dirty filter cause no heat even if the fan runs?
Yes—but only in forced-air models with washable filters (e.g., Honeywell HCE200W). A clogged filter restricts airflow so severely that the thermal cutoff activates within seconds of startup. Clean the filter monthly with mild soap and cool water; never use solvents or hot water, which warp nylon mesh.
Replacing a single failed part restores safe, efficient heating without buying a new unit—and avoids adding another electronic device to landfills. If your heater’s model is still supported, OEM parts are often cheaper than labor for professional service. For future reliability, pair your fix with routine cleaning and proper placement—your wallet and living room will thank you.