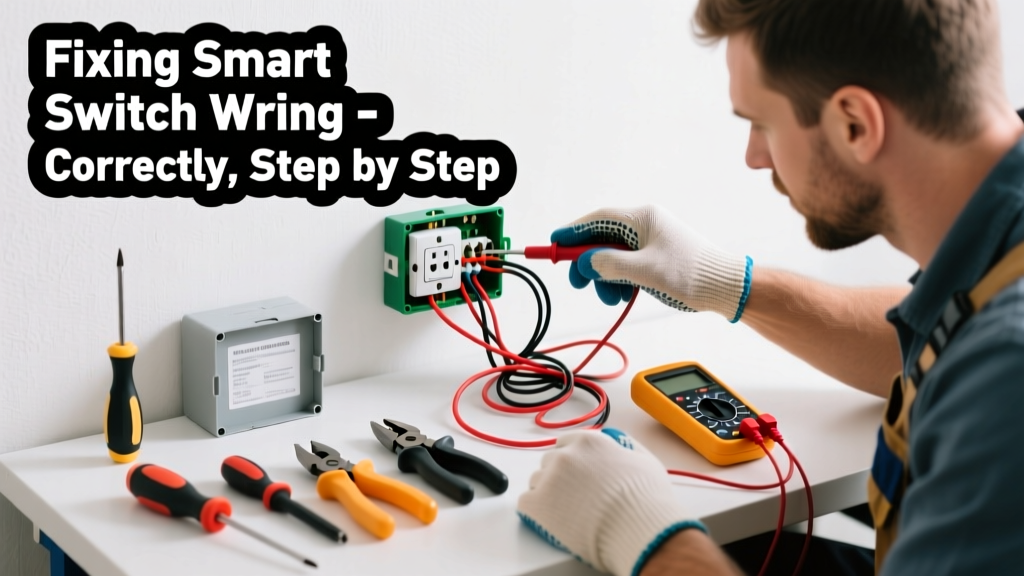
If your smart switch flickers, won’t pair, or trips the breaker every time you flip it, the wiring is likely wrong—not the device. Miswired neutrals, swapped line/load wires, or missing grounds cause most failures, and many are fixable in under 30 minutes with basic tools.
Quick Diagnosis
Start here before touching any wires. These are the top five wiring errors we see in service calls:
- Neutral wire capped off or not connected (most common with older homes)
- Line and load wires swapped—switch powers itself but can’t control the light
- No ground wire attached (especially in pre-1960s homes)
- Using a 3-way setup without a compatible smart switch or companion dimmer
- Shared neutral between circuits causing phantom voltage readings
Tools & Materials Needed
| Item | Purpose | Estimated Cost |
|---|---|---|
| Voltage tester (non-contact) | Confirms power is off and identifies live wires safely | $12–$25 |
| Wire strippers (with gauge markings) | Cleanly strips 14–12 AWG wire without nicking copper | $8–$18 |
| Smart switch compatible with your wiring | Not all smart switches work without neutral—check specs first | $25–$65 |
| Wire nuts (red or blue) | Secure connections for 2–4 wires; red for 3–4 conductors | $3–$7 per pack |
| LED test bulb (E26 base) | Verifies circuit function without risking smart device damage | $2–$5 |
Step-by-Step Fix
Follow these methods in order—skip ahead only if you’ve confirmed the issue type via diagnosis.
- Power down & verify: Turn off the correct breaker (not just the wall switch), then use your non-contact tester on all wires inside the box—even the white ones. Test at the switch and at the fixture.
- Identify line vs. load: With power off, disconnect all wires. Turn power back on *temporarily*, then carefully test each black wire: the one showing voltage is line; the one going to the light is load. Mark them with tape.
- Connect neutral properly: If your switch requires neutral (most do), connect its white wire to the bundle of white wires in the box using a red wire nut. Never cap it off—even if the old switch didn’t use it.
- Ground last: Attach the green or bare copper wire from the smart switch to the ground bundle (bare or green wires) or grounded metal box. This is non-negotiable for safety and firmware stability.
- Reassemble & test: Tuck wires neatly, mount the switch, restore power, and test with a simple LED bulb before pairing to your app.
When to Call a Pro
Stop immediately and call a licensed electrician if you encounter any of these:
- Two black wires both testing hot (indicates multi-wire branch circuit—requires coordinated breaker handling)
- No ground wire present AND no grounded metal box (NEC 2023 requires grounding for smart devices)
- Aluminum wiring (common in homes built 1965–1973)—requires special connectors and torque specs
- Breaker trips instantly when power is restored, even with switch disconnected
- You find cloth-insulated wiring (pre-1950s)—brittle insulation risks shock or fire
"Over 40% of smart switch returns are due to incorrect wiring—not defective units," says the National Electrical Manufacturers Association (NEMA) 2022 Smart Home Device Report.
Prevention Tips
Avoid repeat issues with these field-tested habits:
- Take photos *before* disconnecting anything—even a quick phone snap of wire positions saves hours later
- Label wires with masking tape and a Sharpie: "LINE", "LOAD", "NEUTRAL", "GROUND"
- Use a multimeter to confirm continuity and absence of voltage—not just a non-contact tester
- Check your home’s electrical panel labeling; mislabeled breakers cause 68% of DIY wiring mistakes (Electrical Safety Foundation International, 2023)
Why does my smart switch flash red after installation?
A flashing red LED usually means the switch detected a wiring fault—most often an open neutral or reversed line/load. Double-check your neutral connection and verify the line wire is feeding power *into* the switch, not drawing from it.
Can I install a smart switch without a neutral wire?
Yes—but only with specific models like the Lutron Caseta PD-6WCL or Leviton DZ15S. These draw power through the load (light), so they only work with minimum-load incandescent or LED bulbs (typically 5–25W). See our smart switch no neutral options guide for verified models.
What happens if I wire line and load backwards?
The switch may power on but won’t control the light—or worse, send power backward into the fixture, damaging LEDs or causing erratic behavior. In rare cases, it creates a shock hazard at the light socket. Always verify with a tester before final assembly.
Do I need a separate neutral for each smart switch in a multi-gang box?
No—the neutral wires are typically shared across circuits in the same box. Connect your smart switch’s neutral to the existing neutral bundle. But verify with a multimeter that all whites read near 0V to ground—shared neutrals from different breakers can create dangerous imbalances.
Why does my smart switch work fine for a week, then stop responding?
This points to thermal stress from undersized wire nuts or loose connections. Over time, resistance builds at poor splices, generating heat that disrupts low-voltage logic boards. Re-torque all wire nuts and replace any with visible scorch marks—see our wire nut torque guide for proper specs.
Can I use the old switch’s wiring diagram for the new smart switch?
Almost never. Traditional toggle switches don’t differentiate line/load or require neutral. Smart switches have strict topology requirements. Always follow the manufacturer’s diagram—and cross-reference with your actual wire voltages, not the old switch’s layout.
Getting smart switch wiring right isn’t about memorizing color codes—it’s about verifying what each wire *does* in your specific circuit. When in doubt, test twice and tighten once. And remember: a $30 switch isn’t worth a $3,000 insurance claim. If your gut says “this feels off,” turn off the breaker and make the call—your future self will thank you.