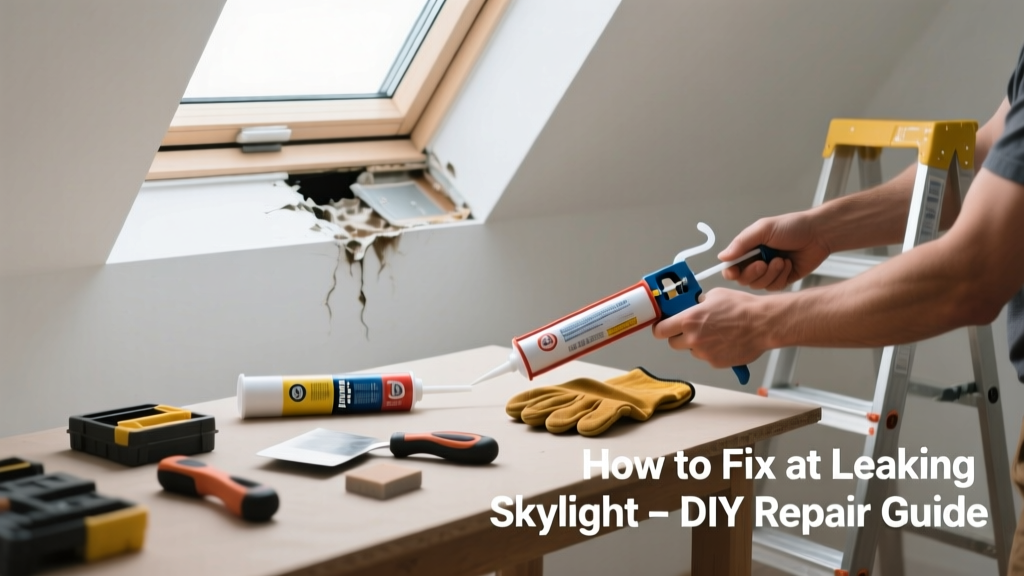
That drip-drip-drip from your ceiling on a rainy afternoon isn’t just annoying—it’s a red flag for insulation compromise, mold risk, and structural decay. Skylights fail more often than homeowners expect: the U.S. Department of Energy estimates up to 20% of residential skylights develop leaks within 5 years of installation, usually due to improper flashing or sealant failure.
Quick Diagnosis
Before grabbing tools, identify the source. Most skylight leaks stem from one (or more) of these causes:
- Failed or cracked silicone sealant around the frame perimeter
- Loose, corroded, or improperly installed flashing—especially step flashing at roof transitions
- Clogged weep holes in curb-mounted units, trapping condensation or rainwater
- Cracked or warped acrylic or glass glazing (common after thermal stress or hail)
- Roof deck rot beneath the skylight curb, compromising mounting integrity
Tools & Materials Needed
| Item | Purpose | Estimated Cost |
|---|---|---|
| 100% silicone roofing sealant (ASTM C920 compliant) | Forms flexible, UV-resistant bond on glass, metal, and wood | $8–$14 |
| Roofing cement (plastic cement, not tar) | Temporary patch for flashing gaps; bonds well with asphalt shingles | $5–$9 |
| Flashing repair kit (aluminum or EPDM) | Replaces corroded step or counter-flashing sections | $12–$22 |
| Roofing nail puller & hammer | Removes old nails without damaging shingles or flashing | $10–$18 |
| Butyl tape (1/4" x 30 ft roll) | Self-adhesive under-flashing barrier; prevents capillary wicking | $16–$24 |
Step-by-Step Fix
Choose the method that matches your diagnosis. Always work on a dry, cool day (ideally 50–80°F) and wear fall protection if accessing the roof.
- Reseal the perimeter: Clean old caulk with mineral spirits and a stiff brush. Apply a continuous 3/8" bead of silicone sealant along the inner and outer edges of the skylight frame—don’t skip the corners where most failures start.
- Repair step flashing: Remove damaged sections using a roofing nail puller. Slide new aluminum step flashing under upper shingles, overlapping each piece by 3", and secure with corrosion-resistant roofing nails spaced 6" apart.
- Clear weep holes: Locate the small drainage slots (usually on the bottom edge of the curb). Use a wire hanger or compressed air to clear debris. Test flow by pouring ¼ cup of water into each hole—water should exit freely outside the roof line.
- Replace cracked glazing: For acrylic units, remove screws holding the lens, clean the curb groove, apply butyl tape, then reinstall with new screws and fresh sealant. Glass panes require professional replacement—do not attempt DIY.
When to Call a Pro
Some leaks signal deeper issues that exceed safe DIY scope. Call a licensed roofing contractor or skylight specialist if you see any of these:
- Water stains spreading across drywall or ceiling joists—not just localized near the skylight
- Visible sagging or soft spots in the roof deck around the skylight curb
- Leaks persisting after two full resealing attempts, especially during light rain
- Your skylight is over 15 years old and has double-pane condensation or fogging between layers
"Over 68% of skylight leak callbacks are traced to improper flashing installation—not sealant failure," says Mike Torres, certified NRCA roofing instructor (National Roofing Contractors Association, 2022).
Prevention Tips
Extend your skylight’s life with proactive care:
- Inspect sealant and flashing twice yearly—spring and fall—with binoculars or ladder access
- Trim overhanging branches to reduce debris buildup and prevent impact damage
- Install a skylight screen or mesh guard to keep pine needles and leaves out of weep holes
- Use only ASTM C920-rated sealants—never household caulk or polyurethane foam
Can I use bleach on this?
No. Bleach degrades silicone sealants and corrodes aluminum flashing. For mold or mildew on the interior drywall, use a diluted vinegar solution (1 part white vinegar to 3 parts water), then dry thoroughly before repainting. Never spray liquids upward onto the skylight frame.
How long does roof sealant last?
High-quality ASTM C920 silicone lasts 10–15 years if applied correctly and protected from direct UV exposure. Cheaper acrylic or latex sealants may fail in as little as 2–3 years. Check manufacturer specs—some premium products like GE Silicone II offer 50-year warranties when installed per instructions.
Why does it only leak during wind-driven rain?
This strongly points to flashing failure—not sealant. Wind pressure forces water sideways behind step flashing or up under counter-flashing. It’s rarely a glazing issue. You’ll need to remove shingles and inspect the entire flashing system, not just recaulk the frame.
Is my skylight covered by homeowner’s insurance?
Most policies cover sudden, accidental water damage—but not gradual deterioration or maintenance neglect. If the leak stems from failed flashing due to poor original installation, your builder’s warranty (if still active) or the skylight manufacturer’s warranty may apply. Document everything with dated photos before repairs.
Should I replace the whole skylight instead of fixing it?
Consider replacement if: the unit is pre-2005 (lacking modern low-E coatings and thermal breaks), you’ve repaired it three times in five years, or energy bills have spiked noticeably. Modern units like VELUX or Sun Tunnel models cut heat loss by up to 40% versus older stock. See our skylight replacement cost guide for budget planning.
What’s the best time of year to fix it?
Early fall is ideal—temperatures are stable, humidity is low, and roofing materials cure properly. Avoid winter (sealants won’t adhere below 40°F) and midsummer (heat softens asphalt shingles and causes premature sealant slump). Spring works, but watch for extended rain windows.
A properly maintained skylight adds light, value, and joy—not headaches. Treat the first drip as urgent, not incidental. Most leaks are solvable with modest tools and 2–3 hours on the roof, but skipping flashing inspection or using the wrong sealant guarantees recurrence. When in doubt, get a second opinion—especially before cutting into drywall or tearing off shingles. And remember: every minute of ignored leakage multiplies repair costs tenfold down the line.