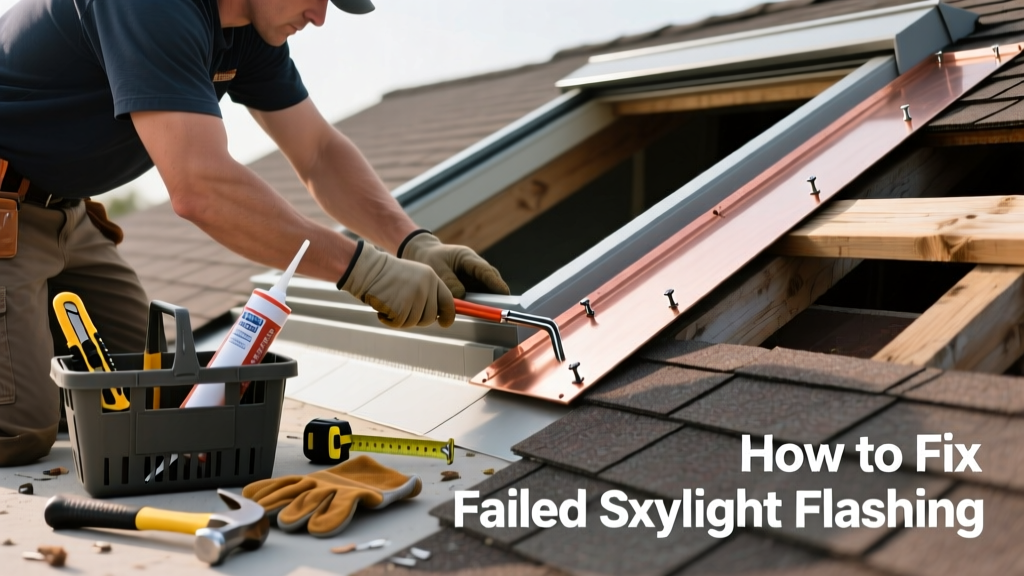
If you’ve spotted water stains on your ceiling near a skylight—or worse, active dripping during rain—you’re likely dealing with failed flashing. This isn’t just cosmetic: 62% of skylight-related water damage stems from improper or deteriorated flashing, according to the National Roofing Contractors Association’s 2022 Field Survey.
Quick Diagnosis
Before grabbing tools, confirm the issue isn’t something simpler—like a cracked glazing unit or clogged weep holes. Failed flashing typically shows these signs:
- Visible gaps, rust, or corrosion where metal meets roof deck or shingles
- Black streaks or white mineral deposits tracing down from the skylight frame
- Soft, spongy roof decking around the skylight perimeter
- Water pooling in the flashing pan (if present) after light rain
Tools & Materials Needed
| Item | Purpose | Estimated Cost |
|---|---|---|
| Roofing cement (butyl-based) | Seals minor gaps and adheres new flashing tape; stays flexible in temperature swings | $8–$12 |
| Step flashing kit (aluminum or galvanized steel) | Replaces corroded or misaligned pieces; matches standard roof pitch and shingle exposure | $25–$45 |
| 3-inch roofing nails (ring-shank) | Secures flashing without backing out due to thermal expansion | $4–$7 |
| Roofing tear-off shovel | Removes damaged shingles and old flashing without gouging underlayment | $18–$28 |
| Flashing tape (self-adhesive, 6-inch wide) | Creates secondary waterproof barrier beneath new step flashing | $15–$22 |
Step-by-Step Fix
Fixing failed flashing requires careful layering and sequencing. These three methods cover most residential scenarios:
- Minor gap repair (no shingle removal): Clean debris and old caulk from the seam, dry thoroughly, then apply butyl roofing cement under pressure into gaps. Top with UV-resistant flashing tape overlapped 2 inches beyond each side.
- Partial reflash (1–3 courses of shingles affected): Remove shingles above and beside the skylight. Install new step flashing, embedding each piece under the shingle course above and over the one below. Seal nail heads with cement.
- Full reflash (corroded base flashing or rotted deck): Strip all shingles within 24 inches of the skylight. Replace damaged underlayment and any soft decking. Install continuous base flashing first, then step flashing, then counter-flashing locked into the skylight curb’s flange.
When to Call a Pro
Some situations demand licensed expertise—not just for safety, but code compliance and warranty protection:
- The skylight curb is warped, cracked, or no longer level (requires structural assessment)
- You find >12 inches of rotted roof deck or moisture-damaged framing
- Your roof has multiple layers of old shingles—tearing them off may violate local building codes
- The skylight is over a cathedral ceiling with no attic access (leak path is hidden and hard to verify)
"More than 70% of DIY skylight flashing repairs fail within 18 months if the original base flashing wasn't removed and replaced—not just patched," says roofing engineer Maria Chen in the Journal of Building Enclosure Design, 2021.
Prevention Tips
Extend your skylight’s service life by addressing vulnerabilities early:
- Inspect flashing twice yearly—spring and fall—with binoculars and a moisture meter
- Clear debris from skylight weep holes and flashing pans every 3 months
- Replace asphalt-based sealants every 5 years—even if they look intact
- Install snow guards on steep roofs to prevent ice damming that stresses flashing seams
Can I use silicone caulk instead of roofing cement?
No. Standard silicone lacks UV resistance and becomes brittle in freeze-thaw cycles. It also doesn’t bond well to aged asphalt shingles or oxidized metal. Use only ASTM D4586-compliant roofing cement or self-adhesive flashing tape designed for roof applications.
How long does a proper flashing repair last?
A full reflash with quality materials and correct installation lasts 15–20 years—matching the lifespan of most architectural shingles. Patch-only fixes rarely exceed 3–5 years, especially on south-facing skylights exposed to intense UV.
Do I need to replace the entire skylight if flashing failed?
Not necessarily. Flashing failure is usually independent of the skylight unit itself—unless water intrusion has caused fogging between panes, warping of the frame, or sealant degradation at the glazing perimeter. Check the unit’s warranty: many manufacturers void coverage if flashing wasn’t installed per their specs.
Is roof pitch important when choosing flashing?
Yes. Step flashing must match your roof’s slope. A 4:12 pitch needs shallower bends than an 8:12. Using mismatched flashing creates gaps that channel water behind the metal. Always verify pitch before ordering—measure vertical rise over 12 inches horizontal run.
Can I install flashing in cold weather?
Below 40°F, butyl cement stiffens and loses adhesion. Self-adhesive flashing tape requires surface temps ≥45°F for proper bonding. If working in cool conditions, warm the metal flashing with a heat gun (not open flame) and store tape indoors for 24 hours before use.
What’s the difference between step and counter-flashing?
Step flashing runs horizontally along the roof, interwoven with shingles. Counter-flashing is vertical—it tucks into the skylight curb’s flange or wall and overlaps the top edge of the step flashing. Both are required for a complete system; missing either creates a leak path.
Fixing failed skylight flashing isn’t glamorous—but it’s one of the highest-impact repairs you can do for long-term roof health. A clean, layered flash job keeps water out, preserves insulation value, and protects your home’s structural integrity far more effectively than any interior patch or dehumidifier. For guidance on related issues, see our guides on roof leak detection and partial shingle replacement.