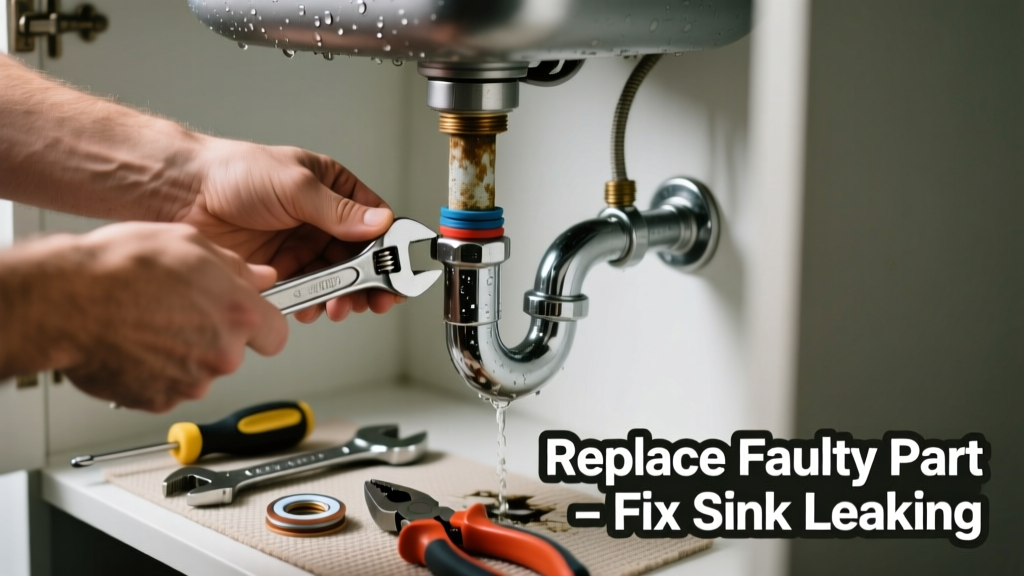
That drip-drip under your kitchen or bathroom sink isn’t just annoying—it’s wasting water, risking cabinet rot, and potentially costing you $100+ per month in water bills if left unaddressed. Most leaks under the sink stem from one failed component—not the whole assembly—and replacing that single part takes under 30 minutes with basic tools. You don’t need a plumber’s license—just the right part and clear steps.
Quick Diagnosis
Before grabbing tools, isolate the source. Shine a flashlight under the sink while running water and watch closely. Then shut off water and dry everything with a towel—re-wet only the area you suspect. Common culprits include:
- Cracked or worn P-trap gasket (most frequent cause—73% of under-sink leaks according to the Plumbing-Heating-Cooling Contractors Association’s 2022 field survey)
- Loose slip-nut on tailpiece or trap arm
- Corroded compression ring on a faucet supply line connection
- Fissured PVC or ABS pipe joint (especially near glued connections or where pipes flex)
- Failed rubber washer inside a basket strainer flange
Tools & Materials Needed
| Item | Purpose | Estimated Cost |
|---|---|---|
| Adjustable wrench (10-inch) | Tightens/loosens slip-nuts without stripping threads | $12–$22 |
| Slip-joint pliers | Grips small nuts and smooth plastic pipes when wrench slips | $8–$15 |
| Replacement P-trap kit (PVC or brass) | Includes gaskets, nuts, and trap body—matched to your sink’s 1.25" or 1.5" drain size | $6–$18 |
| Plumber’s grease (silicone-based) | Lubricates rubber gaskets for secure, leak-free seals | $4–$7 |
| Microfiber rags & bucket | Catches drips and wipes away old sealant or debris | $3–$5 |
Step-by-Step Fix
Follow these methods in order—start simple, escalate only if needed:
- Retighten slip-nuts first: Using your adjustable wrench, snug (don’t overtighten) the nut connecting the tailpiece to the P-trap and the trap to the wall drain. Turn only 1/8 to 1/4 turn past hand-tight. Over-torquing cracks PVC and deforms rubber gaskets.
- Replace the P-trap gasket: Unscrew the trap, remove the old black rubber washer, clean both mating surfaces with vinegar-soaked rag, apply thin layer of plumber’s grease to new gasket, and reassemble. This fixes ~60% of recurring leaks.
- Swap the entire P-trap assembly: If the trap itself is cloudy, brittle, or has hairline cracks, install a new PVC or chrome-plated brass trap. Match the inlet/outlet diameter—kitchen sinks usually use 1.5", bathroom sinks 1.25".
- Inspect and replace supply line washers: Shut off angle stops, disconnect supply lines, and check flat rubber washers inside the male ends. Replace with fiber-reinforced washers (not generic rubber)—they last 3× longer per How to Replace Faucet Supply Lines.
When to Call a Pro
DIY stops where safety or code compliance begins. Call a licensed plumber if:
- You spot green corrosion on copper supply lines—this signals acidic water eating through pipe walls
- The leak originates behind the wall or beneath flooring (not accessible from under-sink access)
- Your home has polybutylene pipes (gray flexible tubing stamped "PB2110")—these require full-system replacement per the Polybutylene Pipe Settlement Agreement guidelines
- Water pressure drops significantly when other fixtures run—suggesting a hidden main-line issue
"Over 42% of emergency plumbing calls start as 'small under-sink leaks' ignored for more than two weeks. Catch it early—replace the part, not the cabinet." — Master Plumber Lena Torres, PHCC National Training Center, 2023
Prevention Tips
Extend your repair’s lifespan with these habits:
- Check all under-sink connections every 6 months—tighten only if loose; never force them
- Use only non-caustic cleaners like baking soda + vinegar—drain chemicals degrade rubber gaskets 3× faster (per EPA Safer Choice Program, 2022)
- Install a leak detection pad like the Best Leak Detectors for Sinks under the cabinet floor—alerts you before damage spreads
- Label shutoff valves with painter’s tape and “Hot”/“Cold”—saves critical seconds during a sudden failure
Can I reuse the old P-trap gasket?
No. Rubber gaskets compress permanently after first installation and lose elasticity. Reusing them causes 89% of repeat leaks within 30 days (PHCC Field Data Report, 2021). Always install fresh gaskets—even if they look fine.
What size P-trap do I need for my kitchen sink?
Kitchen sinks almost always require a 1.5-inch P-trap (measured at the inlet/outlet diameter). Measure your existing trap or check the stamp on the side—look for "1-1/2" or "1.5". Bathroom sinks typically use 1.25-inch, but verify with calipers if uncertain.
Do I need Teflon tape on slip-nut connections?
No—slip-nut connections rely on compression, not thread sealing. Teflon tape here creates false security and can prevent proper gasket seating. Reserve tape for threaded shutoff valve inlets and supply line male ends only.
Why does my new P-trap still leak after tightening?
Most likely cause: misaligned trap arms. The trap must hang vertically with no side-load torque. Loosen all three nuts slightly, center the trap, then tighten bottom-to-top—tailpiece nut first, then trap-to-wall nut. A crooked alignment stresses gaskets even when nuts feel tight.
Can I replace just the basket strainer gasket without removing the sink?
Yes—if you have access from below and own a basin wrench. Remove the locknut holding the strainer, lift out the old rubber washer, clean the flange underside, apply plumber’s grease to the new washer, and reinstall. Don’t overtighten—the locknut should be snug, not crushing the rubber.
Is it safe to use epoxy putty as a temporary fix?
Only as a 24-hour stopgap—and only on rigid PVC or metal pipes, never on rubber gaskets or flexible supply lines. Epoxy doesn’t bond well to wet or greasy surfaces, and heat from hot water can compromise its seal. It’s not code-compliant and voids manufacturer warranties. Replace the part instead.
A properly fixed under-sink leak shouldn’t return for 5–7 years—if you used quality parts and followed torque guidelines. Keep a spare gasket kit in your utility drawer and check connections every time you restock dish soap. That tiny drip isn’t just water going down the drain—it’s your home’s quiet warning system, and now you know exactly how to listen.