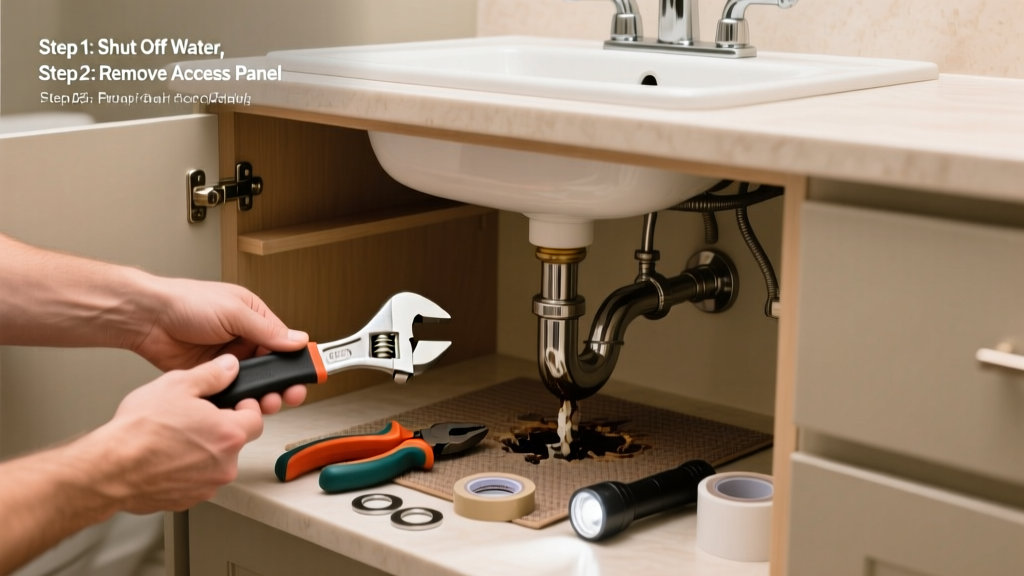
That slow drip under your bathroom sink isn’t just annoying — it’s wasting water, risking drywall damage, and potentially growing mold behind the cabinet. A 2023 study by the U.S. EPA found that household leaks waste over 1 trillion gallons of water annually; bathroom sink leaks account for nearly 22% of that total. The good news? Most are fixable in under an hour with basic tools.
Quick Diagnosis
Before grabbing tools, identify the source. Turn on both hot and cold water, then run your hand (or a dry paper towel) along every connection point while watching for wetness:
- Loose slip-nut connections at the tailpiece, P-trap, or drainpipe
- Cracked or warped plastic P-trap or tailpiece (common with older ABS or PVC)
- Deteriorated rubber washers or gaskets inside the pop-up assembly
- Corroded metal compression nuts or galvanized pipe threads
- Leak at the faucet shutoff valve connection (especially if dripping only when valves are open)
Tools & Materials Needed
| Item | Purpose | Estimated Cost |
|---|---|---|
| Adjustable wrench | Tightens or loosens slip nuts without stripping threads | $12–$25 |
| Channel-lock pliers | Provides extra grip on corroded or stubborn nuts | $10–$20 |
| Plumber’s putty or silicone sealant | Seals flange joints and reseats pop-up assemblies | $3–$8 |
| Replacement P-trap kit (PVC) | Includes trap, tailpiece, washers, and nuts — pre-matched for compatibility | $8–$15 |
| Flashlight & small mirror | Helps spot hidden drips and inspect tight spaces under sink | $5–$12 |
Step-by-Step Fix
Choose the method based on your diagnosis. Most leaks respond to one of these three approaches:
- Tighten slip-nut connections: Place a towel beneath the P-trap to catch residual water. Use an adjustable wrench to snug (not overtighten) each slip nut — start at the tailpiece-to-P-trap joint, then the P-trap outlet, then the wall drain arm. Test with water flow for 60 seconds.
- Replace worn washers or gaskets: Disassemble the pop-up lever mechanism and inspect the rubber gasket where the lift rod meets the pivot ball. Replace if flattened, cracked, or brittle. Also swap out the large rubber washer under the sink flange if water appears around the drain opening.
- Swap out the entire P-trap: If the trap shows hairline cracks or cloudy discoloration (signs of PVC degradation), shut off water, place a bucket, loosen all connections, and install a new PVC P-trap kit. Hand-tighten first, then give each nut a quarter-turn with the wrench — overtightening causes stress fractures.
When to Call a Pro
Don’t risk flooding or structural damage if you see any of these red flags:
- Water pooling on the floor or staining the ceiling below — indicates a leak upstream of the visible piping
- Galvanized steel supply lines older than 20 years showing rust or pitting (corrosion often extends beyond visible areas)
- Leak originating from the wall behind the sink — may involve a failed solder joint or damaged supply line within framing
- No water pressure after tightening — suggests a dislodged washer blocking the line or internal valve failure
"Over 68% of DIY plumbing repairs fail within 6 months when compression fittings are overtightened — proper torque matters more than force." — Plumbing Standards Institute, Residential Leak Prevention Manual, 2022
Prevention Tips
Maintain your sink plumbing like you maintain your car — small checks prevent big problems:
- Inspect all visible connections every 4 months using a flashlight and dry rag
- Replace rubber washers and gaskets every 2–3 years, even if no leak is present
- Avoid harsh chemical drain cleaners — they degrade PVC and corrode metal parts faster than enzymatic alternatives
- Turn shutoff valves on/off once per year to prevent seizing (do this slowly and fully)
Can I use bleach on this?
No. Bleach accelerates corrosion of brass and chrome-plated parts and degrades rubber gaskets. It also reacts dangerously with ammonia-based cleaners sometimes left in traps. Use white vinegar and baking soda for safe cleaning instead — how to clean bathroom drains naturally.
Why does my sink leak only when I use the hot water?
This usually points to thermal expansion stressing a weak joint — most commonly the hot supply line’s compression nut or the faucet’s internal cartridge seal. Check the hot shutoff valve connection first, then test the faucet handle base for moisture when hot water runs.
Is plumber’s tape necessary for sink drain parts?
No — Teflon tape is designed for threaded pipe joints (like supply lines), not slip-joint connections. Using it on slip nuts can cause misalignment and uneven pressure, leading to leaks. Stick to manufacturer-recommended rubber washers and proper hand-tightening.
How tight should slip nuts be?
Snug by hand, then tighten no more than ¼ to ½ turn with a wrench. Over-tightening warps plastic parts and crushes rubber washers — the #1 cause of repeat leaks. If water still escapes, the washer is likely damaged or improperly seated.
Can I replace just the tailpiece without removing the whole drain?
Yes — if the leak is isolated to the tailpiece-to-flange joint, unscrew the locknut under the sink, lift out the old tailpiece, apply fresh plumber’s putty under the flange, and reinstall. Be sure the flange sits flush before tightening — gaps here cause persistent drips. See our guide on replacing a bathroom sink drain flange for full details.
What’s the average repair time for this fix?
Most straightforward slip-nut or washer replacements take 25–45 minutes, including cleanup and testing. Complex cases involving corroded galvanized pipes or wall-embedded leaks average 2–4 hours — and those belong to licensed professionals.
A bathroom sink leak under the cabinet isn’t just a nuisance — it’s a warning sign your plumbing is aging or stressed. Catching it early means avoiding $300+ in water damage restoration and keeping your vanity dry and mold-free. Keep a small toolkit under the sink, check connections seasonally, and remember: when in doubt about wall or supply-line leaks, call a licensed plumber — it’s cheaper than replacing soaked subflooring.