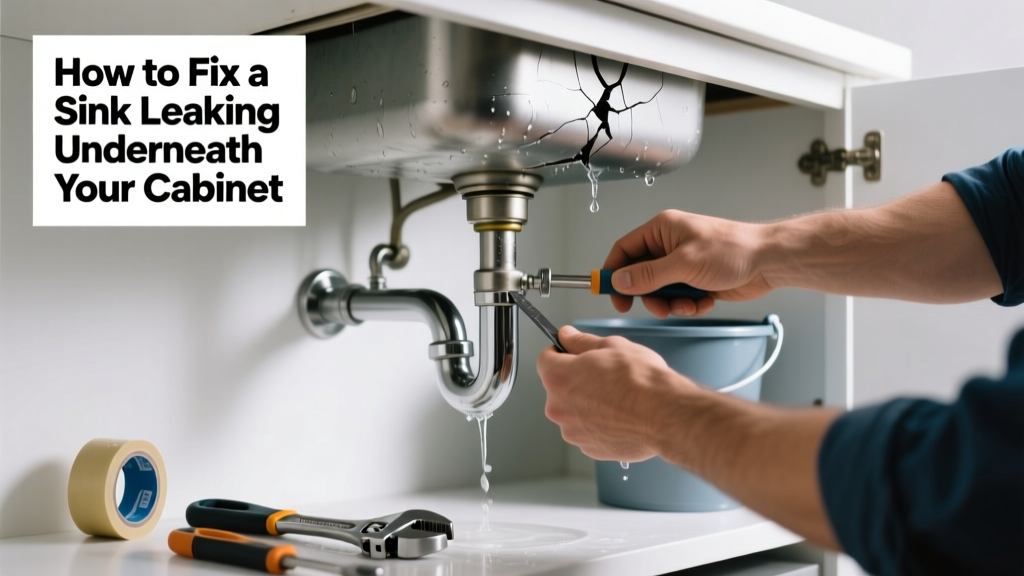
That slow drip under your kitchen or bathroom sink isn’t just annoying—it’s wasting water, risking wood rot, and potentially costing you $100+ per year in water bills. Most leaks under the sink are fixable in under an hour with basic tools and a little patience. Let’s stop the drip—and keep your cabinet dry.
Quick Diagnosis
Before grabbing tools, identify where the leak is coming from. Common sources include:
- Loose or corroded slip-nut connections on P-trap or tailpiece
- Cracked or warped PVC or ABS drain pipe joints
- Worn-out rubber washers in compression fittings
- Failed plumber’s putty or silicone seal around the sink flange
- Pinhole corrosion in old galvanized supply lines (less common but serious)
Tools & Materials Needed
| Item | Purpose | Estimated Cost |
|---|---|---|
| Adjustable wrench | Tightens or loosens slip nuts without stripping threads | $12–$25 |
| Channel-lock pliers | Grips stubborn or rounded-off nuts; better leverage than wrench alone | $10–$22 |
| Replacement washers (neoprene or fiber) | Seals compression fittings—match size to your drain assembly | $2–$5 |
| Plumber’s tape (Teflon tape) | Creates watertight seal on threaded supply line connections | $3–$6 |
| Small bucket & towels | Catches residual water and prevents cabinet flooding during disassembly | $0–$8 |
Step-by-Step Fix
Start with the easiest fixes first—most leaks are solved before you even reach for sealant.
- Shut off water supply: Locate shutoff valves under the sink (hot/cold), turn clockwise until tight. Open faucet to relieve pressure.
- Dry and inspect: Wipe all connections with a towel. Place bucket under P-trap, then gently loosen slip nuts with wrench—watch for drips as you go.
- Re-seat and tighten: If leak is at P-trap or tailpiece joint, hand-tighten slip nut, then give it a ¼-turn with wrench. Don’t overtighten—this cracks plastic or deforms washers.
- Replace worn parts: If tightening doesn’t stop it, remove the fitting, inspect rubber washer for flattening or cracking, and swap in a new one. For metal-to-metal joints (e.g., basket strainer), reapply fresh plumber’s putty before reinstalling.
- Test thoroughly: Turn water back on slowly, run both hot and cold for 2 minutes, then check every joint with dry paper towel—dampness = still leaking.
When to Call a Pro
DIY has limits—and safety comes first. Call a licensed plumber if you encounter any of these:
- Leak originates from behind the wall or inside floor joists (not visible from cabinet)
- You see green corrosion or white powdery residue on copper supply lines (sign of advanced electrolysis)
- Galvanized steel pipes are involved—cutting or threading them requires special tools and permits in many jurisdictions
- Water damage has softened subfloor or cabinet base—structural assessment is needed before repair
According to the Insurance Institute for Business & Home Safety's 2023 report, 68% of water damage claims linked to under-sink leaks involved delayed professional intervention after failed DIY attempts.
Prevention Tips
Stop future leaks before they start:
- Inspect under-sink connections every 6 months—look for moisture, discoloration, or mineral buildup
- Replace rubber washers every 3 years, even if no leak is visible
- Use only NSF-certified neoprene washers—not generic rubber—for drain assemblies
- Avoid harsh chemical drain cleaners—they degrade PVC seals and corrode metal threads over time
Can I use bleach to clean the area while fixing the leak?
No—bleach accelerates corrosion on brass, copper, and aluminum fittings and degrades rubber gaskets. Use white vinegar diluted 50/50 with water instead for safe cleaning and mineral deposit removal. Learn how to clean a P-trap safely.
Why does my sink leak only when I run hot water?
This often points to thermal expansion stressing a weak joint—especially at the hot supply line connection to the faucet or shutoff valve. Check for cracked solder joints or loose compression nuts that expand and contract with temperature shifts.
Is duct tape or epoxy a safe temporary fix?
Neither is safe or code-compliant. Duct tape fails under moisture and heat; epoxy may seal externally but hides ongoing corrosion or stress fractures. The U.S. EPA estimates that 14% of household water usage is from leaks—temporary fixes waste water and delay real solutions.
Do I need to replace the entire P-trap if it’s leaking?
Not usually. Over 90% of P-trap leaks come from loose slip nuts or degraded washers—not the trap itself. Replace only the faulty component unless the pipe shows visible cracks, warping, or heavy lime scale buildup that won’t clean off.
What’s the difference between a slip-joint washer and a compression washer?
Slip-joint washers (flat, beveled rubber) sit inside slip nuts on drains; compression washers (conical or flat fiber/neoprene) sit between threaded fittings like supply lines. Using the wrong type causes leaks—even if tightened properly. See when to use plumber’s putty vs. silicone.
How tight should I make the slip nuts?
Hand-tight plus ¼ to ½ turn with a wrench is ideal. Overtightening is the #1 cause of cracked PVC and deformed washers. If you hear cracking or see bulging plastic, back off immediately and replace the part.
A small leak today can become warped subfloor or mold growth in weeks—if you catch it early and act methodically, most under-sink leaks are simple, satisfying wins. Keep your tools organized, replace wear items proactively, and don’t hesitate to call a pro when the problem hides behind walls or beneath floors. Your cabinet—and your water bill—will thank you.