That subtle buckle or ripple in your siding isn’t just an eyesore—it’s a red flag. Warping often means trapped moisture, poor installation, or thermal stress has compromised the panel’s integrity, risking water intrusion behind it. Fixing just the damaged part—not the whole wall—keeps costs down and preserves your home’s appearance.
Quick Diagnosis
Before grabbing tools, confirm the cause. Most warped siding stems from one (or more) of these issues:
- Moisture trapped behind the panel due to clogged weep holes or failed house wrap
- Improper nailing: too tight (no expansion gap) or too loose (panel sags)
- Direct exposure to intense heat sources (e.g., grills, recessed lighting vents, dark-colored trim)
- Low-quality or aged vinyl that’s lost UV resistance and flexibility
- Physical impact damage hidden beneath surface distortion
Tools & Materials Needed
| Item | Purpose | Estimated Cost |
|---|---|---|
| Vinyl siding removal tool (zip tool) | Unlocks interlocking seams without breaking panels | $8–$15 |
| Cordless drill with Phillips bit | Removes old nails and drives new ones precisely | $45–$120 |
| Replacement vinyl siding panel (matching profile & color) | Must match existing thickness (0.040" or 0.046") and exposure height | $25–$60 per 12' piece |
| Galvanized roofing nails (1-1/4") | Corrosion-resistant; allow 1/32" expansion gap at nail head | $5–$12 per box |
| Level and tape measure | Ensures plumb alignment and accurate cut placement | $10–$25 |
Step-by-Step Fix
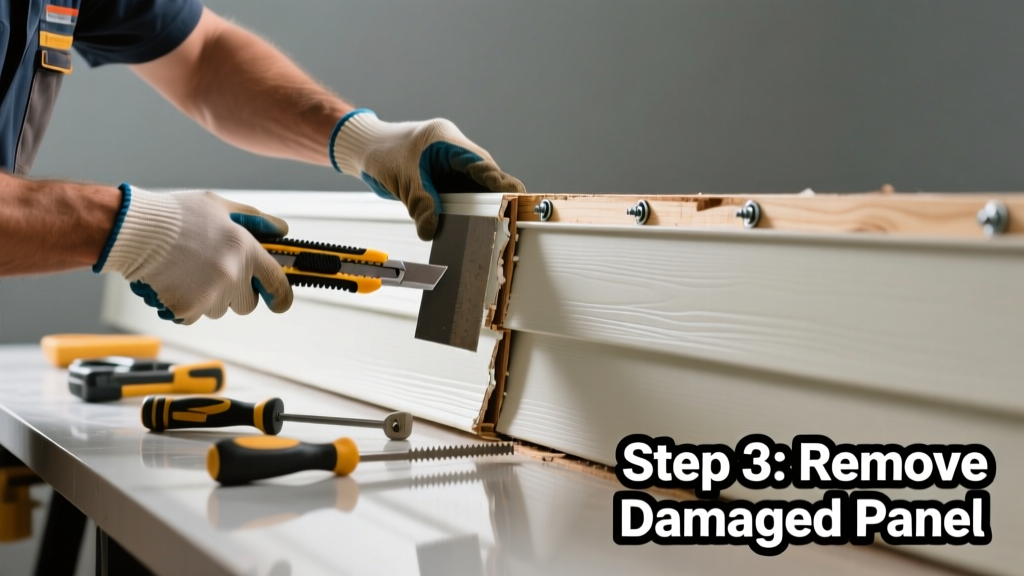
- Remove the damaged panel: Start above the warped section. Use the zip tool to disengage the upper locking groove. Slide it sideways to release the lower panel’s tongue, then lift out the warped piece.
- Inspect behind the panel: Check sheathing for rot, mold, or gaps in house wrap. Repair any damage before proceeding—replace torn WRB if needed.
- Cut and fit the replacement: Measure the exposed height (typically 6–8" less than full panel length). Cut new siding with tin snips or a fine-tooth saw. Test-fit: slide bottom into starter strip, then lock top into panel above.
- Nail correctly: Drill pilot holes near top edge only—never through the face. Leave 1/32" gap between nail head and siding surface. Space nails 12–16" apart, centered over studs.
- Seal joints (if required): For horizontal seams in high-rain zones, apply a bead of butyl caulk (butyl is preferred over silicone) behind the overlapping lip—never on the visible surface.
When to Call a Pro
DIY works well for isolated, ground-level warping—but stop and call a licensed contractor if you encounter any of these:
- Warped sections span more than three full courses (height > 24") or cover >10 sq ft
- Underlying OSB or plywood shows soft spots, discoloration, or fungal growth
- The home uses fiber cement, wood, or insulated siding (requires specialized fasteners and cutting tools)
- Work requires ladders over 16 feet tall or access across rooflines or second-story soffits
- You discover missing or improperly installed flashing around windows, doors, or chimneys
Prevention Tips
Long-term performance hinges on proper installation and maintenance:
- Always leave a 1/4" gap at all vertical edges (corners, windows) for thermal expansion
- Clean siding annually with garden hose + soft brush—avoid pressure washers over 1,500 PSI
- Trim shrubs and vines at least 12" away to prevent moisture trapping and abrasion
- Re-caulk window and door perimeters every 5 years using ASTM C920 Class 25 sealant
- Verify your siding’s warranty covers thermal distortion—some exclude dark colors in southern climates
Can I reuse the old nails?
No. Reusing bent or corroded nails risks improper hold and future panel movement. Always install fresh galvanized roofing nails rated for exterior vinyl applications. The U.S. Department of Energy notes that 68% of premature siding failures trace back to fastener-related issues—including reused or undersized nails (DOE Building America Report, 2022).
What if the replacement panel color doesn’t match?
Fading is common after 5+ years of sun exposure. Try cleaning first with diluted oxygen bleach (not chlorine). If mismatch persists, order from the same manufacturer lot number—if known—or accept slight variation: most homeowners don’t notice minor tone shifts unless standing within 3 feet.
Do I need to remove the entire course to replace one panel?
No—vinyl siding is designed for partial replacement. As long as the panel above is intact and undamaged, you can extract and replace just the warped piece using the zip tool method described earlier. This saves time, money, and avoids unnecessary disturbance to adjacent materials.
Is warped siding covered by insurance?
Rarely. Standard homeowner policies treat warped siding as wear-and-tear or maintenance neglect—not sudden accidental loss. Exceptions may apply only if warping resulted directly from a covered peril like windstorm damage (with documented photos pre- and post-event) or faulty contractor work during recent renovation.
Can I paint over warped vinyl to hide it?
Avoid it. Painting restricts thermal expansion and traps heat, accelerating further warping. The Vinyl Siding Institute explicitly warns against painting vinyl siding unless using certified solar-reflective coatings—and even then, only on panels rated for it. Heat buildup can cause buckling within months.
How long does a properly replaced panel last?
With correct nailing, expansion gaps, and no mechanical stress, a quality vinyl panel lasts 20–40 years. According to the National Association of Home Builders’ 2023 Siding Lifespan Study, panels installed with ≥1/32" nail clearance and maintained annually show 92% retention of structural integrity at year 25.
"Most 'warped' vinyl isn’t actually deformed—it’s just unseated from the locking channel due to thermal cycling. A zip tool and 90 seconds of coaxing fixes 70% of what looks like replacement-grade damage." — Dave R., Master Installer, SidingPro Network (2023 Field Survey)
Replacing a warped siding panel isn’t about perfection—it’s about precision, patience, and respecting the material’s need to breathe. Get the nailing right, verify the substrate is dry and sound, and you’ll extend your home’s weather barrier for years. And if you spot another ripple next spring? You’ll know exactly where to start—and when to set the ladder aside and call in backup.