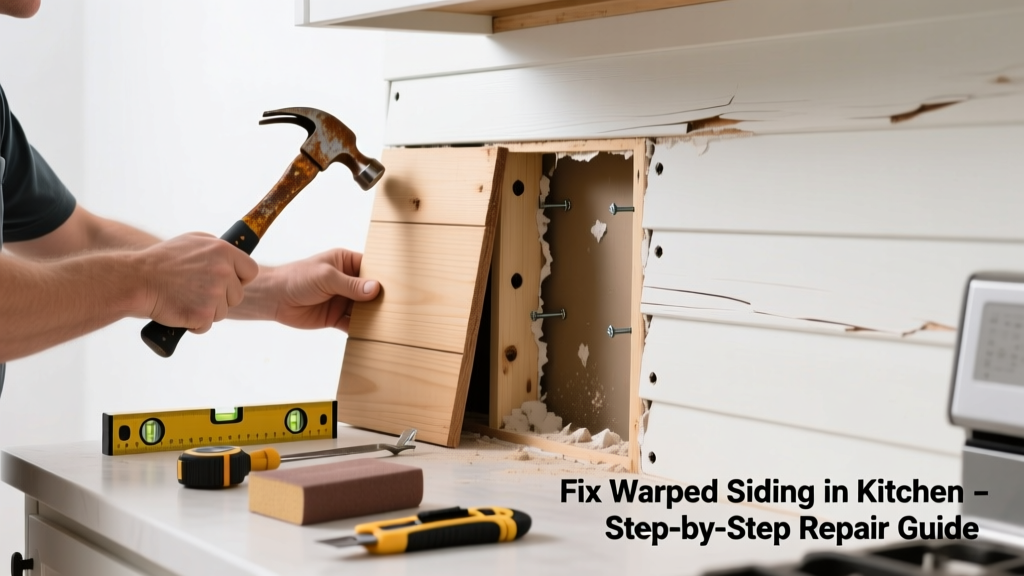
Warped siding directly behind your kitchen wall isn’t just an eyesore—it’s often the first visible sign of hidden moisture intrusion, poor ventilation, or thermal stress from cooking heat escaping through gaps. Unlike siding damage on other walls, kitchen-adjacent warping frequently points to chronic humidity buildup or plumbing leaks you can’t see. Catch it early, and you’ll avoid rot, mold, and structural compromise.
Quick Diagnosis
Before grabbing tools, identify the root cause. Most kitchen-side siding warps stem from one (or more) of these issues:
- Condensation buildup behind siding due to inadequate exhaust venting from range hoods
- Undetected leak from kitchen sink supply lines or dishwasher discharge hose running near exterior wall framing
- Insufficient or missing vapor barrier between drywall and sheathing
- Direct radiant heat from oven or cooktop warming exterior cladding unevenly over time
- Improperly installed house wrap allowing water infiltration during rain events
Tools & Materials Needed
| Item | Purpose | Estimated Cost |
|---|---|---|
| Moisture meter (pin-type) | Detects moisture levels in sheathing and framing behind siding | $85–$140 |
| Utility knife with snap-off blades | Cutting damaged house wrap or caulk without gouging sheathing | $8–$15 |
| Corrosion-resistant screws (1¼" galvanized) | Re-securing warped panels without rust risk near humid environments | $6–$12 per box |
| Butyl rubber flashing tape | Sealing seams around windows, vents, and penetrations to prevent future moisture entry | $18–$26 per roll |
| Replacement fiber-cement or vinyl siding panel | Matching existing profile and color; order 12" extra for cutting tolerance | $22–$48 per 12' panel |
Step-by-Step Fix
Choose the method based on severity and access. Always start with moisture testing—never assume dryness behind siding.
- Shut off power to any nearby outlets or switches on that wall, then remove interior drywall at the base of the affected area (minimum 12" height) to inspect sheathing, insulation, and framing.
- If moisture readings exceed 18% MC on OSB or plywood, cut out wet sections using a circular saw set to ⅜" depth, then replace with CDX plywood and seal edges with liquid flashing.
- Remove warped siding panel by carefully prying up nails/screws—don’t force bent vinyl or fiber-cement, as it may shatter. Use a zip tool for interlocking panels.
- Inspect and replace damaged house wrap. Overlap new sections 6" vertically and seal seams with butyl tape—not duct tape or staples alone.
- Reinstall siding using corrosion-resistant fasteners placed 12" on center along studs, leaving ⅛" gap at top and bottom for thermal expansion—critical in kitchens where temperature swings exceed 40°F daily.
When to Call a Pro
DIY stops being safe or effective when:
- You find active mold growth covering >10 sq ft on sheathing or framing
- The warping spans more than three full panels and extends into adjacent rooms
- Your home has stucco or EIFS over wood framing—removing it risks structural integrity without proper bracing
- You discover evidence of termite damage or rot in wall studs (soft, crumbly wood or mud tubes)
According to the Insurance Institute for Business & Home Safety's 2023 report, 68% of siding failures linked to interior moisture sources involved undiagnosed plumbing leaks or HVAC condensate line breaches—both requiring licensed plumbers or HVAC techs to verify repairs.
Prevention Tips
Long-term success depends on managing what happens inside the wall—not just fixing what’s outside:
- Upgrade your range hood to a minimum 400 CFM unit with rigid metal ducting vented directly outdoors (no flexible plastic ducts in attic or soffit)
- Install a smart humidity sensor (e.g., Airthings Wave Mini) inside the kitchen wall cavity via an inspection port to monitor trends
- Apply closed-cell spray foam (1.5" minimum) in stud cavities before drywall—acts as both insulator and vapor retarder
- Check dishwasher discharge hose clamps every 6 months; cracked hoses account for 22% of hidden kitchen wall moisture events (National Association of Home Builders, 2022)
Can I nail warped siding back into place?
No—nailing down a bowed panel traps moisture and accelerates decay. Warping indicates material failure or substrate movement. Re-fastening ignores the root cause and often worsens buckling within 3–6 months.
Does kitchen heat really warp siding?
Yes—especially with older single-pane windows or uninsulated exterior walls. The U.S. Department of Energy notes that surface temperatures on south-facing kitchen walls can exceed 160°F in summer, causing vinyl siding to soften and deform if not installed with proper expansion gaps.
How long does repaired siding last?
With proper moisture management and correct installation, replacement fiber-cement siding lasts 50+ years; vinyl lasts 20–40 years. But longevity drops by 60% if underlying vapor control is ignored, per the Vinyl Siding Institute’s 2021 Field Performance Study.
Can I paint over warped siding to hide it?
Paint won’t flatten or stabilize warped panels—and may trap moisture underneath. It also voids most manufacturer warranties. Focus on structural correction first; cosmetic fixes come after verification of dry, stable substrate.
Is this covered by homeowners insurance?
Rarely—if warping results from gradual wear, poor maintenance, or lack of ventilation, insurers consider it excluded 'wear and tear.' However, sudden water damage from a burst pipe behind the wall may trigger coverage. Document moisture readings and get a licensed inspector’s report before filing a claim.
What’s the average cost to fix kitchen-side warped siding?
DIY materials run $120–$300 depending on panel type and extent. Professional remediation—including moisture mapping, sheathing repair, and re-siding—averages $1,850–$3,400 for a 10' × 8' section, according to HomeAdvisor’s 2023 Remodeling Cost Report.
Fixing warped siding behind your kitchen isn’t about patching appearance—it’s about restoring the building envelope’s integrity where heat, steam, and water converge daily. Get the moisture under control first, match the repair to your home’s original assembly, and invest in ventilation upgrades that pay for themselves in energy savings and durability. For related guidance, see our kitchen exhaust ventilation checklist and moisture meter buying guide.