That fluttering flap of vinyl near your garage door or the warped cedar board above your basement window isn’t just an eyesore—it’s a moisture and pest entry point waiting to happen. Left unaddressed, even one loose siding piece can lead to rot, mold, or structural damage behind the wall. The good news? Most partial replacements take under two hours and cost less than $75 in materials.
Quick Diagnosis
Before grabbing tools, confirm the issue isn’t just cosmetic. A loose section usually signals one (or more) of these underlying problems:
- Missing or corroded nails—especially common with older aluminum or wood siding
- Failed adhesive backing on insulated vinyl panels (common after 8–10 years)
- Cracked or brittle J-channel or starter strip from UV exposure or winter freeze-thaw cycles
- Warped substrate (sheathing or furring strips) due to water intrusion or poor ventilation
- Impact damage from ladders, lawn equipment, or hail that compromised interlocking seams
Tools & Materials Needed
| Item | Purpose | Estimated Cost |
|---|---|---|
| Zip Tool (siding removal tool) | Releases interlocking seams without breaking panels | $8–$15 |
| 16d galvanized ring-shank nails | Secure replacement panel; corrosion-resistant for exterior use | $6–$12 per box |
| Utility knife with snap-off blades | Cut excess flashing or trim; score caulk lines | $4–$9 |
| Level and 4-ft straightedge | Verify flatness before reinstallation; prevent buckling | $12–$28 |
| Replacement siding panel or trim piece | Must match profile, thickness, and color (check manufacturer batch codes) | $25–$65 |
Step-by-Step Fix
Follow this sequence whether you’re replacing a single vinyl lap panel, a fiber cement soffit trim, or a cedar corner post:
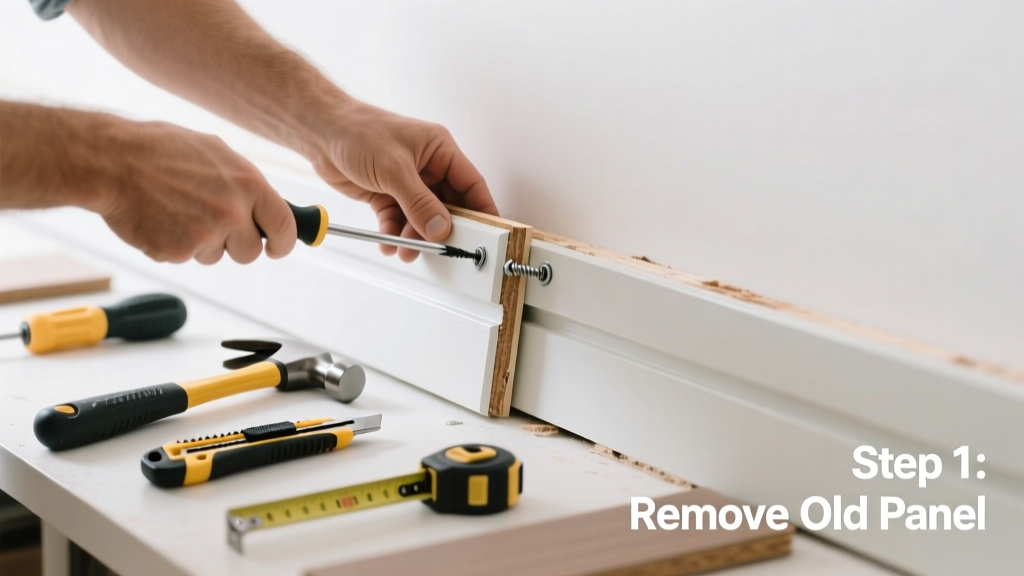
- Remove the damaged section: Use the zip tool to gently lift the locking edge of the panel above the loose piece. Work horizontally from one end, releasing each interlock until the panel slides out. For vertical siding, start at the bottom and lift upward.
- Inspect the substrate: Check sheathing for soft spots, mold, or insect tunnels. If rot exceeds 3 inches in any direction, cut out and replace the affected OSB or plywood with pressure-treated lumber.
- Install new underlayment (if needed): Apply self-adhesive flashing tape over seams or penetrations beneath the new panel—especially critical around windows or where old caulk failed.
- Slide in the replacement: Align the bottom nailing hem with the starter strip, then press the top lock into the panel above. Use a rubber mallet if resistance is high—never force it with metal tools.
- Secure and seal: Nail every 12 inches along the nailing hem, leaving 1/32" gap for thermal expansion. Seal all butt joints and nail heads with ASTM D5095-compliant acrylic-latex caulk—not silicone.
When to Call a Pro
DIY works well for isolated, accessible panels—but skip the wrench if you encounter any of these:
- The loose area covers more than three full panels or spans across a structural joint (e.g., roofline or foundation transition)
- You find evidence of hidden water damage behind >25% of the adjacent wall surface
- The siding is attached directly to foam insulation without furring strips (risk of improper fastener depth)
- Your home has stucco-over-siding or EIFS cladding—removing even one piece may compromise the entire drainage plane
"Over 62% of siding-related insurance claims stem from partial failures that were ignored for more than 18 months." — National Association of Home Builders Remodeling Impact Report, 2022
Prevention Tips
Extend the life of your repair—and avoid repeat issues—with these field-tested habits:
- Inspect all siding seams and fasteners twice yearly: once after winter thaw and again before fall rains
- Keep gutters clear within 3 feet of repaired sections—overflowing water accelerates substrate decay
- Never power-wash siding at angles <25° or pressures >1,500 PSI; it forces water behind panels
- Replace all fasteners with ring-shank or screw-type anchors when doing repairs—even if original nails appear intact
Can I reuse the old nails when reinstalling?
No. Reused nails lose up to 40% of their holding power after removal, especially if bent or corroded. Always install fresh galvanized or stainless-steel fasteners rated for your siding material and climate zone. For fiber cement, use corrosion-resistant screws with neoprene washers.
How do I match the color of my existing siding?
Take a clean, undamaged scrap (at least 4" x 4") to a local building supply store that carries your brand—James Hardie, CertainTeed, or Mastic often keep batch-specific color charts. If unavailable, use a spectrophotometer service (offered free at many Sherwin-Williams stores) to generate a custom tint formula for caulk or touch-up paint.
Do I need house wrap behind the new panel?
Yes—if the original wrap was damaged, torn, or omitted during prior installation. Install new WRB (water-resistive barrier) like Tyvek DrainWrap or Barricade Total Wrap, lapping each course 2 inches over the one below. Never staple through house wrap directly into sheathing—use cap staples or plastic-capped nails.
What’s the best caulk for siding seams?
Use only ASTM C920 Class 25 or 35 elastomeric caulk labeled for “exterior siding” and “paintable.” Avoid silicone—it prevents paint adhesion and degrades under UV exposure. Recommended brands include OSI Quad Max, GE Silicone II Premium, and DAP Alex Plus (for non-insulated vinyl).
Can I replace siding in freezing temperatures?
Not recommended below 20°F. Vinyl becomes brittle and prone to cracking; fiber cement absorbs moisture and freezes in place. If urgent, warm panels indoors for 24 hours before installation and use low-temp caulk rated down to -20°F (e.g., Tremco Spectrem 1LT).
How long should a properly installed replacement last?
A correctly installed vinyl or fiber cement panel lasts 25–40 years—matching the original system’s lifespan—provided fasteners are spaced properly and expansion gaps are maintained. Wood siding replacements require resealing every 3–5 years; refer to our wood siding maintenance schedule for timing.
A loose siding panel isn’t a small job you can ignore—it’s your home’s first line of defense showing early warning signs. Replacing just the damaged part gives you control over cost, timing, and quality, as long as you follow manufacturer specs and verify substrate integrity. And if you’re working near electrical conduits, gas lines, or second-story heights, don’t hesitate to call a licensed contractor—some risks aren’t worth the savings. For related guidance on matching fastener types, see our siding fastener guide and house wrap installation tips.