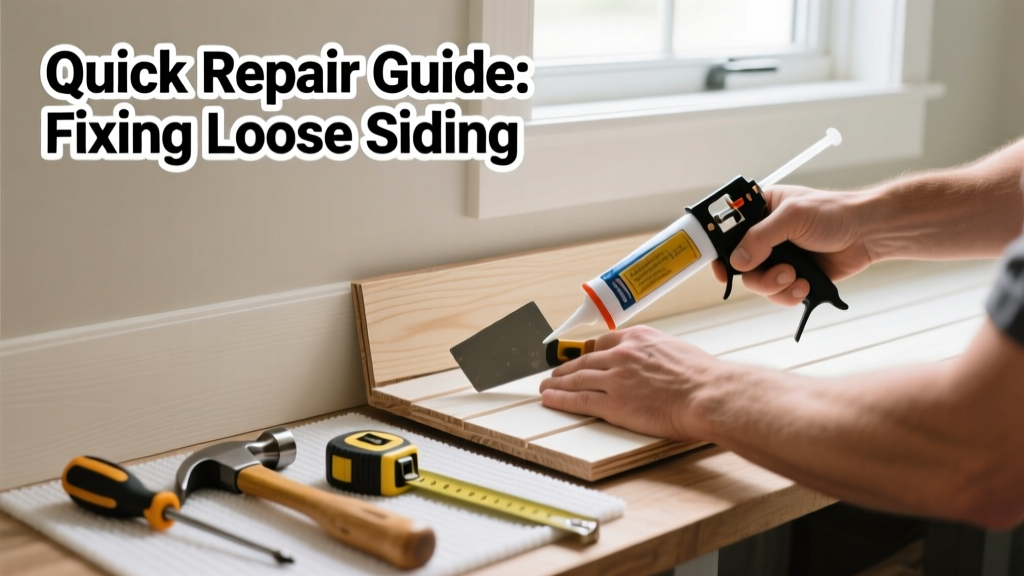
If you’ve spotted siding pulling away from your bathroom wall—or worse, sagging, bubbling, or discolored near the shower or tub—you’re likely dealing with moisture infiltration behind the surface. That’s not just cosmetic: it’s an early warning sign of rot, mold growth, or structural compromise. Acting fast prevents costly water damage and health hazards.
Quick Diagnosis
Loose siding in bathrooms rarely happens by accident. Here are the most common root causes:
- Chronic moisture exposure from poor ventilation or cracked caulk
- Rotted or deteriorated substrate (OSB, plywood, or drywall backing)
- Improper installation—nails driven too deep, missing adhesive, or no expansion gaps
- Temperature/humidity swings causing repeated expansion and contraction
- Hidden plumbing leaks behind the wall feeding moisture upward
Tools & Materials Needed
| Item | Purpose | Estimated Cost |
|---|---|---|
| Utility knife with fresh blades | Cutting away damaged material cleanly without tearing surrounding surfaces | $8–$15 |
| 3-in-1 pry bar | Gently lifting loose panels without cracking adjacent seams | $12–$22 |
| Construction adhesive (waterproof, ASTM C920) | Bonding siding back to sound substrate; must resist humidity and mildew | $10–$18 |
| Corrosion-resistant trim screws (1¼" stainless steel) | Securing panels where nails won’t hold due to substrate failure | $6–$12 |
| Moisture meter (pin-type) | Confirming substrate moisture content—anything above 15% indicates active rot | $45–$90 |
Step-by-Step Fix
Choose the method based on severity. Start with Method 1—if substrate is sound. Skip to Method 3 if you detect sponginess or discoloration behind the panel.
- Assess & Isolate: Turn off bathroom power at the breaker if working near outlets or lights. Use a moisture meter to test the substrate behind the loose area. If readings exceed 15%, proceed to Method 2 or 3.
- Re-adhere (Light Looseness): Clean dust and old adhesive from both panel back and substrate. Apply a continuous ¼" bead of waterproof construction adhesive every 6 inches. Press firmly, then clamp or weight for 24 hours.
- Re-fasten + Reinforce (Moderate Looseness): Drill pilot holes every 8 inches along the top edge and corners. Drive stainless steel trim screws—not nails—into solid framing or blocking. Seal screw heads with silicone caulk rated for wet areas.
- Replace Section (Severe Damage): Cut out the compromised panel using a utility knife and straightedge. Remove rotted substrate, replace with cement board or marine-grade plywood, then install new siding with proper flashing and seam sealant.
When to Call a Pro
DIY isn’t safe or effective in these situations:
- You find black, fuzzy mold deeper than surface staining—especially behind the substrate
- More than two adjacent panels are loose, suggesting systemic framing or moisture issues
- The loose area extends beyond the bathroom into hallways or adjacent rooms
- You detect a musty odor or hear hollow, damp-sounding taps when tapping walls
- Your home was built before 1980 and may contain asbestos-containing siding or adhesives
According to the Insurance Institute for Business & Home Safety's 2023 report, 68% of bathroom water damage claims involved delayed response to early signs like loose or discolored wall coverings—many of which could have been resolved with timely intervention before mold or rot took hold.
Prevention Tips
Stop recurrence before it starts:
- Run your bathroom exhaust fan for at least 20 minutes after every shower—and verify it vents outdoors, not into the attic
- Re-caulk all perimeter joints (siding-to-tub, siding-to-window) annually with 100% silicone or urethane-based sealant
- Install a hygrometer to monitor humidity—keep levels below 60% during peak use
- Add a vapor-permeable housewrap (e.g., Tyvek DrainWrap) behind new siding to manage moisture while allowing drying
Can I use bleach on the loose siding to kill mold?
No—bleach only kills surface mold and doesn’t penetrate porous materials like fiber-cement or wood-based siding. It also degrades adhesives and can corrode metal fasteners. Use a registered EPA antimicrobial solution like Concrobium Mold Control instead, and always address the moisture source first.
Will super glue or Gorilla Glue fix this permanently?
No. These adhesives aren’t designed for high-humidity, cyclic-load environments like bathrooms. They become brittle over time and lack the flexibility needed for thermal expansion. Only ASTM C920–rated construction adhesives provide long-term bond integrity in wet zones.
How do I know if the substrate is too rotten to repair?
Press a screwdriver tip into the substrate behind the loose panel. If it sinks in more than ⅛" with light pressure—or crumbles like wet cardboard—the material is compromised and must be replaced. Don’t rely on visual inspection alone.
Can I paint over loose siding to hide the problem?
Painting over loose or moisture-damaged siding traps vapor and accelerates decay. It also voids manufacturer warranties and makes future repairs harder. Always fix the cause and substrate first—then prime and paint with mold-resistant, 100% acrylic paint like Sherwin-Williams Duration Home.
Is vinyl siding appropriate for bathroom exterior walls?
Vinyl can work—but only if installed over properly vented, insulated sheathing with a rainscreen gap. Without that, trapped moisture condenses behind the panels. For bathroom-facing walls, fiber-cement or engineered wood with factory-applied moisture barriers perform more reliably.
Do I need a building permit to replace bathroom siding?
In most jurisdictions, yes—if you’re removing more than 25 sq ft of exterior cladding or modifying structural sheathing. Contact your local building department before starting. Permits ensure inspections catch hidden issues like inadequate flashing or missing WRB layers.
A loose bathroom siding panel is never just a small aesthetic flaw—it’s your home’s early alert system. Fixing it right means addressing moisture first, reinforcing thoughtfully, and sealing thoroughly. Ignoring it invites mold spores into your air, weakens structural integrity, and can cost thousands in remediation later. Take the time now to do it properly—and check adjacent walls while you’re at it. For related guidance, see our bathroom exhaust fan installation and how to caulk bathroom joints guides.