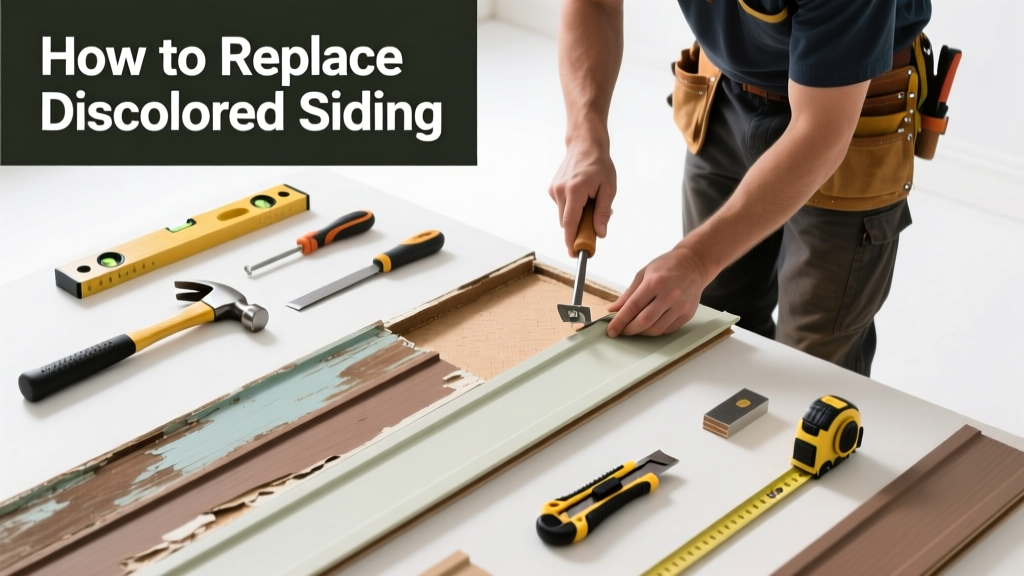
Discolored siding isn’t just an eyesore—it’s often the first sign of moisture intrusion, UV degradation, or biological growth hiding beneath the surface. If only one panel or section has faded, warped, or turned green or black while the rest looks fine, you likely don’t need a full re-siding job—just targeted replacement. This guide walks you through diagnosing the cause and swapping out the damaged part safely and correctly.
Quick Diagnosis
Before cutting anything, confirm why the discoloration occurred. Not all discoloration means replacement is needed—but some signs are red flags:
- Green or black streaks that won’t rinse off (likely algae or mold embedded in porous fiber cement or wood)
- White chalky residue that smears when rubbed (vinyl siding oxidation)
- Blisters, bubbling, or soft spots behind paint (moisture trapped behind improperly caulked joints)
- Cracks or splits near fasteners (impact damage or thermal expansion stress)
- Consistent discoloration aligned with roof drip line (repeated water exposure without proper flashing)
Tools & Materials Needed
| Item | Purpose | Estimated Cost |
|---|---|---|
| Zip Tool (siding removal tool) | Unlocks interlocking seams without damaging adjacent panels | $8–$15 |
| 16d Galvanized Ring-Shank Nails | Secure new panel; corrosion-resistant and grip better than smooth shank | $12–$18 per box (1 lb) |
| Utility Knife with Snap-Off Blades | Cut through caulk, trim, or backing paper during removal | $5–$10 |
| Level & Tape Measure | Ensure new panel aligns flush and plumb with surrounding course | $10–$25 |
| Replacement Siding Panel (same profile & color batch) | Match existing material—check manufacturer lot number on back of old panel | $25–$65 per 12-ft piece |
Step-by-Step Fix
Work from bottom to top—siding installs and removes in reverse order. Always wear safety glasses and gloves.
- Locate and mark fasteners: Use a magnet or stud finder to find nails securing the damaged panel and the two panels above it. Mark each location lightly with pencil.
- Remove upper panels first: Insert zip tool under the bottom edge of the panel directly above the damaged one. Slide horizontally to release the locking groove. Gently lift and unhook it. Repeat for the next panel up if needed to access the damaged piece.
- Cut and remove the damaged panel: Score along both vertical edges with utility knife, then snap or pry out the section. Avoid gouging sheathing underneath.
- Inspect substrate and flashing: Check for rot, rusted drip caps, or missing housewrap. Repair sheathing if soft; replace L-flashing above window/door headers if corroded.
- Install new panel: Slide bottom nailing hem into the course below. Align top edge with level, then nail every 12–16 inches—leaving 1/8" gap at top and sides for expansion. Reinstall upper panels in reverse order.
When to Call a Pro
Some situations go beyond DIY scope—even experienced homeowners should step back when:
- The discolored area spans more than three full courses or wraps around a corner
- You discover rotted OSB or plywood sheathing behind the siding during removal
- The home has stucco, EIFS, or brick veneer integrated with the siding system
- Roofline or soffit integration requires custom metal flashing or structural anchoring
- You’re replacing within 3 feet of electrical service entry or gas meter conduit
According to the National Association of Home Builders’ 2023 Exterior Cladding Safety Report, improper flashing installation contributes to 68% of premature siding failures—many requiring licensed weatherization contractors.
Prevention Tips
Extend the life of your repair—and avoid repeat discoloration—with these proven tactics:
- Rinse vinyl or fiber cement siding twice yearly with garden hose (no pressure washer above 1,200 PSI)
- Install gutter extensions that direct runoff at least 5 ft away from foundation and siding base
- Trim shrubs and vines to maintain 12-inch clearance from walls—reduces humidity and pest harborage
- Re-caulk all window and door perimeters every 5 years using ASTM C920 silicone sealant
- Record the manufacturer, product line, and lot number of your siding on your home maintenance log—critical for future matching
Can I use bleach on this?
No—never apply undiluted bleach or chlorine-based cleaners to vinyl, fiber cement, or wood siding. It degrades UV stabilizers in vinyl and leaches lignin from wood fibers. For algae/mold, use a 1:4 mix of oxygen bleach (sodium percarbonate) and water applied with a soft brush, then rinse thoroughly. Oxygen bleach breaks down organics without harming materials or nearby plants.
Will the new panel match my old siding’s color?
Only if you source it from the same manufacturer lot. Fading accelerates after 5–7 years of sun exposure, especially on south- and west-facing walls. Check the back of an existing panel for stamped lot numbers. If unavailable, contact the builder or manufacturer with your home’s build year and siding model—some keep archival color charts. Consider siding color matching tips for best results.
Do I need to replace the housewrap behind the panel?
Only if it’s torn, punctured, or saturated. Modern self-adhered WRBs like Grace Ice & Water Shield or DuPont Tyvek Commercial Wrap can stay in place if intact and properly lapped. However, if you see black mold spores on the wrap or visible water stains, cut out the compromised 2-ft section and overlap new wrap by 6 inches with manufacturer-recommended tape.
How long does the repair take?
A single 12-ft panel replacement takes most DIYers 2–3 hours—including prep, removal, inspection, and reinstall. Add 30 minutes per additional course removed. Factor in drying time if you’re applying primer or touch-up paint—most acrylic latex paints require 4 hours between coats and 24 hours before rain exposure. See our guide on ideal weather conditions for siding repair.
What if the discoloration returns in 6 months?
That signals an unresolved moisture source—not a material failure. Recheck grading, downspout placement, and HVAC condensate line discharge. According to the U.S. EPA, 14% of household water usage is from leaks—including unnoticed AC drain line overspray hitting siding. Also inspect for sprinkler heads angled directly at the wall; even low-pressure mist causes mineral buildup and algae over time.
Can I paint over discolored vinyl siding?
Technically yes—but not recommended. Vinyl expands and contracts significantly with temperature shifts. Standard acrylic paint will crack, peel, or blister within 12–18 months unless you use a certified vinyl-safe elastomeric coating like Sherwin-Williams VinylSafe. Even then, coverage is inconsistent on oxidized surfaces. Replacement remains the most durable, warranty-compliant solution.
Replacing a single discolored siding panel isn’t glamorous work—but it protects your home’s envelope, maintains curb appeal, and prevents small problems from ballooning into costly structural repairs. Take your time with alignment and flashing, document the lot number for future needs, and don’t skip the post-repair rinse-down. A clean, tight seam today means fewer headaches—and less frequent replacements—down the road. For related help, check out our guides on how to fix sagging gutters and siding nail popping fix.