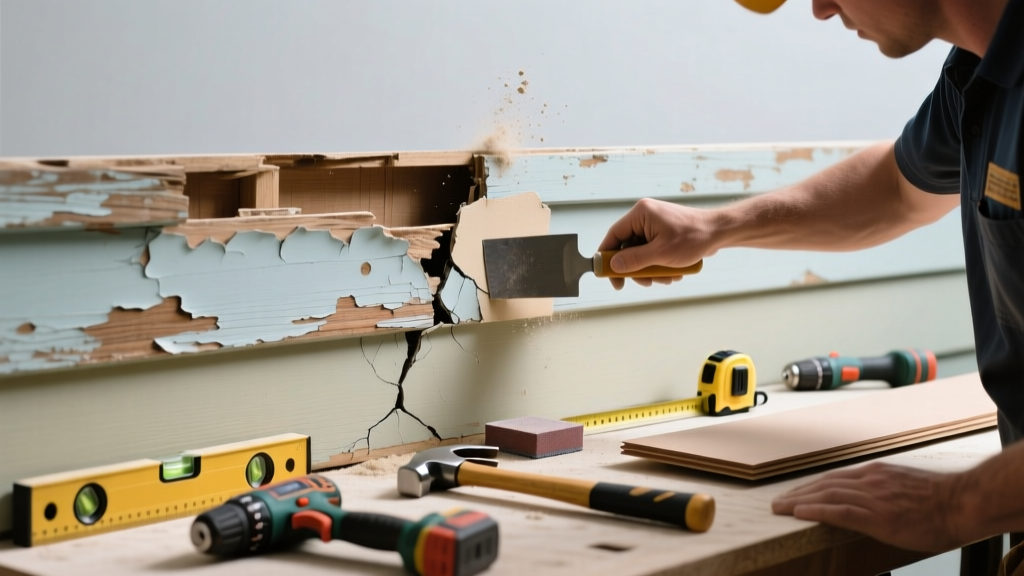
If your siding is both discolored and making popping, creaking, or rattling sounds—especially on warm days or during wind—it’s not just cosmetic. These symptoms often point to underlying structural or installation flaws that worsen over time. Ignoring them can lead to water intrusion, insulation failure, or even panel detachment.
Quick Diagnosis
Start by inspecting closely: discoloration (green algae, black streaks, chalky residue) combined with noise usually signals one or more of these root causes:
- Thermal expansion/contraction due to improper fastening or lack of expansion gaps
- Moisture trapped behind panels causing wood substrate rot or vinyl warping
- Loose or corroded fasteners allowing panels to vibrate or shift
- Algae or mold growth on north-facing walls combined with deteriorated caulk seals
- Insulation gaps or missing housewrap letting air pressure fluctuate behind siding
Tools & Materials Needed
| Item | Purpose | Estimated Cost |
|---|---|---|
| 30x magnification inspection mirror | Reveals hidden fastener corrosion or substrate damage behind overlapping panels | $12–$18 |
| Non-bleach algae cleaner (e.g., Spray & Forget) | Safely removes biological growth without damaging vinyl or fiber cement | $24–$32 |
| Corrosion-resistant screws (ASTM A153 hot-dip galvanized) | Replace rusted fasteners on aluminum or steel trim; prevents future creep and noise | $8–$15 per box |
| Backer rod + silicone-acrylic sealant (ASTM C920, Class 25) | Seals expansion joints properly while accommodating movement | $14–$22 |
| 16-inch stud finder with deep-scan mode | Locates framing members behind foam sheathing or furring strips before re-fastening | $35–$55 |
Step-by-Step Fix
Apply these methods in order—skip ahead only if diagnosis confirms a specific issue:
- Test for movement: On a warm afternoon, press firmly on discolored panels while listening. A hollow pop or flex indicates loose attachment or missing substrate support.
- Clean biological growth first: Use a low-pressure sprayer (under 1,200 PSI) and non-bleach cleaner. Let dwell 10 minutes, then rinse from bottom up. Never power-wash fiber cement or older vinyl—this drives moisture behind panels.
- Re-fasten loose sections: Locate studs with your deep-scan stud finder. Drill pilot holes at least 1 inch above and below the original fastener location. Install new ASTM A153 screws—do not overtighten; leave 1/32" gap between screw head and siding surface.
- Seal expansion gaps: Remove old caulk with a plastic scraper. Insert closed-cell backer rod into gaps wider than 1/4", then apply silicone-acrylic sealant. Tool smooth with a damp finger—not a rag—to prevent lint contamination.
When to Call a Pro
Stop and consult a licensed exterior contractor if you observe any of these:
- More than three consecutive panels showing buckling or bowing >1/4" outward
- Discoloration extending into interior drywall or visible water stains near baseboards
- Siding installed directly over foam sheathing without vertical furring strips (a known code violation in IRC R703.7.2)
- Underlying OSB or plywood substrate that feels spongy or emits a musty odor when pressed
According to the Insurance Institute for Business & Home Safety's 2023 report, improperly fastened siding accounts for 68% of premature cladding failures in homes built between 2005–2018—many of which began with unaddressed noise and discoloration.
Prevention Tips
- Clean siding annually using pH-neutral cleaners—never chlorine bleach on vinyl or fiber cement (it degrades UV stabilizers)
- Inspect fasteners every 2 years; replace any showing white zinc oxide powder (early corrosion sign)
- Maintain gutters and downspouts—clogged systems increase splashback and moisture retention at the wall base
- Trim trees and shrubs within 18 inches of walls to improve airflow and reduce algae-friendly shade
Can I use bleach on this?
No. Chlorine bleach breaks down the titanium dioxide UV inhibitors in vinyl and fiber cement siding, accelerating chalking and brittleness. It also kills beneficial microbes that compete with algae—but leaves spores intact, worsening regrowth. Use sodium percarbonate-based cleaners instead, like OxiClean Outdoor.
Why does it only make noise in summer?
Thermal expansion forces vinyl and metal siding to expand up to 3/8" over 30 feet of run. If panels were installed too tightly or fastened into rigid substrates (like concrete block), that movement creates friction or impact noise. This is especially common where panels meet window casings or corner posts.
Is the discoloration dangerous?
Not always—but green or black discoloration often signals persistent moisture. The U.S. EPA estimates that 14% of household water usage is from leaks, many originating behind failed cladding. Left unchecked, biological growth can degrade substrate adhesives and promote rot in wood-based sheathing.
How long should repaired siding last?
Properly re-fastened and sealed vinyl siding typically lasts 20–30 years post-repair; fiber cement averages 40–50 years if cleaned and sealed every 5 years. But lifespan drops sharply if underlying moisture issues aren’t resolved first—always verify housewrap integrity before finalizing repairs.
Do I need to replace the whole wall?
Rarely. Most discoloration-and-noise cases are localized to 1–3 panels near rooflines, corners, or windows—where thermal stress and moisture accumulation concentrate. Full replacement is only necessary if >25% of panels show buckling, cracking, or substrate failure. Start with targeted repair and monitor for 90 days.
Will painting fix the discoloration?
Only temporarily—and only on certain materials. Painting vinyl siding voids most manufacturer warranties and risks blistering if surface prep is inadequate. For fiber cement, use 100% acrylic latex paint rated for masonry. But painting won’t stop the noise: it masks symptoms without addressing fastener tension or moisture traps.
Addressing discolored, noisy siding early stops small problems from becoming major envelope failures. Focus on what’s happening behind the surface—not just what you see and hear—and you’ll extend your siding’s life by years. Keep records of your repairs, including dates and fastener types used—future inspectors or buyers will appreciate the diligence, and so will your HVAC bill when air leakage drops.