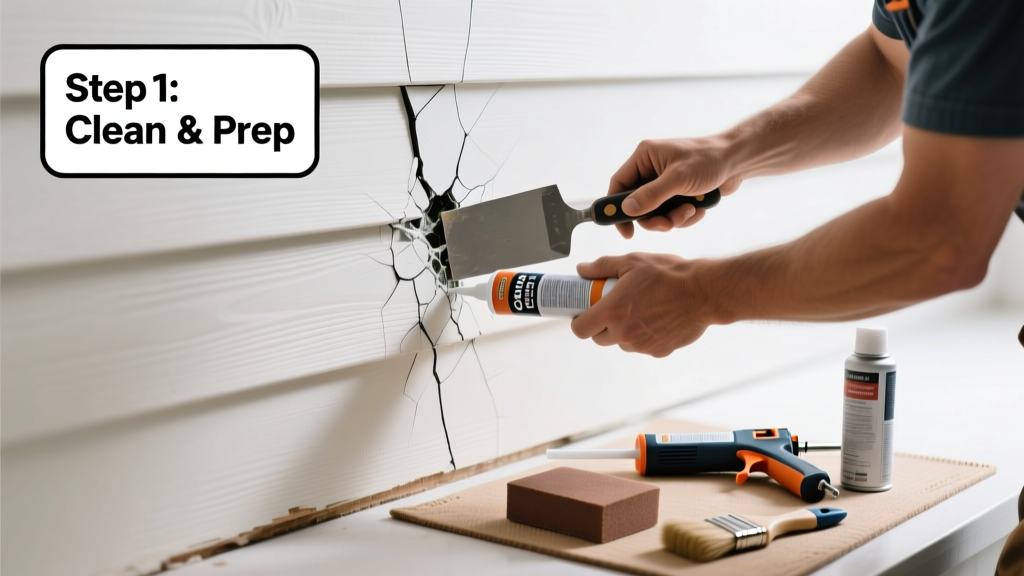
If you’ve spotted a crack in the siding directly behind or beside your kitchen—especially near a window, door, or vent—it’s more than cosmetic. That gap can let rain, pests, and humid kitchen air sneak into wall cavities, accelerating rot and mold growth behind drywall. Don’t wait for water stains or drafty cabinets to appear.
Quick Diagnosis
Cracks in kitchen-adjacent siding rarely happen by accident. They’re usually tied to one or more of these root causes:
- Thermal expansion/contraction from repeated heating and cooling cycles (kitchens run hotter and more humid than other rooms)
- Improper fastener placement during original installation—especially near plumbing vents or exhaust ducts
- Structural settling that shifts framing beneath the siding, stressing joints and seams
- Impact damage from ladders, tools, or landscaping equipment brushing against the wall
- Moisture trapped behind siding due to missing or failed flashing around windows or range hood vents
Tools & Materials Needed
| Item | Purpose | Estimated Cost |
|---|---|---|
| 100% silicone caulk (exterior-grade) | Seals small cracks without cracking under temperature swings | $4–$8 |
| Butyl rubber tape (2-inch wide) | Reinforces larger gaps and bridges movement between panels | $12–$18 |
| Corrosion-resistant siding nails (1¼” galvanized) | Secures loose or warped panels without rust bleed-through | $3–$6 per box |
| Utility knife with snap-off blades | Cleans out old caulk, debris, and crumbling substrate | $5–$10 |
| Stainless steel patch panel (vinyl or fiber-cement) | Replaces severely damaged sections; matches common kitchen-height siding | $22–$38 |
Step-by-Step Fix
Choose the method based on crack size, material type, and whether underlying framing is compromised:
- Clean & prep: Scrape away loose paint, old caulk, and debris using a utility knife and stiff brush. Wipe with isopropyl alcohol to remove grease (common near kitchens) and let dry fully.
- Small hairline crack (≤1/16”): Apply exterior-grade 100% silicone caulk in a smooth bead, tooling it flush with a damp finger or caulk tool. Let cure 24 hours before exposure to rain.
- Widened seam or gap (1/16”–3/8”): Press butyl rubber tape over the cleaned gap, then seal edges with silicone. This accommodates seasonal movement better than caulk alone.
- Shattered or bowed panel: Remove fasteners, cut out damaged section with tin snips (vinyl) or a carbide blade (fiber-cement), and install a stainless-steel-backed patch panel secured with color-matched screws.
When to Call a Pro
DIY stops being safe or effective when:
- The crack runs vertically across multiple panels and aligns with visible interior drywall cracks or ceiling separation
- You find soft, spongy sheathing or dark staining behind the siding—signs of long-term water intrusion
- The crack sits directly above or below your kitchen’s exterior range hood vent, where improper flashing may require rework of the entire assembly
- Your home has EIFS (Exterior Insulation and Finish System) siding—moisture testing and specialized repair protocols are mandatory
According to the Insurance Institute for Business & Home Safety's 2023 report, 68% of siding-related water damage claims involved repairs delayed beyond 30 days after first noticing cracks or gaps.
Prevention Tips
Kitchen-side siding faces unique stressors—steam, grease aerosols, and frequent temperature spikes. Reduce recurrence with these targeted steps:
- Install a dedicated, insulated range hood duct that terminates at least 12 inches below the bottom edge of siding—not tucked up behind it
- Inspect and clean all kitchen-exit penetrations (vents, pipes, electrical conduits) twice yearly for seal integrity
- Keep shrubs and mulch at least 18 inches away from the foundation line—especially along kitchen walls—to limit moisture retention
- Add a 4-inch-wide aluminum drip cap above any kitchen window or door to deflect runoff away from siding seams
Can I use regular painter’s caulk instead of silicone?
No. Standard acrylic latex caulk shrinks, cracks, and fails quickly in high-humidity, high-temperature zones like kitchen exteriors. Only 100% silicone or polyurethane-based sealants meet ASTM C920 standards for exterior movement joints—see our full caulk comparison guide.
Will painting over the crack hide the problem?
Painting over an unsealed crack traps moisture behind the surface and accelerates substrate decay. It also violates most manufacturer warranties. Always repair the breach first—then prime and paint only after full sealant cure (minimum 72 hours for silicone).
How do I know if the crack is from foundation settlement?
Look for matching diagonal cracks in interior drywall near kitchen corners, stair-step fractures in brick veneer, or doors that stick on the same side as the siding crack. If present, contact a structural engineer before attempting any repair—learn key warning signs here.
Is vinyl siding more prone to cracking near kitchens than fiber-cement?
Yes—vinyl expands and contracts nearly 3x more than fiber-cement with temperature swings. In kitchens, where exhaust heat raises wall temps by 15–25°F daily, improperly spaced vinyl panels buckle and crack at seams. Fiber-cement resists thermal stress but requires proper fastening to avoid nail-pull-through.
Can I replace just one siding panel without removing others?
Yes—if it’s horizontal lap siding. Use a zip tool to unlock the panel above, slide out the damaged piece, and lock in the replacement. For vertical board or insulated siding, full removal of adjacent panels may be needed. Always match grain direction and shadow lines—step-by-step visual guide available.
Does homeowners insurance cover cracked siding repair?
Rarely for gradual deterioration—but often covers sudden, accidental damage (e.g., ladder impact). Document with dated photos before repair. Note: The U.S. EPA estimates that 14% of household water usage is from leaks—including those entering through compromised siding—so timely repair may reduce utility costs too.
A cracked kitchen-side siding panel isn’t just an eyesore—it’s an open invitation for moisture, mold, and energy loss. Tackle it early with the right materials and technique, and you’ll protect both your wall cavity and your monthly utility bill. Most repairs take under two hours on a dry, mild day—and pay off for years in avoided remediation costs.