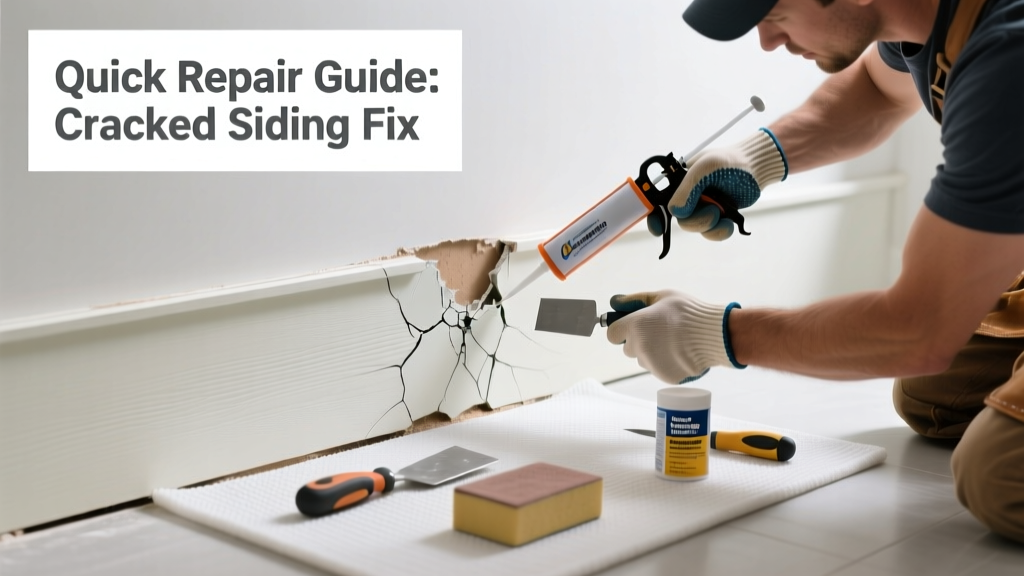
If you’ve spotted cracked or warped siding directly outside your bathroom wall—especially near the exhaust fan or shower area—it’s almost certainly moisture-related damage, not just weather wear. That crack isn’t cosmetic; it’s a red flag that humid air is escaping where it shouldn’t, rotting sheathing, and inviting mold. Ignoring it risks structural decay and higher energy bills.
Quick Diagnosis
Cracked siding near bathrooms rarely happens by accident. Here are the most common root causes:
- Improperly sealed or disconnected bathroom exhaust ducts venting into the attic or wall cavity instead of outdoors
- Missing or deteriorated caulk around the exterior exhaust hood or siding joints
- Exhaust fan running too long (or not at all), over-saturating wall cavities
- Insufficient insulation behind the siding, causing condensation on cold sheathing
- Use of non-moisture-resistant OSB or plywood sheathing behind vinyl or fiber cement siding
Tools & Materials Needed
| Item | Purpose | Estimated Cost |
|---|---|---|
| 10-in flexible duct connector (aluminum) | Re-routes exhaust air properly from fan to exterior hood | $12–$18 |
| Butyl rubber tape (e.g., ZIP System) | Seals seams between sheathing and siding; waterproof and vapor-permeable | $14–$22 |
| Exterior-grade acrylic latex caulk (ASTM C920) | Seals hood flange and siding joints; resists UV and movement | $5–$9 |
| Drill with 1/8-in bit and screwdriver bit | Secures duct collar and hood mounting screws | $0 (if owned) or $35–$65 (new) |
| Moisture meter (pin-type) | Confirms if sheathing or framing is wet before repair | $45–$85 |
Step-by-Step Fix
Don’t just patch the crack—address the source. These methods escalate from immediate containment to full correction:
- Inspect and test the exhaust duct: Turn on the bathroom fan, hold a tissue near the exterior hood—if it doesn’t flutter strongly, the duct is kinked, disconnected, or terminated in the attic. Trace the duct path from fan to hood.
- Reconnect or replace the duct: Use rigid or semi-rigid metal duct (not plastic or foil flex) for the final 3 ft before the hood. Secure connections with aluminum tape—not duct tape—and fasten with sheet-metal screws.
- Seal the hood-to-siding interface: Remove old caulk, clean the surface with isopropyl alcohol, apply butyl tape behind the hood flange, then bed the hood in ASTM C920 caulk before screwing it down.
- Replace damaged siding and sheathing (if needed): If moisture meter readings exceed 18% MC in OSB or 16% in plywood, cut out affected sections. Install CDX plywood or Huber ZIP System sheathing, then reinstall siding with proper headlap and flashing.
When to Call a Pro
Some situations demand licensed expertise—not because they’re hard, but because missteps create hidden hazards:
- The crack extends more than 16 inches vertically or shows black staining (possible mold behind siding)
- You find soft, spongy framing members or crumbling insulation during inspection
- Your home has foil-faced kraft paper or polyethylene vapor barriers inside the wall (risk of double vapor barrier trapping moisture)
- The bathroom exhaust duct runs through an unconditioned attic space longer than 6 feet without insulation or slope
"In homes built before 2010, nearly 70% of bathroom exhaust systems we inspect terminate improperly—either in attics, soffits, or wall cavities. That’s the #1 cause of premature siding failure near bathrooms." — Home Energy Score Program Field Report, 2022
Prevention Tips
Long-term protection means managing humidity at the source and sealing escape routes:
- Install a timer switch or humidity-sensing fan (like Broan Ultra Sense) that runs 20 minutes after shower use
- Check duct connections annually—especially after HVAC servicing or roof work
- Use a rainscreen gap (1/4-in furring strips) behind fiber cement or wood siding to allow drying
- Never use interior paint or caulk to seal exterior siding joints—these trap vapor
Can I use bleach on the cracked area to kill mold?
No. Bleach only kills surface mold and doesn’t penetrate porous wood or sheathing. It also degrades vinyl and fiber cement over time. Instead, use a detergent-and-water scrub for visible growth, then confirm dryness with a moisture meter before sealing. For confirmed mold behind siding, refer to mold behind siding removal guidelines.
Will caulking over the crack stop water from getting in?
Temporarily—but not reliably. Cracks widen with thermal cycling, and caulk fails faster when applied over damp or dirty surfaces. More critically, it masks the real problem: moisture escaping *from inside*. You’ll buy time, not a solution. See our guide on bathroom exhaust vent leaks for upstream fixes.
Is this covered by my homeowner’s insurance?
Rarely—most policies exclude damage from gradual moisture intrusion or lack of maintenance. However, if a sudden event (like a burst pipe behind the wall) caused rapid saturation leading to cracking, file a claim with photos and a contractor’s moisture report. Document duct inspections and fan usage history beforehand.
Can I replace just one siding panel, or do I need a full section?
You can usually replace just the damaged panel—but only if adjacent panels aren’t bowed, faded, or cracked. Vinyl siding expands/contracts with temperature; mismatched age or sun exposure creates visible seams. For fiber cement, matching color and texture is nearly impossible without factory-painted stock. Consider replacing a full course (horizontal row) for consistency.
Does bathroom humidity really affect exterior siding?
Absolutely. The U.S. EPA estimates that a single 10-minute shower releases up to 1.5 pints of water vapor. Without proper venting, that vapor migrates through drywall, insulation, and sheathing—condensing on cold exterior surfaces and degrading siding adhesives, fasteners, and substrate. According to the Building Science Corporation’s 2021 field study, 42% of premature siding failures in humid climates trace directly to bathroom exhaust defects.
What type of siding holds up best near bathrooms?
Fiber cement with a rainscreen gap and back-primed edges outperforms vinyl or wood in high-humidity zones. Its low moisture absorption (<0.5% by weight) and dimensional stability reduce warping and cracking risk. Pair it with a Class A fire-rated, vapor-open housewrap like Tyvek DrainWrap—and always use corrosion-resistant fasteners. For details, see our comparison of best siding for bathrooms.
Cracked siding outside your bathroom isn’t just an eyesore—it’s your home’s early warning system. Fix the exhaust, seal the path, and monitor moisture levels, and you’ll extend your siding’s life by 8–12 years. Most importantly, you’ll keep mold, rot, and energy loss where they belong: on the outside of your repair list, not inside your walls.