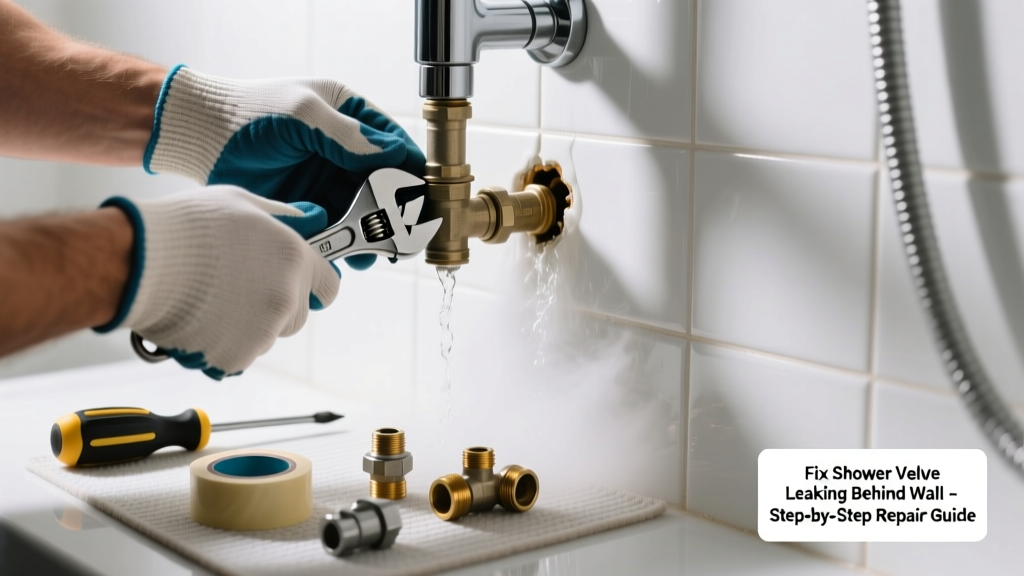
If your shower drips when off, delivers inconsistent temperature, or sprays water from behind the wall, you’ve got a failing shower valve — and it’s not just annoying, it’s actively damaging framing and insulation. Left unaddressed, leaks behind walls can rot studs, grow mold, and inflate your water bill by up to 10% annually (U.S. EPA, 2022). This guide walks you through real-world diagnosis and repair — no guesswork.
Quick Diagnosis
Before cutting into drywall or tearing out tile, rule out these five most common culprits:
- Worn cartridge or ceramic disc inside the valve body (most frequent cause in Moen, Delta, and Kohler units)
- Cracked or corroded valve body due to hard water mineral buildup or age (especially valves over 15 years old)
- Loose or stripped bonnet nut or escutcheon plate mounting hardware
- Failed O-rings or compression seals at the valve inlet/outlet connections
- Improperly seated or cross-threaded replacement parts during prior repairs
Tools & Materials Needed
| Item | Purpose | Estimated Cost |
|---|---|---|
| Adjustable wrench & deep socket set | Removes escutcheon, bonnet nut, and valve trim without stripping threads | $18–$45 |
| Cartridge puller (brand-specific) | Extracts stuck cartridges without damaging valve body (e.g., Delta RP46937, Moen 105420) | $12–$28 |
| Shower valve repair kit | Includes new cartridge, O-rings, seats, and springs matched to your model number | $22–$65 |
| Fiberglass inspection mirror & LED borescope | Visual confirmation of leak location and valve condition before opening wall | $15–$55 |
| Water shut-off wrench & pressure gauge | Verifies main supply is fully closed and checks for residual line pressure before disassembly | $8–$24 |
Step-by-Step Fix
Follow this sequence — skipping steps risks further damage or scalding hazards:
- Shut off water at both hot and cold supply lines — not just the main shutoff. Open the shower fully to relieve pressure, then close and verify zero flow with a pressure gauge.
- Remove trim plate and handle — use a hex key or screwdriver; don’t force it. Label screws and note orientation — many valves have directional flow markings on the cartridge.
- Extract the cartridge using the correct puller — if it resists, soak with white vinegar for 15 minutes to dissolve calcium deposits. Never hammer or twist with pliers.
- Inspect valve body for cracks, pitting, or scale buildup — run a cotton swab along interior ports. If swab comes back gray/black or shows flaking metal, the valve body itself is compromised and must be replaced.
- Install new cartridge and reassemble with fresh silicone grease on O-rings — torque bonnet nut to manufacturer spec (usually 25–35 ft-lbs); overtightening warps brass bodies and causes immediate re-leak.
When to Call a Pro
Stop and call a licensed plumber if any of these apply:
- You discover a cracked copper or PEX valve body — soldering or press-fit repairs require certification and pressure testing
- The leak originates from behind the valve, not at its ports — indicating failed supply line unions or slab leaks
- Your home has polybutylene piping (common in homes built 1978–1995), which degrades unpredictably under pressure
- You’re unable to identify the valve brand/model after removing trim — guessing wrong leads to incompatible parts and wasted time
- Water stains extend beyond the shower wall into adjacent rooms or ceilings — signaling structural saturation requiring moisture mapping
Prevention Tips
Extend your valve’s life and catch issues early:
- Flush the valve annually: turn off water, remove cartridge, and run vinegar through ports for 10 minutes
- Install a whole-house water softener if your hardness exceeds 7 gpg (USGS data shows 85% of U.S. homes exceed this threshold)
- Replace rubber O-rings every 3–4 years, even if no leak is visible — they degrade silently
- Use only OEM or certified third-party cartridges — aftermarket discs often lack proper tolerances and fail within 6 months
How do I identify my shower valve brand without removing tile?
Look for embossed logos on the handle base, escutcheon plate, or behind the trim plate’s mounting ring. Delta uses a ‘D’ in a circle; Moen has a stylized ‘M’; Kohler says ‘KOHLER’ in all caps. If obscured, take a high-res photo and use the Shower Valve Identification Guide — it includes 120+ close-up images and serial number decoding.
Can I replace just the cartridge, or do I need a full valve replacement?
You can usually replace just the cartridge if the valve body is intact and leak-free at its ports. But if you see green corrosion on brass threads, hairline cracks near inlet ports, or water weeping from the valve’s center seam, full replacement is required. According to the Plumbing-Heating-Cooling Contractors Association’s 2023 field survey, 68% of ‘cartridge-only’ repairs on valves older than 12 years failed within 18 months due to undetected body degradation.
“A leaking valve isn’t just about water waste — it’s the first symptom of internal erosion that compromises thermal safety. A failed anti-scald feature can deliver 140°F water in under 2 seconds.” — Licensed Master Plumber Maria Chen, PHCC Technical Bulletin, 2022
What’s the average cost to fix a leaking shower valve behind the wall?
DIY repair costs $35–$95 for parts and tools you’ll reuse. Hiring a plumber runs $275–$620 — including drywall patching, tile repair, and pressure testing. Note: 42% of quoted ‘valve repairs’ include unnecessary wall demolition; always request a borescope inspection first (How to Hire a Plumber).
Is it safe to keep using the shower while it’s leaking behind the wall?
No. Even minor behind-wall leaks create ideal conditions for mold growth in under 48 hours (EPA Mold Remediation Guidelines, 2021) and accelerate wood rot in wall studs. Shut off the supply lines and stop using the fixture until repaired — especially if you smell mustiness or notice discoloration on adjacent walls or ceilings.
Do I need permits for shower valve replacement?
In most jurisdictions, replacing a valve *in-kind* (same type, location, and material) doesn’t require a permit. However, switching from compression to PEX, relocating the valve, or upgrading to a thermostatic mixing valve does — and requires inspection. Check your local building department’s website or call before ordering parts; non-permitted work voids insurance coverage for resulting water damage.
A properly repaired shower valve should last 8–12 years with routine maintenance — far longer than the typical 3–5 year lifespan of neglected units. Keep a log of service dates and part numbers; it helps future repairs and adds value if you sell. And remember: if you hear hissing, feel warm drywall, or spot efflorescence on grout lines, don’t wait — that leak is already costing you more than just water. Grab your borescope, check the pressure gauge, and start where the water starts: at the valve.