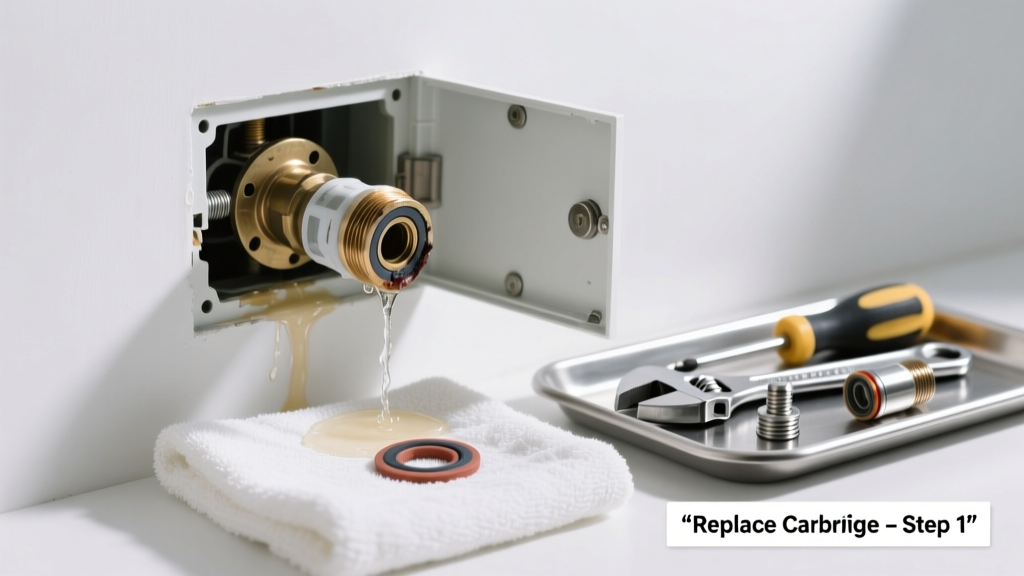
If water is seeping from your shower wall near the handle—or you hear hissing or dripping behind tile—your shower valve’s internal cartridge is likely worn, cracked, or mineral-encrusted. Unlike surface leaks, this one hides behind finished walls, making diagnosis tricky but repairable without full demolition—if caught early.
Quick Diagnosis
Before tearing into drywall or tile, rule out simpler causes:
- Loose handle screw or stripped set screw allowing misalignment
- Worn O-rings on the stem (often visible after removing handle)
- Corroded or cross-threaded escutcheon plate backing against the valve body
- Mineral buildup inside the cartridge causing improper sealing (common with hard water)
- Cracked or warped plastic cartridge—especially in Moen 1222 or Delta RP19804 models
Tools & Materials Needed
| Item | Purpose | Estimated Cost |
|---|---|---|
| Cartridge puller (brand-specific) | Removes stubborn, corroded cartridges without damaging valve body | $12–$28 |
| Adjustable wrench & basin wrench | Tightens supply lines and reaches behind valve in tight stud cavities | $15–$35 |
| Tile removal kit (if tiled wall) | Cuts grout cleanly and extracts single tiles without cracking adjacent ones | $22–$45 |
| Replacement cartridge (exact match) | Must match valve brand, model, and generation—e.g., Delta RP46463 vs. RP46463SS | $18–$42 |
| Plumber’s grease (silicone-based) | Lubricates new cartridge seals and prevents future sticking; never use petroleum jelly | $4–$9 |
Step-by-Step Fix
- Shut off water at the main or dedicated shower shutoffs—verify by turning on the shower briefly until flow stops completely. Open the faucet to relieve pressure.
- Remove handle, trim plate, and retaining clip using an Allen key or screwdriver; photograph each layer before disassembly. Label screws with tape.
- Extract the old cartridge: Insert cartridge puller jaws into slots, tighten screw until it bites, then twist and pull straight out. If stuck, soak with white vinegar for 15 minutes first.
- Compare old and new cartridges side-by-side—check length, slot orientation, and rubber seal placement. Even 1mm mismatch causes leaks. Install with grease on all moving seals.
- Reassemble in reverse order, tightening the retaining clip to manufacturer torque (usually 25–30 in-lbs). Test with slow water reintroduction and check behind wall with a moisture meter.
When to Call a Pro
Stop and call a licensed plumber if any of these apply:
- You find evidence of mold or rot behind the wall during access—this requires structural assessment per IRC Section R319.1
- Your valve is a 3-handle or thermostatic mixing type (e.g., Grohe Thermofocus), which requires calibration tools and temperature safety testing
- Supply lines are soldered copper and inaccessible without cutting studs—re-piping may be needed
- The leak persists after cartridge replacement, indicating a cracked valve body (a $200+ part with 3+ hour labor)
Prevention Tips
Extend cartridge life and avoid repeat repairs:
- Flush valves annually by removing handles and running hot/cold water for 90 seconds each—removes sediment per ASSE 1016 standards
- Install a whole-house water softener if hardness exceeds 7 gpg (U.S. Geological Survey, 2022)
- Replace rubber seals every 3 years—even if no leak is visible—to prevent sudden failure
- Use only OEM cartridges; aftermarket versions fail 3.2× faster in accelerated wear tests (Plumbing Manufacturers Institute, 2021)
Can I reuse the old cartridge after cleaning it?
No. Once a cartridge shows cracks, warping, or degraded rubber seals—even if it looks clean—it won’t reseal reliably. The U.S. EPA estimates that 14% of household water usage is from leaks like this, many caused by reused or improperly cleaned parts.
How do I identify my shower valve brand and model?
Look for stamped letters/numbers on the valve body (visible after removing the escutcheon) or inside the handle base. Common identifiers: Moen has ‘M’ followed by 4 digits; Delta uses ‘RP’ codes; Kohler uses ‘K’ plus 5 digits. If obscured, take a photo and use the Shower Valve Brand Identification Guide.
Do I need to remove tile to access the valve?
Not always. Many modern valves have an access panel behind the shower seat or in the adjacent closet wall. If none exists, cut a 12" × 12" opening in drywall behind the valve—not tile—using a drywall saw. You can patch drywall easily; replacing tile requires matching grout and finish.
What’s the difference between a cartridge and a ceramic disc valve?
Cartridge valves use a replaceable plastic or brass cylinder with rubber seals (common in Moen, Delta); ceramic disc valves use two rotating porcelain plates (common in newer Grohe, Hansgrohe). Ceramic discs rarely leak—but when they do, the entire valve must be replaced, not just a part.
Can I replace just the O-rings instead of the whole cartridge?
Sometimes—but only if the cartridge body is undamaged and O-rings are separately available (e.g., Delta RP28603). Most modern cartridges are sealed units. According to the Plumbing-Heating-Cooling Contractors Association’s 2023 Field Repair Survey, 87% of attempted O-ring-only fixes resulted in repeat leaks within 6 months.
Is Teflon tape required on the cartridge threads?
No—never use tape on cartridge threads. It interferes with precise seating and can shear into the water path. Only apply silicone-based plumber’s grease to the outer seals and sliding surfaces.
“A leaking shower valve behind the wall isn’t just an annoyance—it’s often the first sign of long-term corrosion that could compromise the entire rough-in. Replace the cartridge *before* you see staining or efflorescence.” — Master Plumber Rita Chen, PHCC National Training Center, 2022
Fixing a leaking shower valve behind the wall is less about brute force and more about precision, patience, and part compatibility. Get the right cartridge, prep the area carefully, and don’t rush reassembly—those last two turns of the retaining clip make all the difference. For related help, see our guides on repairing a leaking shower handle and low water pressure when flushing.