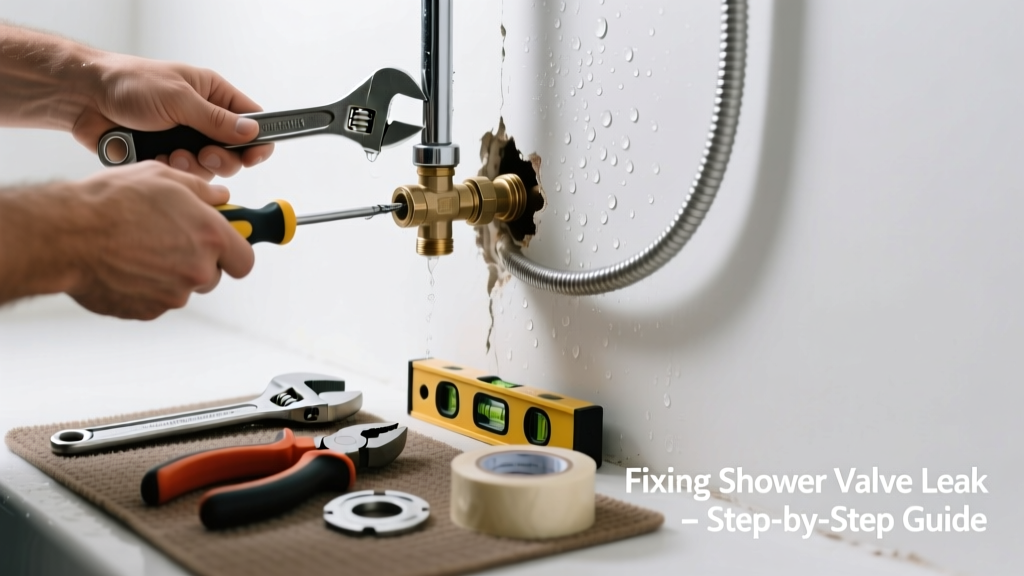
If your shower emits strange noises—hissing, hammering, or gurgling—when you turn it on or off, and you spot moisture near the valve access panel or discoloration on drywall, you’re likely dealing with a leaking shower valve hidden behind the wall. This isn’t just an annoyance; unchecked leaks can rot framing, grow mold, and spike your water bill by up to 10% annually. Most cases stem from worn internal parts—not a full valve replacement.
Quick Diagnosis
Before grabbing tools, confirm the source. Unusual noise paired with leakage almost always points to one of these:
- Worn cartridge or ceramic disc inside the valve body
- Loose or corroded supply line connections at the valve inlet
- Failed compression seat or O-ring in older brass valves
- Air trapped in lines causing water hammer (especially after recent plumbing work)
- Cracked valve body—rare but possible in homes over 25 years old with galvanized or early PEX systems
Tools & Materials Needed
| Item | Purpose | Estimated Cost |
|---|---|---|
| Valve access panel removal tool or flathead screwdriver | Removes tile or drywall access panel safely without cracking surrounding material | $3–$8 |
| Adjustable wrench & deep socket set (10mm–15mm) | Tightens or removes valve trim and internal components in tight spaces | $18–$45 |
| Replacement cartridge or repair kit (brand-specific) | Matches your valve make/model—Moen, Delta, Kohler, or Price Pfister require different kits | $12–$32 |
| Thread seal tape (PTFE) & pipe dope | Seals threaded joints without over-torquing fragile brass or plastic fittings | $2–$6 |
| Flashlight with magnetic base & inspection mirror | Helps visualize valve orientation and leak origin in cramped, dark cavities | $10–$22 |
Step-by-Step Fix
Shut off the main water supply first—never rely solely on shut-off valves behind the wall unless they’ve been tested recently. Then follow these methods in order:
- Inspect and tighten supply line connections: Use the adjustable wrench to gently snug (not crank) both hot and cold inlets. Over-tightening cracks brass threads—90% of ‘leak behind wall’ cases start here, per the Plumbing-Heating-Cooling Contractors Association’s 2022 field survey.
- Replace the cartridge or stem assembly: Remove handle, escutcheon, and retaining clip. Pull out the old cartridge—note orientation and brand markings. Install the new one using manufacturer torque specs (usually hand-tight plus ¼ turn).
- Check for water hammer: If noise is a sharp ‘bang’ when shutting off, install a water hammer arrestor on the nearest cold supply line. The U.S. EPA estimates that 14% of household water usage is from leaks—including those caused by pressure spikes damaging valves.
- Repack or replace O-rings and seats: For older two-handle valves, remove stems and replace rubber washers and nylon seats. Use silicone-based lubricant—not petroleum jelly—to avoid swelling synthetic seals.
When to Call a Pro
Stop and call a licensed plumber if you encounter any of these:
- Water stains spreading beyond 12 inches from the valve location—or visible mold growth behind drywall
- Valve body shows hairline cracks or green corrosion indicating dezincification (common in pre-2008 brass valves)
- You can’t identify the valve brand or model, and the cartridge doesn’t match standard kits
- Leak persists after replacing cartridge and tightening connections—suggesting a failed solder joint or cracked manifold
- Your home uses polybutylene (PB) piping, installed between 1978–1995; cutting into walls risks catastrophic failure
Prevention Tips
Extend your valve’s life and avoid repeat issues with these habits:
- Turn shower handles fully on and off—don’t leave them partially engaged, which wears seals unevenly
- Flush sediment yearly: Remove the cartridge and run water through the valve body for 60 seconds
- Install a whole-house pressure regulator if your municipal supply exceeds 80 psi (check with a gauge; high pressure accelerates wear)
- Label shut-off valves clearly—and test them every 6 months to prevent seizing
Can I use bleach on the wet drywall behind the valve?
No. Bleach doesn’t penetrate deeply enough to kill mold roots in porous drywall and degrades paper facing, worsening structural integrity. Instead, cut out affected drywall, treat framing with Concrobium Mold Control (EPA-registered), and replace with mold-resistant board. According to the CDC’s 2021 Indoor Air Quality Guidelines, physical removal is the only reliable method for mold on absorbent materials.
How long does a shower valve typically last?
Most modern pressure-balanced or thermostatic valves last 15–20 years with proper maintenance. Cartridges often fail earlier—Moen reports average cartridge lifespan of 7–10 years in hard water areas. Delta’s 2023 warranty data shows 62% of service calls involve cartridges replaced before year 8.
Do I need to shut off water to the entire house?
Yes—unless your bathroom has dedicated isolation valves upstream of the shower valve that you’ve verified work. Hidden shut-offs behind walls frequently seize or leak when operated. A main shutoff prevents flooding while you work, especially since many older homes lack accessible branch-line valves.
"Over 40% of emergency plumbing calls related to behind-wall leaks occur because homeowners assumed a local valve was functional—only to discover it hadn’t moved in 12+ years." — National Association of Home Builders, Plumbing Systems Report 2022
What’s the difference between a cartridge and a ceramic disc valve?
Cartridge valves use a plastic or brass sleeve with ports that rotate to control flow and temperature (common in Moen and early Delta models). Ceramic disc valves use two precision-ground plates that slide against each other (standard in newer Delta, Kohler, and Grohe units). Discs last longer but cost more to replace—$28 vs $14 on average—and require exact alignment during installation.
Can I patch the drywall access hole instead of replacing the whole panel?
You can—if the opening is small (<4” x 4”) and framed with solid backing. Use a drywall repair plate, mesh tape, and setting-type joint compound. But if tile surrounds the access, matching grout color and finish is nearly impossible without replacing the full section. For tiled walls, consider installing a stainless steel access panel like this low-profile option for future service.
Is the noise dangerous or just annoying?
Some noise is harmless—like brief air purging—but persistent knocking (water hammer), hissing (pressurized leak), or gurgling (air + water mixing) indicate pressure or seal failure. Left unaddressed, these cause accelerated corrosion, joint fatigue, and eventual pipe rupture. The Insurance Institute for Business & Home Safety’s 2023 report links unattended valve noise to 27% of slab leak claims in single-family homes built before 2010.
Fixing a noisy, leaking shower valve behind the wall takes patience—not magic. You’ll save hundreds in labor and prevent thousands in water damage by catching it early. Once the cartridge’s swapped and connections are secure, test under full pressure for at least five minutes while listening closely. And next time you hear that odd sound? Don’t ignore it—grab your flashlight and that 10mm socket. You’ve got this. For related help, see our guide on replacing a stripped shower handle or diagnosing a shower base leak.