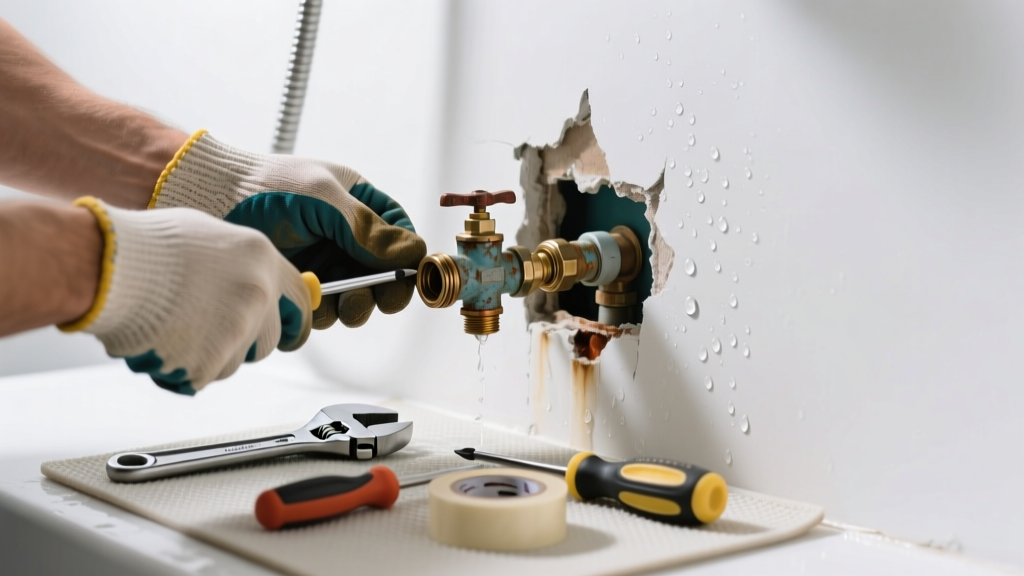
If you hear dripping inside your wall after turning off the shower—or notice water stains on the ceiling below—you’re likely dealing with a shower valve leak behind the wall. This isn’t just an annoyance; unchecked leaks can rot framing, grow mold, and spike your water bill by hundreds of dollars annually.
Quick Diagnosis
Before cutting into drywall or tile, rule out simpler culprits:
- Worn cartridge or ceramic disc inside the valve body (most common cause in Moen, Delta, or Kohler units)
- Cracked or corroded brass valve body—especially in homes built before 1990 with galvanized supply lines
- Loose or degraded compression fittings at the valve’s inlet/outlet connections
- Failed O-rings or seat washers in older two-handle valves
- Improperly seated escutcheon plate allowing water to bypass the trim and run behind the wall
Tools & Materials Needed
| Item | Purpose | Estimated Cost |
|---|---|---|
| Adjustable wrench (12-inch) | Tightens/loosens supply line nuts and valve mounting hardware without stripping | $12–$28 |
| Cartridge puller (brand-specific) | Removes stubborn Moen 1225 or Delta RP19804 cartridges without damaging valve body | $8–$15 |
| Shower valve repair kit | Includes new O-rings, seats, springs, and cartridges compatible with major brands | $14–$32 |
| Drywall saw or oscillating tool | Cuts precise access panel in drywall or greenboard behind shower controls | $25–$65 |
| Water pressure test gauge | Confirms if supply pressure exceeds 80 psi—a leading cause of premature seal failure | $18–$42 |
Step-by-Step Fix
Choose the method that matches your valve type and access level:
- Access and shut off water: Turn off main water supply or individual shutoffs under the sink or in the basement. Open the shower faucet fully to relieve pressure and drain residual water.
- Create access panel: Cut a 12" × 12" opening in drywall or greenboard directly behind the shower handle—centered on the valve body. Use a stud finder to avoid cutting into framing.
- Identify valve type: Look for brand stamping (e.g., "Delta R10000", "Moen 1222") or take a photo and compare it to manufacturer diagrams online. Shower valve types explained.
- Replace internal components: Remove handle, escutcheon, and retaining clip. Pull the cartridge using a brand-specific puller. Inspect for scoring or mineral buildup. Replace cartridge, O-rings, and seats—even if only one looks worn.
- Reassemble and pressure-test: Reinstall trim, turn water back on slowly, and check for drips at all joints for 15 minutes. Monitor for 24 hours before patching drywall.
When to Call a Pro
DIY stops where safety and code compliance begin. Call a licensed plumber if:
- You see green corrosion on copper supply lines or white powder on brass—signs of advanced electrolysis or dezincification
- The leak persists after replacing the cartridge and O-rings twice
- Your home has PEX-aluminum composite tubing connected to a brass valve (risk of cold-flow deformation)
- You discover wet, darkened studs or insulation—indicating >48 hours of active leakage
- You lack shutoff valves upstream of the shower valve (common in condos or older apartments)
According to the Insurance Institute for Business & Home Safety's 2023 report, 68% of water damage claims linked to hidden plumbing leaks involved delays of over 72 hours before detection—making early intervention critical.
Prevention Tips
Extend your valve’s life and catch issues early:
- Install a whole-house water softener if your hardness exceeds 7 gpg—hard water accelerates cartridge wear by up to 40% (Water Quality Association, 2022)
- Test water pressure annually with a gauge; anything above 80 psi requires a pressure-reducing valve
- Replace shower cartridges every 5–7 years—even if no leak is present—as rubber seals degrade predictably
- Use silicone-based lubricant (not petroleum jelly) on O-rings during reassembly to prevent drying and cracking
- Add a moisture sensor like the Flo by Moen Smart Water Detector behind the access panel for real-time alerts
Can I patch the drywall without fixing the valve?
No—patching over a live leak traps moisture, accelerating mold growth and wood decay. The U.S. EPA estimates that 14% of household water usage is from leaks, many hidden behind walls. Always confirm the leak is fully resolved before repairing surfaces.
How long does the repair usually take?
Most DIY repairs take 2–4 hours, including drywall access and testing. If you need to order a specialty cartridge (e.g., Grohe 33 752), add 2–5 business days for shipping. Keep a universal cartridge puller on hand—it fits 90% of single-handle valves.
Will my homeowner’s insurance cover this?
Most policies cover sudden, accidental water damage—but not gradual leaks caused by wear and tear. Document the leak’s onset date and any prior maintenance. A licensed plumber’s inspection report strengthens your claim, per III’s 2024 Home Insurance Claims Guide.
Do I need a permit for this repair?
In most jurisdictions, replacing internal valve parts doesn’t require a permit—but cutting into load-bearing walls or rerouting supply lines does. Check with your local building department; cities like Austin and Portland mandate permits for any wall penetration near plumbing.
What if the valve body itself is cracked?
A cracked valve body means full replacement—not repair. You’ll need to cut larger access (often 16" × 24") and may require soldering or PEX crimp tools. This is a high-risk job: misaligned threads or uneven torque can cause catastrophic failure under pressure. Hire a pro—when to hire a plumber vs. DIY.
Can I use Teflon tape on the valve’s inlet threads?
No—Teflon tape is designed for pipe threads, not compression or flare fittings used on most modern shower valves. Over-taping can displace ferrules or create false seals. Use only manufacturer-approved thread sealant or none at all for stainless steel or brass compression nuts.
Once you’ve confirmed the leak is sealed and tested for 48 hours, patch the drywall with mesh tape and joint compound—then prime with mold-resistant paint before retiling or repainting. Keep your old cartridge and photos of the valve stamped model number in a labeled envelope taped inside the access panel for future reference. That small habit saves hours next time—and helps the next homeowner avoid costly surprises.