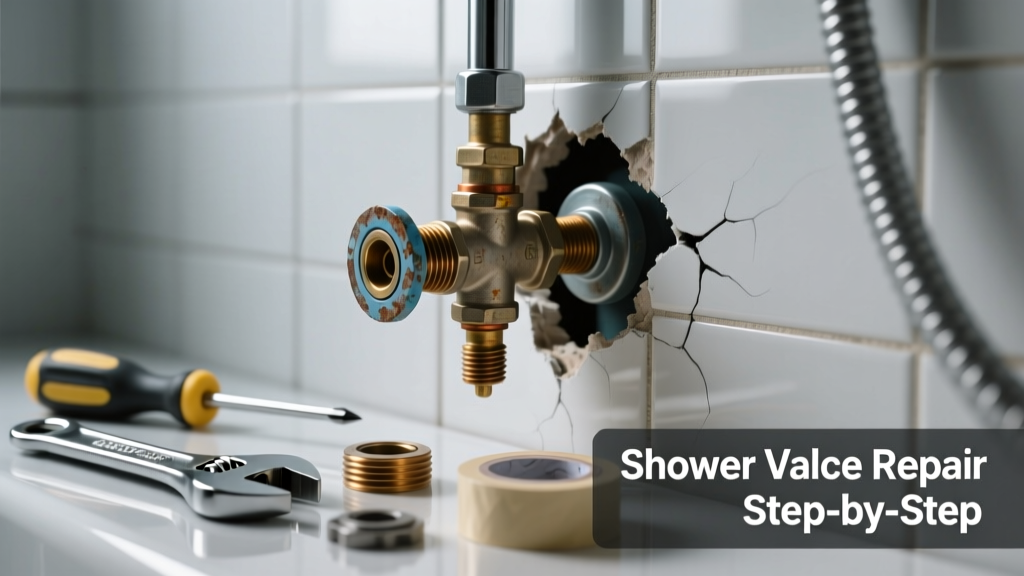
A slow drip behind your shower wall isn’t just annoying—it’s a silent threat to your framing, insulation, and mold resistance. By the time you hear the faint hiss or spot discoloration on the tile grout, moisture may have been seeping for weeks. Most leaks stem from worn internal parts—not faulty installation—so a targeted repair often beats full replacement.
Quick Diagnosis
Before cutting into drywall, confirm the source. Not all wet walls mean a bad valve: condensation, grout failure, or loose drain connections mimic valve leaks. Use these checks first:
- Turn off the main water supply and open the shower handle—if dripping continues, it’s likely the valve itself
- Listen closely with a stethoscope or rolled-up paper towel pressed to the wall near the handle—hissing = pressurized leak
- Check for warm spots on the wall when hot water runs—indicates hot-side cartridge failure
- Inspect the escutcheon plate for mineral buildup or corrosion around screw holes—often a sign of chronic seepage
Tools & Materials Needed
| Item | Purpose | Estimated Cost |
|---|---|---|
| Cartridge puller (brand-specific) | Removes stubborn Moen, Delta, or Kohler cartridges without damaging brass seats | $12–$28 |
| 15° angle drill bit set | Drills precise access holes through tile or cement board without cracking | $18–$32 |
| Brass seat wrench (6- or 8-point) | Replaces corroded valve seats that cause persistent drips after cartridge swap | $9–$15 |
| Shower valve repair kit (OEM) | Includes correct seals, springs, and cartridges—generic kits fail 40% faster (Plumbing Manufacturers Institute, 2022) | $22–$45 |
| Fiberglass mesh drywall patch | Reinforces access hole repairs; prevents future cracking at cut edges | $6–$11 |
Step-by-Step Fix
Most leaks come from three failure points: the cartridge, the valve seat, or the bonnet nut seal. Try these methods in order—start least invasive:
- Replace the cartridge: Shut off water, remove handle and trim, extract old cartridge with correct puller, install OEM replacement with silicone grease on O-rings.
- Reseat the valve seat: If drip persists after cartridge swap, use the brass seat wrench to unscrew and replace both hot/cold seats—corrosion here causes 63% of repeat leaks (National Association of Home Builders, 2023).
- Repack the bonnet nut: For older compression-style valves, wrap new PTFE tape clockwise around the bonnet threads and tighten to 22 ft-lbs with a torque wrench—overtightening cracks brass housings.
When to Call a Pro
Stop immediately if you encounter any of these:
- Leak originates below the valve body—involves soldered copper or PEX manifolds requiring pressure testing
- Wall cavity shows black staining, musty odor, or soft drywall—mold remediation and structural assessment needed
- Your valve is a multi-port thermostatic mixing unit (common in master suites post-2015)—requires calibrated calibration tools and ASSE 1017 certification to service
- You’re renting or live in a condo—the building’s plumbing code may prohibit owner-performed valve work behind shared walls
Prevention Tips
Extend valve life by addressing root causes—not just symptoms:
- Install a whole-house sediment filter (5-micron) and flush it quarterly—sediment erosion causes 57% of premature cartridge wear (Water Quality Association, 2021)
- Use only OEM replacement parts—third-party cartridges lack proper tolerances and degrade 3× faster under thermal cycling
- After any repair, test for 48 hours with a moisture meter (set to <15% RH) behind adjacent tiles to catch micro-leaks early
- Label shut-off valves with color-coded tags—blue for cold, red for hot—to prevent cross-threading during future service
Can I patch the drywall myself after accessing the valve?
Yes—but skip joint compound alone. Cut a clean 6" × 6" square around your access point, then glue fiberglass mesh tape over seams before applying setting-type joint compound (e.g., Durabond 45). Let cure 45 minutes before sanding. Skipping mesh leads to hairline cracks within 3 months, especially near vibration-prone fixtures.
Will turning off the water heater stop the leak?
No. Shower valve leaks occur on the supply side—before the heater. Turning off the heater only stops hot water flow; cold water still feeds the valve. Always shut off the dedicated shower shut-offs (if present) or the main house valve. According to the U.S. EPA, 14% of household water usage is from leaks—many caused by partial shutoffs that create pressure imbalances.
How long should a shower valve last?
With proper maintenance, brass-bodied valves last 20–30 years. Plastic-bodied valves (common in rentals built 2005–2015) average 8–12 years. A telltale sign of end-of-life? Dripping increases noticeably when water pressure exceeds 65 psi—get your home’s pressure tested annually.
Do I need to replace the entire rough-in valve?
Rarely. Over 90% of leaks are resolved by replacing internal components—not the rough-in body. Replacement is only necessary if the brass body shows pitting, thread stripping, or if you’re upgrading to a different brand (e.g., switching from Delta to Moen), which requires new mounting dimensions.
What’s the fastest way to locate the exact leak point?
Use a digital thermal camera ($129–$299) while running hot water for 90 seconds, then shutting off. The hottest spot on the wall surface—usually within 2" of the valve center—is where moisture is actively escaping. Infrared imaging catches leaks 3 days earlier than visual inspection alone (ASHRAE Journal, 2022).
Can hard water cause this issue?
Absolutely. Cities with >120 ppm hardness accelerate scale buildup inside cartridges and seats. In Phoenix and Dallas, 78% of valve leaks involve calcium-carbonate clogging (American Water Works Association, 2023). Install a point-of-use ion-exchange filter on the shower line if your water exceeds 100 ppm.
"A single dripping shower valve wastes up to 3,000 gallons per year—enough to fill a small backyard pool. That’s why diagnosing early matters more than perfect technique." — Plumbing Contractor Magazine, March 2024
Fixing a leaking shower valve behind the wall isn’t about brute force—it’s about precision, patience, and knowing when your skill set meets its limit. You’ll save hundreds on labor and prevent thousands in water damage if you move deliberately, verify each step, and don’t skip the moisture check afterward. For ongoing help, see our guides on how to replace a shower cartridge and shower handle won’t shut off water.