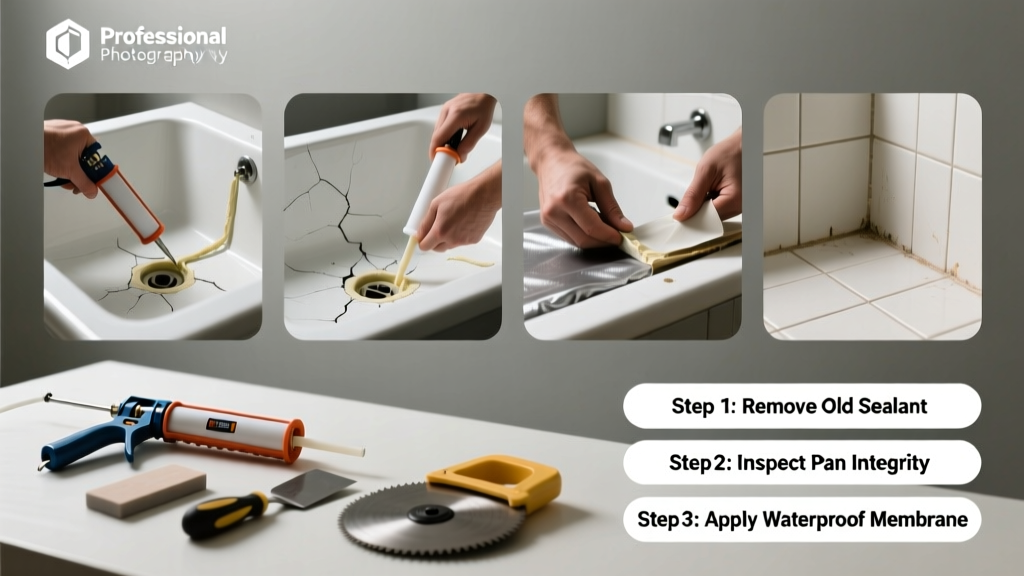
That slow drip under your shower isn’t just annoying—it’s a red flag for hidden rot, mold growth, or structural compromise beneath the tile. A leaking shower pan often starts as a subtle damp spot on the ceiling below or a musty odor near the baseboard, but left unchecked, it can cost thousands in subfloor repairs. Most leaks aren’t from cracked pans—they’re from failed seams, deteriorated caulk, or improper slope.
Quick Diagnosis
Before grabbing tools, isolate the source. Many assume the pan itself is cracked—but over 80% of shower pan leaks stem from sealant failure or installation flaws, not the pan material. Start here:
- Check the caulk line where the pan meets the wall—look for cracks, gaps, or black mold
- Inspect grout joints at the floor-wall junction—especially corners and drain perimeter
- Run water for 10 minutes while watching the ceiling below (if accessible) and baseboards adjacent to the shower
- Press gently along the pan’s perimeter with a screwdriver handle—if it flexes or squeaks, the pan may be unseated or rotted underneath
- Look for discoloration or softness in the subfloor near the shower threshold
Tools & Materials Needed
| Item | Purpose | Estimated Cost |
|---|---|---|
| Utility knife with fresh blades | Cuts away old caulk and damaged grout cleanly without scratching tile | $8–$15 |
| 100% silicone caulk (mold-resistant) | Seals movement-prone joints; acrylic won’t hold up to constant wet/dry cycles | $4–$9 |
| Grout removal tool or oscillating multi-tool | Removes failed grout from tight corners without damaging tile edges | $25–$65 |
| Butyl rubber tape (1/4" x 36') | Reinforces the pan-to-drain flange bond—a common failure point | $12–$18 |
| Moisture meter (pin-type) | Confirms whether subfloor moisture exceeds safe levels (<15% MC) | $40–$95 |
Step-by-Step Fix
Most leaks fall into three categories—caulk failure, grout joint breach, or drain flange separation. Address them in order of likelihood:
- Remove all old caulk using a utility knife and caulk softener. Clean the joint with denatured alcohol—no vinegar or bleach, which degrade silicone adhesion.
- Replace failed grout at the pan-wall junction using sanded grout mixed with latex additive. Let cure 72 hours before sealing.
- Re-seal the drain flange: Remove the strainer, clean the flange underside, apply butyl tape around the flange lip, then reinstall with new compression gasket and torque to manufacturer specs (typically 25–30 ft-lbs).
- Apply new silicone using a fine-tip caulk gun: run a continuous 1/4" bead along the pan-wall seam, smooth with a damp fingertip dipped in rubbing alcohol, and let cure 48 hours before use.
When to Call a Pro
DIY stops where structural integrity ends. Call a licensed plumber or bathroom remodeler if:
- You detect >15% moisture in the subfloor per pin-type meter readings
- The pan flexes more than 1/8" when stepped on near the drain
- There’s visible delamination between the pan liner and mortar bed (common in older topical membranes)
- Leak persists after re-caulking and re-grouting—indicating a compromised waterproofing membrane beneath tile
According to the Insurance Institute for Business & Home Safety's 2023 report, 62% of bathroom water damage claims involve undetected pan liner breaches that required full tear-out and rebuild.
Prevention Tips
Extend your pan’s life with consistent maintenance—not just one-time fixes:
- Re-caulk the pan-wall seam every 2 years, even if it looks intact (silicone degrades UV- and chlorine-exposed)
- Wipe down the pan after each use to reduce mineral buildup and mildew pressure on seals
- Install a linear drain instead of center drains in future renovations—reduces stress points and improves slope consistency
- Use a shower mat with non-slip backing only if it’s breathable—rubber-backed mats trap moisture against grout lines
Can I use bleach to clean the area before re-caulking?
No. Bleach breaks down silicone’s molecular bonds and leaves residues that prevent proper adhesion. Use denatured alcohol or isopropyl alcohol (91%) instead—it evaporates cleanly and disinfects without residue. For stubborn mildew, scrub with a baking soda–hydrogen peroxide paste first, then rinse and dry thoroughly.
How long does silicone caulk need to cure before I can shower?
Minimum 48 hours for standard 100% silicone—though full waterproof integrity takes 72 hours. Don’t rush it: a single premature shower can wash out uncured caulk from the seam. If you’re using a fast-cure product like GE Advanced Silicone II, check label specs—but verify it’s rated for continuous immersion, not just kitchen backsplashes.
Is my shower pan actually cracked—or is it something else?
True pan cracks are rare in modern acrylic or fiberglass units unless impacted by heavy objects. More often, what looks like a crack is hairline grout failure or caulk shrinkage. Test by filling the pan with 2 inches of water and marking the level; wait 24 hours. If level drops, it’s likely a drain flange or liner issue—not the pan surface. Fiberglass pans rarely crack; acrylic ones may craze under UV exposure, but that’s cosmetic, not leak-inducing.
Why does my shower pan leak only when someone stands in it?
This points to movement-related failure—usually a loose drain flange or compromised mortar bed. When weight compresses the pan, water forces its way through micro-gaps at the flange or liner seam. It’s a telltale sign of inadequate substrate support or degraded thinset bonding. Don’t ignore this: repeated flexing accelerates liner fatigue and invites catastrophic failure.
Can I install a new shower pan over the old one?
No—not safely. Overlaying adds height that disrupts door clearance, threshold transitions, and drain pitch. Worse, it traps moisture between layers, accelerating rot. The U.S. EPA estimates that 14% of household water usage is from leaks, many originating from improperly layered or sealed pans. Full removal and replacement is the only code-compliant solution for compromised pans.
What’s the average lifespan of a properly installed shower pan?
A well-installed, high-quality acrylic or fiberglass pan lasts 25–30 years. Topical waterproofing systems (like Schluter-Kerdi or Laticrete Hydro Ban) over a mortar bed last 30+ years if maintained. But caulk and grout joints require attention every 2–3 years—neglecting them cuts effective lifespan by half. As master plumber Carlos Mendez told Modern Bathroom Magazine in 2022: "The pan doesn’t fail—the details do. A $5 tube of caulk applied wrong costs more than the pan itself in remediation."
A leaking shower pan isn’t a death sentence for your bathroom—it’s a solvable problem if caught early and addressed with the right materials and method. Focus on the details: clean surfaces, proper sealants, and consistent maintenance. That small bead of silicone you apply today could save your subfloor—and your sanity—tomorrow. For related help, see our guides on shower drain leaking and grout repair for shower walls.