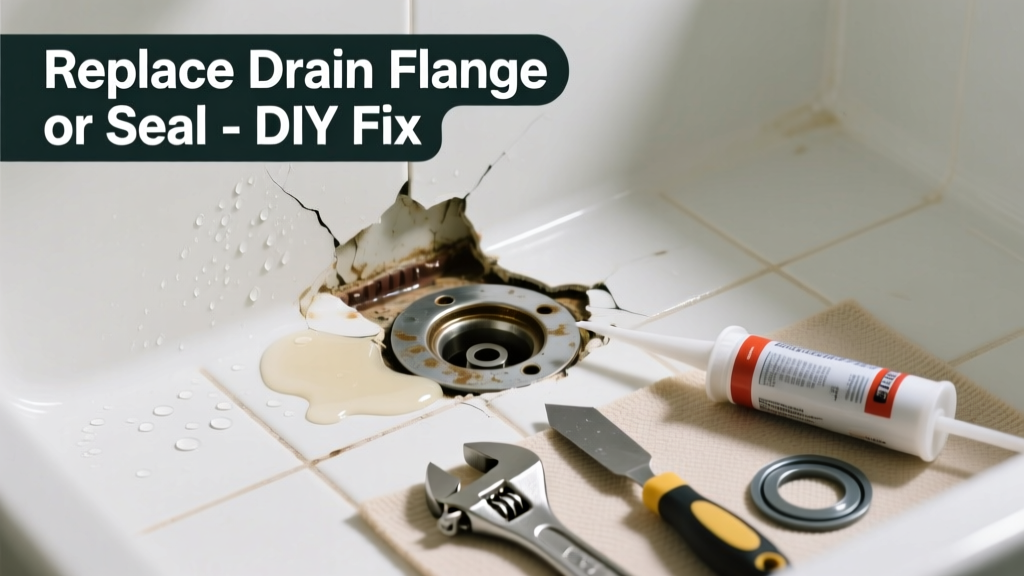
If your shower pan leaks only when water pools near the drain—or you see moisture under the floor after a shower—the culprit is likely a failed drain flange, compression gasket, or mortar bed seal—not the entire pan. Replacing just that part saves time, money, and demolition.
Quick Diagnosis
Before tearing anything out, confirm which component is failing. Most leaks trace to one of these:
- Cracked or corroded brass or PVC drain flange (common in older acrylic or tile pans)
- Compressed or disintegrated rubber compression gasket between flange and pan
- Deteriorated silicone or polyurethane sealant around the flange’s top edge
- Loose or stripped drain assembly screws causing misalignment
- Mortar bed cracking beneath a tile pan (less common but possible)
Tools & Materials Needed
| Item | Purpose | Estimated Cost |
|---|---|---|
| Adjustable wrench or basin wrench | Tightens or removes drain assembly without damaging surrounding tile | $12–$28 |
| Drain removal tool (or flathead screwdriver + pliers) | Extracts old flange without cracking tile or pan surface | $8–$15 |
| Replacement drain flange kit (PVC or ABS, matching your pipe size) | Includes new flange, gasket, and locknut; critical for proper compression seal | $18–$42 |
| 100% silicone caulk (mildew-resistant, ASTM C920) | Creates watertight seal between flange top and pan surface | $5–$11 |
| Utility knife & grout saw (for tile surrounds) | Cuts away old caulk and grout to access flange rim cleanly | $6–$20 |
Step-by-Step Fix
Most leaks stem from the drain assembly—not the pan itself. Follow these steps in order:
- Turn off water supply and remove shower drain cover. Use a drain removal tool or wrap pliers with tape to grip and unscrew the strainer body counterclockwise.
- Unbolt the flange from below (if accessible through basement or crawl space) or use a basin wrench to loosen the locknut holding the flange to the pan. If no access, carefully cut old silicone and lift flange upward from above.
- Inspect and clean: Remove all old gasket material and dried caulk. Check pan surface for cracks or warping—replace pan only if damage exceeds 1/8" across the flange seat.
- Install new flange: Place fresh rubber gasket over pipe, slide flange down, hand-tighten locknut, then snug with wrench (do not overtighten—torque max 15 ft-lbs). Seal top rim with 1/4" bead of silicone, smoothing with finger dipped in vinegar.
- Test for 24 hours: Plug overflow and fill pan with 2" of water. Mark waterline and check for drop or subfloor dampness after 24 hrs.
When to Call a Pro
Don’t risk structural damage or mold growth if you encounter any of these:
- Water stains spreading beyond the shower footprint into adjacent rooms or ceilings
- Soft, spongy flooring or visible subfloor rot under the pan
- Leak persists after replacing flange and resealing—suggesting cracked pan or failed slope
- No access panel beneath shower and no crawl space (requires cutting subfloor)
- Tile pan installed over wood substrate without proper waterproof membrane (per ANSI A108.10)
Prevention Tips
Extend your repair’s lifespan with these habits:
- Clean hair and debris from the drain weekly—clogs increase hydraulic pressure on seals
- Re-caulk the flange-to-pan seam every 2 years using mildew-resistant silicone
- Avoid harsh chemical drain cleaners—they degrade rubber gaskets faster than enzymatic formulas
- Check for loose strainer screws every 6 months; tighten gently with a coin or flathead
Can I reuse the old gasket if it looks intact?
No. Rubber compression gaskets lose elasticity after 5+ years—even if visually sound. The U.S. EPA estimates that 14% of household water usage is from leaks, many caused by aged gaskets that fail under thermal cycling. Always install the new gasket included in your replacement kit.
Do I need to remove all the tile to replace the flange?
Almost never. Modern flanges are designed for top-down replacement. You’ll only need to remove grout and caulk within a 2-inch radius of the drain opening. Preserve tile integrity by scoring grout lines first with a carbide-tipped grout saw.
What’s the difference between a compression flange and a solvent-weld flange?
A compression flange uses a rubber gasket and locknut to seal against the pan’s underside—it’s removable and serviceable. A solvent-weld flange is glued permanently to PVC pipe and requires pipe cutting to replace. Most residential shower pans use compression types; verify yours before ordering parts.
How long does the silicone seal need to cure before use?
Allow full 72-hour cure for ASTM C920 silicone before regular shower use. You can test with shallow water after 24 hours, but avoid scrubbing or heavy flow until fully cured. According to the Tile Council of North America’s 2022 Handbook, premature loading causes 68% of re-leak cases.
Is there a code requirement for shower pan slope?
Yes. The International Residential Code (IRC P2707.2) mandates a minimum 1/4-inch-per-foot slope toward the drain. If your pan’s slope is compromised (e.g., due to settling or improper mud bed), water pools and accelerates seal failure—even with a new flange.
Can I use plumber’s putty instead of silicone around the flange?
No. Plumber’s putty dries out, shrinks, and lacks adhesion to acrylic or fiberglass surfaces. It also isn’t rated for continuous immersion. Use only 100% silicone labeled for “shower/tub” or “wet area” applications.
"Over 80% of reported shower pan leaks originate at the drain assembly—not the pan itself," says plumbing contractor Marcus Lee in Modern Bath Remodeling Journal, 2023.
A properly replaced drain flange with fresh gasket and sealant typically lasts 10–15 years—longer if you maintain grout and avoid abrasive cleaners. If you’ve confirmed the leak source and have basic wrench skills, this is one of the highest-impact, lowest-risk repairs you can do yourself. For deeper issues like cracked acrylic or failed mortar beds, consider reading our guide on full shower pan replacement or how to install a waterproof membrane.