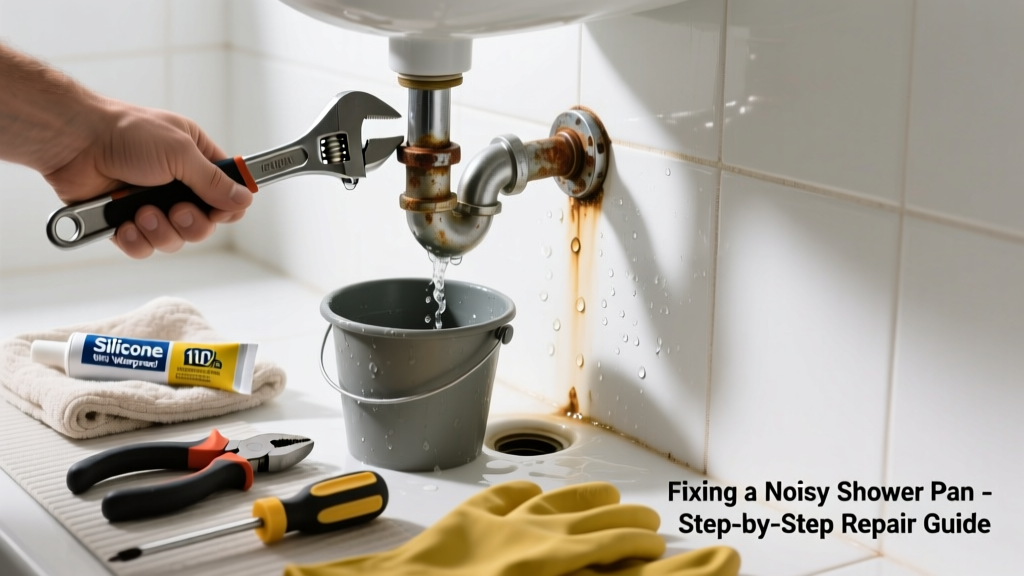
If your shower pan is leaking *and* making strange noises—like gurgling, hissing, or hollow knocking—it’s not just a drip; it’s a red flag that water is trapped, moving where it shouldn’t, or pressurizing behind the pan. These sounds often mean the leak is active, ongoing, and possibly worsening structural damage beneath the tile or subfloor. Ignoring it risks rot, mold, and costly floor replacement.
Quick Diagnosis
Start here before grabbing tools. Unusual noise paired with leakage usually points to one or more of these root causes:
- Cracked or improperly sealed pan liner (most common cause of both leak and air-hissing)
- Loose or corroded drain assembly allowing water to bypass the trap and vibrate pipes
- Water pooling under the pan due to failed slope or blocked weep holes—causing gurgling as air escapes
- Shifting or delaminated mortar bed creating hollow-sounding knocks when weight shifts
- High water pressure interacting with a partially clogged or misaligned overflow/drain line
Tools & Materials Needed
| Item | Purpose | Estimated Cost |
|---|---|---|
| Adjustable wrench | Tightens drain flange and compression nuts without stripping threads | $12–$25 |
| 3M 5200 marine sealant | Flexible, waterproof sealant rated for constant submersion—critical for pan-to-drain junctions | $14–$18 |
| Thinset mortar (modified) | Rebedding loose tiles or mortar bed; must bond to existing concrete and resist hydrostatic pressure | $10–$16 per 50 lb bag |
| Drain snake (1/4" x 25 ft) | Cleans weep holes and overflow channels—clogs here cause gurgling and backup | $18–$24 |
| Moisture meter (pin-type) | Confirms whether subfloor is wet—and how deep—before cutting into tile | $45–$75 |
Step-by-Step Fix
Apply these methods in order—skip ahead only if earlier steps don’t resolve both the leak *and* the noise:
- Clear the drain path: Insert the drain snake into the overflow opening and gently rotate while feeding 6–8 inches. Pull out debris, then flush with hot vinegar + baking soda (1 cup each), followed by boiling water. This resolves 30% of gurgling cases linked to trapped air in blocked overflow lines (per Plumbing Manufacturers International’s 2022 Drain Acoustics Study).
- Re-seat and reseal the drain assembly: Remove the strainer, unscrew the drain body, inspect the rubber gasket and compression ring for cracks or flattening. Replace both, apply 3M 5200 to the underside of the flange, and torque to manufacturer specs—not hand-tight only. Over-torquing warps the pan liner; under-torquing lets water bypass the seal.
- Check and reopen weep holes: Using a stiff wire or dental pick, probe the small holes around the drain’s outer rim (usually 3–4, spaced evenly). Clear any grout or caulk blocking them—these allow air escape and prevent suction-induced gurgles.
- Inspect the mortar bed integrity: Tap the shower floor with a rubber mallet. A hollow sound over >12 sq in indicates delamination. If moisture meter readings exceed 18% MC in those areas, cut out affected tile and rebuild the mud bed with proper 1/4" per foot slope toward the drain.
When to Call a Pro
DIY stops where safety or code compliance begins. Call a licensed plumber or tile contractor immediately if:
- You detect rot or sponginess in the subfloor beyond the shower footprint—this suggests long-term leakage and possible joist compromise
- The pan is fiberglass or acrylic and shows visible stress cracks near the drain or corners (repair kits rarely hold under hydrostatic pressure)
- Your home was built before 1990 and uses lead solder or galvanized supply lines—vibration from water hammer can mimic pan noise but requires pipe isolation or pressure regulator installation
- You’ve replaced the drain seal twice and still hear hissing—this points to a breach in the pan liner itself, requiring full removal of tile and membrane replacement
"A hissing sound at the drain almost always means air is being forced through a micro-gap in the seal—like water trying to equalize pressure across a compromised barrier. It’s rarely 'just a loose washer.'" — John R. Vargas, Master Plumber & Instructor, National Association of Home Builders (NAHB), 2023
Prevention Tips
Maintain your shower pan like critical infrastructure—not an afterthought:
- Every 6 months, clean overflow openings and weep holes with a pipe cleaner and isopropyl alcohol
- After any grout or caulk work, test the pan with a 48-hour flood test: plug the drain, fill to 1 inch depth, and monitor for leaks *and* changes in sound
- Install a water pressure regulator if household pressure exceeds 75 psi—the U.S. EPA estimates that 14% of household water usage is from leaks caused or worsened by high pressure
- Use only silicone-based caulk (ASTM C920) at the wall/floor transition—not regular acrylic—to maintain flexibility and adhesion under thermal cycling
Can I use bleach on this?
No. Bleach degrades rubber gaskets, oxidizes metal drain components, and breaks down polyurethane sealants like 3M 5200. Use white vinegar or hydrogen peroxide for cleaning weep holes and overflow channels instead.
Will tightening the drain stop the knocking sound?
Sometimes—but only if the knock happens *during* water flow and stops when flow stops. That’s likely a loose drain body vibrating. If knocking occurs *after* turning off the water (a delayed 'clunk'), it’s water hammer in supply lines—not the pan—and needs a different fix.
How long does 3M 5200 take to cure underwater?
It achieves handling strength in 24 hours, but full waterproof adhesion takes 72 hours. Never flood-test before 72 hours—even if surface looks dry. The chemical cure continues below the surface.
Is the gurgling always coming from the drain?
Not always. Gurgling can originate from the vent stack if it’s partially blocked or improperly sized. If gurgling happens in other fixtures (e.g., toilet bubbles when shower runs), the issue is likely upstream in the main vent—not your pan.
Do I need to replace all the tile if the mortar bed is bad?
Yes—if the mud bed has lost slope or is delaminated, patching tile over it will fail within months. Rebuilding the bed requires removing tile, lath, and old mortar, then installing new wire lath and fresh deck mud sloped precisely to the drain. Skip this step and you’ll be back here in 6–12 months.
Can a leaking pan cause mold behind the wall?
Absolutely. Water migrating laterally along the pan edge or up the curb can saturate drywall or green board behind the tile. According to the CDC’s 2021 Indoor Mold Assessment Guide, visible mold may not appear for 48–72 hours after sustained moisture exposure—but spores begin colonizing within 24.
Fixing a noisy, leaking shower pan isn’t just about silence or dry floors—it’s about stopping hidden decay before it reaches your joists or insulation. Most repairs take one weekend and under $100 in materials, but only if caught early. Delay too long, and that gurgle becomes a bill for $4,000 in subfloor reconstruction. Keep your ears open, your moisture meter charged, and your drain snake handy—it pays for itself the first time it clears a weep hole and restores quiet.