A leaking shower pan isn’t just an annoyance—it’s a silent threat to your bathroom’s structural integrity and mold resistance. Water seeping beneath the pan can rot subflooring, warp joists, and feed hidden mold colonies behind walls. Catch it early, and you’ll save hundreds—or even thousands—in future repairs.
Quick Diagnosis
Before grabbing tools, confirm the source. Not all 'shower leaks' come from the pan itself. Rule out these common culprits first:
- Cracked or missing grout between floor tiles and wall base
- Failed caulk at the shower pan-to-wall transition (especially where tile meets pan)
- Loose or corroded drain assembly with compromised gasket or compression ring
- Microfractures in fiberglass or acrylic pan surfaces (often visible as hairline cracks near corners or drain)
- Improperly sloped pan causing water pooling and slow seepage through seams
Tools & Materials Needed
| Item | Purpose | Estimated Cost |
|---|---|---|
| Adjustable wrench | Tightens drain assembly and compression nuts without stripping threads | $12–$25 |
| 100% silicone caulk (mold-resistant) | Seals pan-to-wall joint; must be 100% silicone—not acrylic or latex | $4–$9 |
| Grout removal tool or oscillating multi-tool | Cleans old grout without damaging tile edges or pan lip | $25–$65 |
| Hydrostatic pressure test kit (or bucket + food coloring) | Confirms leak location by isolating water flow to pan only | $0–$35 |
| Fiberglass repair kit (for acrylic/fiberglass pans) | Reinforces cracks with resin, cloth, and catalyst—critical for structural integrity | $28–$42 |
Step-by-Step Fix
Choose the method based on your diagnosis. Most leaks fall into one of these categories:
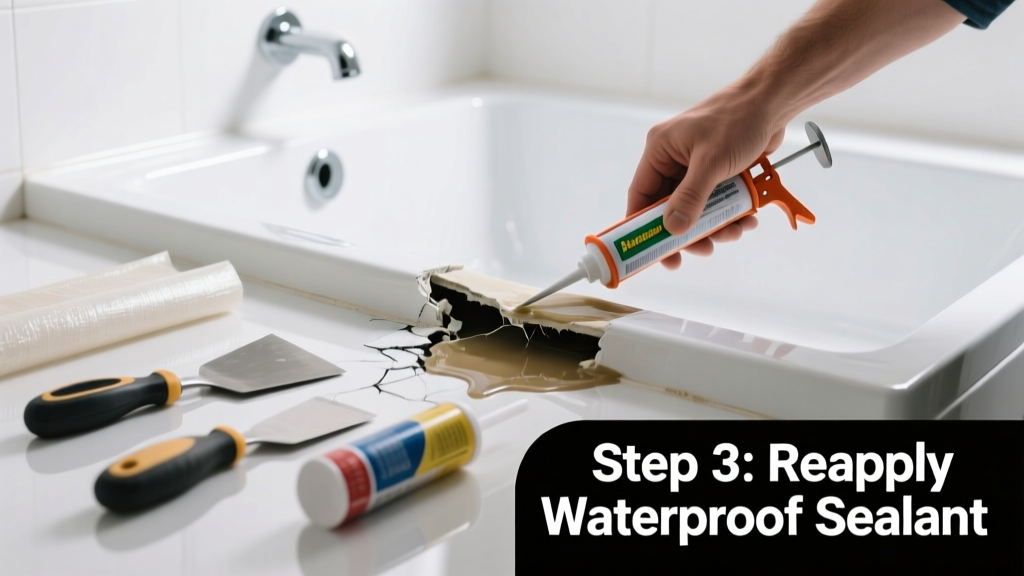
- Recaulk the pan-to-wall seam: Remove all old caulk with a utility knife and mineral spirits. Dry thoroughly. Apply 1/4" bead of 100% silicone caulk using steady pressure and smooth with a damp finger. Let cure 72 hours before use.
- Tighten or replace the drain assembly: Shut off water supply, remove strainer, and inspect rubber gasket and compression ring. Tighten nut evenly with adjustable wrench—don’t overtighten. Replace gasket if cracked or flattened (see full drain repair guide).
- Repair microcracks in fiberglass/acrylic: Sand area lightly with 220-grit, clean with acetone, apply fiberglass resin per kit instructions, lay cloth patch, then seal with topcoat. Cure 24+ hours.
- Replace failed grout line: Remove grout to 1/8" depth, vacuum debris, mix sanded grout, pack tightly, and wipe excess after 15 minutes. Seal with penetrating grout sealer after 72 hours.
When to Call a Pro
DIY stops where safety or code compliance begins. Call a licensed plumber or bathroom contractor if:
- You see buckling, softness, or discoloration in the subfloor beneath the shower—this indicates prolonged saturation
- The leak persists after recaulking, regROUTING, and drain tightening
- Your shower pan is integral to a tiled curbless design or bonded to concrete slab—removing it risks cracking tile or slab
- You suspect the leak originates from below the pan (e.g., supply line joints or P-trap under floor)
According to the Insurance Institute for Business & Home Safety's 2023 report, 68% of bathroom water damage claims involved undetected pan leaks that went unrepaired for over 6 months—many requiring full subfloor replacement.
Prevention Tips
Maintenance beats mitigation every time. Build these habits into your routine:
- Inspect caulk and grout lines every 3 months—look for gaps, discoloration, or crumbling
- Wipe down pan edges after each shower to reduce moisture buildup and mildew growth
- Use a squeegee on glass doors and pan surface weekly to minimize standing water exposure
- Reseal grout annually—even sanded grout loses hydrophobic properties over time
- Install a drip tray under handheld shower hoses to catch splashes near pan edges
Can I use bleach on this?
No. Bleach degrades silicone caulk and accelerates deterioration of fiberglass resins. It also reacts poorly with grout sealers and can etch acrylic surfaces. Use hydrogen peroxide-based cleaners or vinegar solutions instead for mold prevention.
How long does silicone caulk need to cure before showering?
Minimum 72 hours—full bond strength develops after 7 days. Rushing it causes premature failure. If humidity exceeds 60%, extend curing time by 24 hours. See our tested caulk comparison.
Will waterproofing paint fix a leaking pan?
No. Paint-on membranes like RedGard are designed for new installations over cement board—not retrofits over existing pans. They won’t adhere reliably to slick acrylic or fiberglass and offer zero structural reinforcement.
Is my shower pan covered by homeowner’s insurance?
Usually not for wear-and-tear leaks—but sudden, accidental water discharge (e.g., burst pipe feeding the shower) may be covered. Document everything: photos, repair attempts, and dates. The U.S. EPA estimates that 14% of household water usage is from leaks—many preventable with timely intervention.
Can I tile over a leaking pan to hide the problem?
Never. Tiling over a compromised pan traps moisture, accelerates rot, and creates hazardous delamination. You’ll face far costlier demolition later—and potential liability if resale disclosure fails.
How do I know if the leak is coming from the shower arm or valve instead?
Turn off the shower valve completely and run only the tub spout—if water still appears around the pan, it’s likely pan-related. If no leak occurs with valve off, suspect the valve cartridge or shower arm connection. Check for drips behind the wall plate with a flashlight and mirror.
A well-maintained shower pan should last 15–20 years—but only if you treat it like the critical barrier it is. Small fixes today keep your subfloor dry, your air quality safe, and your next renovation budget intact. Replacing a pan costs $1,200–$2,800; catching a leak early? Often under $40 and an hour of your time.