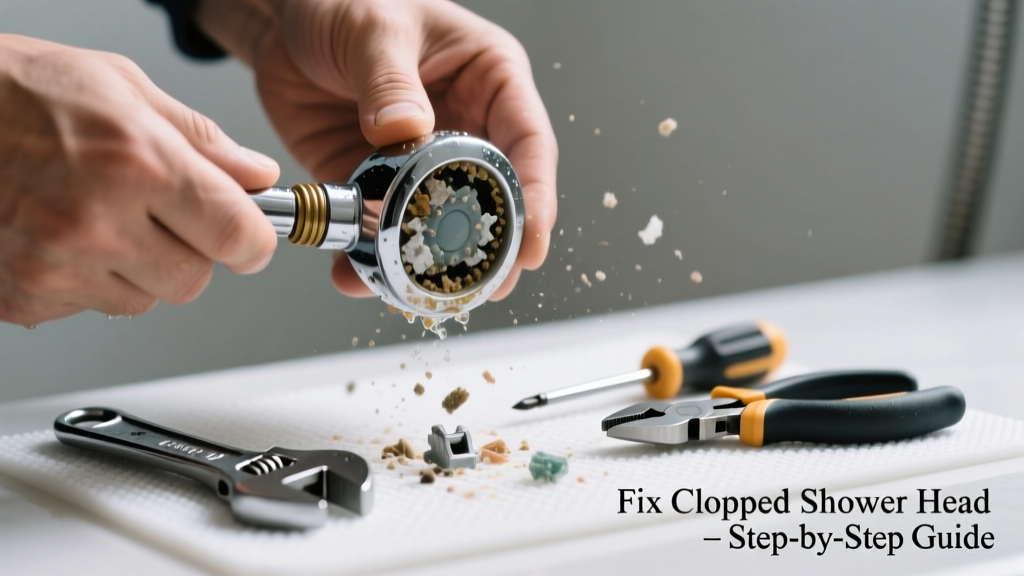
That sudden rattle, hiss, or uneven sputter when you turn on the shower isn’t just annoying—it’s a red flag. Mineral buildup, debris in the flow restrictor, or a failing internal washer can turn your relaxing shower into a plumbing puzzle. Most of the time, it’s a quick 20-minute fix with tools you already own.
Quick Diagnosis
Before grabbing tools, rule out these four most common culprits:
- Hard water mineral deposits (especially calcium and magnesium) blocking spray holes or internal channels
- A dislodged or cracked flow restrictor plate vibrating under pressure
- Debris—like rust flakes from galvanized pipes or sediment from the water heater—lodged in the shower arm threads or head inlet
- A worn-out rubber washer inside the shower head body causing erratic water turbulence and noise
Tools & Materials Needed
| Item | Purpose | Estimated Cost |
|---|---|---|
| Vinegar (white, 5% acidity) | Dissolves mineral scale without damaging brass or chrome finishes | $2.50–$4.00 |
| Small wire brush or toothbrush | Cleans fine spray holes and crevices without scratching | $1.99–$5.50 |
| Needle-nose pliers | Removes flow restrictor or loosens corroded connections safely | $8.00–$15.00 |
| Teflon tape (PTFE) | Seals threads after reassembly to prevent leaks and air intake noise | $2.00–$3.50 |
| Soft cloth or microfiber towel | Protects finish during disassembly and prevents scratches | $3.00–$6.00 |
Step-by-Step Fix
Try these methods in order—start simple, escalate only if needed:
- Vinegar soak (for mineral buildup): Unscrew the shower head, submerge it in a bowl of white vinegar for 30–60 minutes. For stubborn deposits, use a plastic bag filled with vinegar and secure it over the mounted head with a rubber band overnight.
- Flow restrictor inspection: Locate the small plastic disc (usually behind the faceplate or inside the inlet). Remove it with needle-nose pliers, rinse under warm water, and check for cracks or warping. Replace if damaged—most hardware stores carry universal restrictors ($1.99–$3.49).
- Shower arm flush: With the head removed, cover the open shower arm with a rag and briefly turn on the water to flush out debris. Watch for rust, sand, or flaking metal—this signals pipe corrosion upstream.
- Reassemble with fresh Teflon tape: Wrap the shower arm threads with 3–4 clockwise layers of PTFE tape before screwing the head back on. Over-tightening causes misalignment and noise—hand-tight plus ¼ turn with pliers is sufficient.
When to Call a Pro
Stop and call a licensed plumber if you notice any of these:
- Water pressure drops significantly at other fixtures (kitchen sink, tub, toilet)—suggesting whole-house sediment or valve issues
- Rust-colored water or metallic taste persists after flushing the shower arm—indicating deteriorating galvanized pipes
- The noise continues even after full disassembly, cleaning, and replacement of the restrictor and washers—pointing to internal valve failure or cross-threaded installation
- You detect moisture or mold behind the wall near the shower arm—possible leak behind tile or failed caulking seal
According to the Insurance Institute for Business & Home Safety's 2023 report, 62% of bathroom water damage claims stem from undiagnosed leaks behind fixtures—not visible drips but persistent pressure-related anomalies like unusual noise.
Prevention Tips
Keep your shower head quiet and efficient year-round:
- Soak the shower head in vinegar every 3–4 months if you have hard water (above 7 grains per gallon)
- Install a whole-house water softener if your municipal water tests above 120 ppm hardness—reduces scale buildup by up to 90%, per the Water Quality Association’s 2022 Field Study
- Replace rubber washers annually—even if they look intact—as heat and chlorine degrade them silently
- Always use a microfiber cloth when tightening; metal wrenches mar chrome and cause micro-fractures that trap minerals
Can I use bleach on this?
No. Bleach does not dissolve mineral deposits and aggressively degrades rubber gaskets and nylon restrictors. It can also react with copper or brass components, accelerating corrosion. Stick to white vinegar or citric acid solutions—they’re safer and more effective for limescale.
Why does it only hiss when I first turn it on?
This points to trapped air mixing with water under pressure—often caused by a partially blocked inlet screen or a loose washer fluttering at startup. The noise usually stops once the line stabilizes. If it persists beyond 5 seconds, inspect the inlet screen and replace the washer.
Will soaking in vinegar damage my chrome finish?
Short soaks (under 2 hours) won’t harm modern chrome-plated finishes—but prolonged exposure (overnight or longer) can dull high-gloss surfaces. Always rinse thoroughly and dry with a soft cloth. For antique or unlacquered brass, skip vinegar entirely and use a baking soda paste instead.
What if the noise comes from the wall, not the head?
That’s likely a failing pressure-balancing valve inside the wall-mounted faucet body—or loose pipe straps allowing vibration. These require opening the access panel behind the shower controls. Don’t attempt this without confirming shutoff valve location and verifying local code permits for in-wall work.
How do I know if my water is hard enough to cause this?
Check your municipal water report (search “[your city] water quality report 2024”) or buy a $10 test kit from water hardness test kit. Anything above 7 grains per gallon (120 ppm) warrants regular descaling. You’ll also see white crust on faucets, soap scum that won’t rinse, and stiff laundry.
Can I replace just the flow restrictor, or do I need a new shower head?
You can almost always replace just the restrictor—it’s a standardized ½-inch threaded disc. Most major brands (Delta, Moen, Kohler) publish replacement part numbers online. Search “shower head repair parts” for diagrams and compatibility charts before ordering.
A noisy shower head is rarely a sign of impending disaster—but it’s one of the clearest early warnings your water system needs attention. Fix it now, and you’ll avoid bigger headaches (and higher water bills) down the line. And if you’ve tackled the restrictor and still hear that odd whistle? Check the shower valve noise troubleshooting guide next—it might be hiding deeper in the wall.