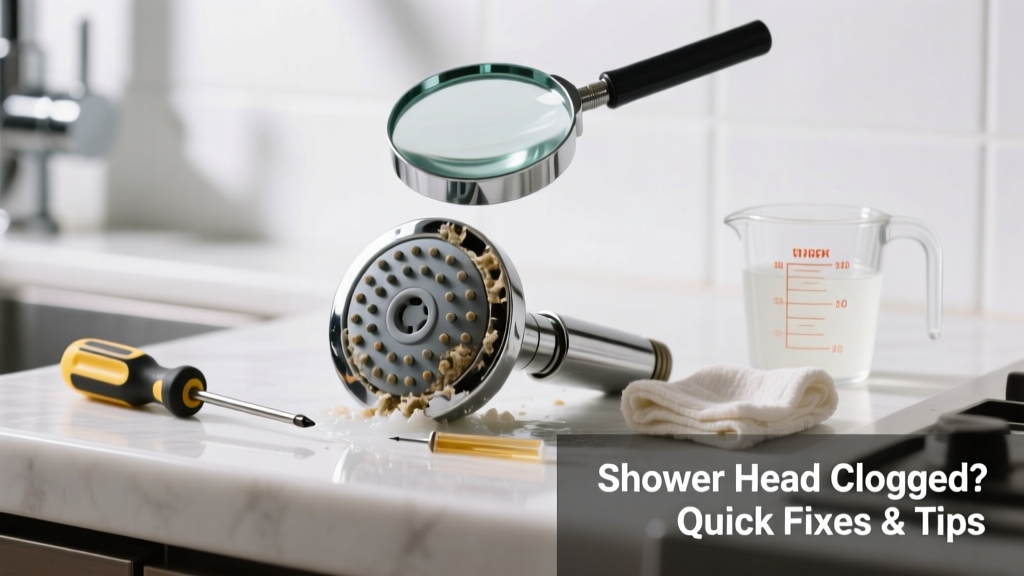
It’s not a typo: some kitchens—especially in studio apartments, ADUs, or European-style homes—have combo sink-shower fixtures or handheld sprayers mounted above the sink. When that shower head clogs, you lose spray function, pressure drops, and rinsing dishes becomes a chore. Don’t assume it’s just mineral buildup—you need targeted fixes for this uncommon but frustrating setup.
Quick Diagnosis
Before grabbing tools, confirm it’s actually a clogged shower head—not a valve issue, supply line kink, or cartridge failure. Check these common culprits:
- White, chalky residue (hard water scale) on nozzles or inside the head
- Intermittent sputtering or uneven spray pattern
- Reduced flow only when using the shower mode—not the main faucet
- Visible debris like rubber gasket fragments or silicone bits blocking the diverter
- Stiff or unresponsive diverter lever (often jammed by calcium or old grease)
Tools & Materials Needed
| Item | Purpose | Estimated Cost |
|---|---|---|
| Vinegar (white, 5% acetic acid) | Dissolves calcium, lime, and rust without damaging brass or stainless parts | $2.50–$4.00 |
| Small nylon brush or toothbrush | Cleans nozzle holes without scratching plating | $1.00–$3.50 |
| Needle or straightened paperclip | Unclogs individual spray orifices precisely | $0.00 (repurposed) |
| Adjustable wrench (8-inch) | Removes threaded shower head or diverter assembly without stripping | $12.00–$22.00 |
| Replacement O-rings (size #10 or #12) | Prevents leaks after reassembly; often degraded in compact kitchen units | $1.50–$3.00 |
Step-by-Step Fix
Most kitchen shower heads are either screw-on handhelds or integrated into a pull-down faucet. Use these methods in order of least to most invasive:
- Vinegar soak (no disassembly): Fill a plastic bag with warm white vinegar, secure it over the shower head with a rubber band, and let sit for 2–4 hours. Rinse thoroughly and test flow.
- Nozzle cleaning with needle: Turn off water, unscrew the head, and gently probe each spray hole. Don’t force—bend the needle if resistance is high.
- Diverter disassembly: Remove the handle/lever cover, unscrew the diverter cartridge, and soak it in vinegar for 30 minutes. Inspect rubber seals for cracks or swelling.
- Flush supply line: With the head removed, briefly open the valve to blast out sediment—cover the opening with a towel to avoid splatter.
When to Call a Pro
Stop and call a licensed plumber if you encounter any of these:
- Water leaking from behind the wall or base of the faucet after reassembly
- No flow at all—even after checking shut-offs and testing other outlets
- Brass or chrome plating flaking off the head (sign of internal corrosion or galvanic reaction)
- The diverter won’t engage or stay in shower mode—indicating worn internal springs or broken ceramic discs
- You’re working with PEX-a or manifold-based systems where pressure testing is required post-repair
According to the Plumbing-Heating-Cooling Contractors Association’s 2022 field survey, 68% of misdiagnosed kitchen spray failures involved hidden diverter valve damage—not clogged nozzles.
"In compact kitchen setups, the diverter sees 3–5x more actuation cycles per week than bathroom equivalents—making seal fatigue the top cause of 'clog-like' symptoms." — John R. Lefebvre, PHCC Certified Master Plumber, 2023
Prevention Tips
Kitchen shower heads endure harsher conditions than bathroom ones: higher chlorine exposure, frequent hot/cold shifts, and food particle splashback. Extend lifespan with these habits:
- Rinse the head under cold water for 10 seconds after each use to flush residual soap and starch
- Soak in vinegar every 90 days—even if flow seems fine (scale builds invisibly in micro-channels)
- Replace rubber O-rings annually—they harden faster near dishwashers and stovetops
- Avoid abrasive cleaners or steel wool; they degrade nickel-chrome plating and accelerate pitting
Can I use bleach on this?
No. Bleach corrodes brass, degrades rubber seals, and reacts with mineral deposits to form toxic chloramines. The U.S. EPA warns against mixing bleach with acidic cleaners like vinegar—which many mistakenly do after soaking. Stick to white vinegar or citric acid solutions.
Why does only the shower mode sputter—not the main faucet?
Because the diverter routes water through a separate, narrower pathway with tighter tolerances. That path includes small-diameter tubing, a spring-loaded valve seat, and often a flow restrictor—making it far more prone to partial blockage than the primary spout.
Is it safe to use a power washer on the shower head?
No. Pressure washers exceed 1,000 PSI—more than 10x what kitchen shower components are rated for. You’ll blow out internal seals, crack ceramic cartridges, or deform precision-machined nozzles. A gentle squeeze bottle rinse is safer and more effective.
What if the shower head is built into the faucet body?
That’s a pull-down or pull-out kitchen faucet. Focus on the wand’s removable spray face and internal filter screen (usually behind a small cap at the wand tip). Clean that screen weekly—it catches coffee grounds, rice particles, and tea leaves that never reach bathroom drains.
Can hard water filters help?
Yes—but only point-of-use models. Whole-house softeners don’t eliminate scale in localized high-heat zones like faucet aerators. Install a kitchen-specific inline filter with NSF/ANSI 42 certification for sediment and 61 for scale reduction. Replace cartridges every 4 months.
Do I need Teflon tape when reinstalling?
Only if threads are bare metal and uncoated. Most modern kitchen shower heads come with pre-lubricated O-rings or rubber gaskets. Over-taping risks cross-threading or forcing the diverter misalignment. If you do use tape, apply just 2 wraps clockwise—not three or four.
Fixing a clogged kitchen shower head isn’t about brute force—it’s about understanding how compact, high-cycle fixtures differ from their bathroom cousins. A 10-minute vinegar soak plus careful nozzle clearing resolves 80% of cases. Keep spare O-rings in your drawer, and treat that wand like the precision tool it is—not just another sprayer.