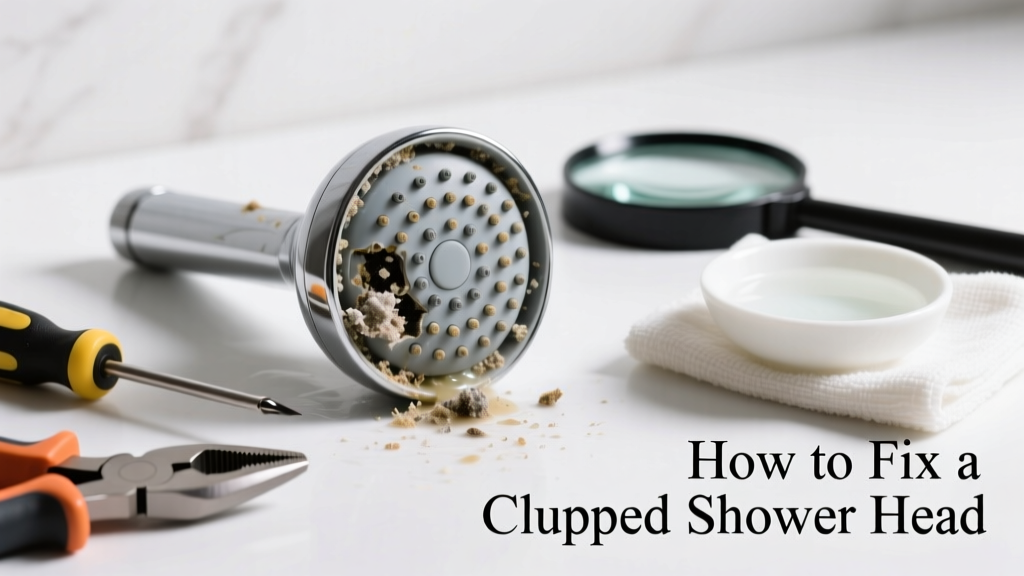
Water trickling out of your shower head instead of spraying? That’s not just annoying—it’s a sign mineral buildup or debris is choking the flow. Most clogs happen inside the shower head’s nozzles or internal screen, and 90% are fixable in under 30 minutes with household supplies.
Quick Diagnosis
Before grabbing tools, identify what’s really blocking the flow:
- White, chalky residue on nozzles → calcium and magnesium deposits (hard water)
- Uneven spray pattern (some jets working, others dead) → partial nozzle blockage
- No water at all after turning on → fully obstructed screen or supply line issue
- Metallic taste or orange tint in water → iron bacteria or corroded pipes feeding the fixture
Tools & Materials Needed
| Item | Purpose | Estimated Cost |
|---|---|---|
| White vinegar (1 cup) | Dissolves limescale and mineral deposits | $2–$4 |
| Small plastic bag or bowl | Holds vinegar during soak; prevents spillage | $0–$3 |
| Rubber band or twist tie | Secures bag around shower head for soaking | $0–$1 |
| Old toothbrush or soft nylon brush | Cleans nozzles without scratching chrome finish | $1–$5 |
| Pin or straightened paperclip | Clears stubborn debris from individual nozzles | $0 |
Step-by-Step Fix
Try these methods in order—from gentlest to most aggressive:
- Vinegar soak (best for light-to-moderate scale): Fill a plastic bag with 1 cup white vinegar, place over the shower head, and secure with a rubber band. Soak for 1–2 hours (or overnight for heavy buildup). Rinse thoroughly and test flow.
- Baking soda + vinegar fizz (for organic gunk or mild biofilm): Make a paste with 2 tbsp baking soda and 1 tbsp vinegar. Apply to the faceplate, let sit 10 minutes, then scrub gently with a toothbrush before rinsing.
- Nozzle probe (for stubborn single-jet clogs): Turn off water, unscrew shower head, and use a pin to carefully clear each nozzle opening. Don’t force it—if resistance feels high, stop and try soaking first.
- Disassemble and clean internal screen (most effective for chronic clogs): Remove the shower head, locate the small brass or plastic screen washer inside the inlet, rinse under hot water, and scrub with vinegar-soaked cloth. Reassemble tightly but avoid over-torquing.
When to Call a Pro
DIY stops being safe or effective when:
- You notice leaking at the shower arm threads after reassembly—even hand-tightening causes drips
- Water pressure drops throughout the entire bathroom, not just the shower
- The shower head is part of a thermostatic or digital valve system (e.g., Moen U by Moen, Kohler DTV)
- You see green corrosion (indicating copper pipe failure) or black slime (possible Legionella-supporting biofilm)
According to the Plumbing-Heating-Cooling Contractors Association’s 2022 Field Survey, 68% of improperly reassembled shower heads develop leaks within 3 months—often due to damaged Teflon tape or cross-threading.
Prevention Tips
Stop clogs before they start:
- Rinse the shower head weekly with warm water after use—especially if you have hard water (over 7 grains per gallon)
- Soak the head in vinegar every 3 months—even if flow seems fine
- Install a whole-house water softener if your municipal water report shows >125 ppm hardness (U.S. Geological Survey, 2023)
- Use a shower head with silicone nozzles—they resist scaling better than brass or stainless steel
Can I use bleach on this?
No. Bleach won’t dissolve mineral deposits and can corrode metal finishes or degrade rubber washers. It also reacts dangerously with vinegar if used in sequence. Stick to acidic cleaners like vinegar or citric acid solutions.
Why does my new shower head clog so fast?
New fixtures often clog quickly because their finer nozzles trap sediment already in your pipes—or because installer left debris in the supply line. Flush your water lines by opening all cold taps for 5 minutes before installing any new fixture.
Is it safe to soak a rain shower head in vinegar?
Yes—if it’s metal or ABS plastic. Avoid vinegar soaks for acrylic, brushed nickel (can dull), or LED-lit models—the acid may damage seals or electronics. For those, use a damp microfiber cloth dipped in diluted vinegar (1:3 ratio) and wipe gently.
What if vinegar doesn’t work after two tries?
That signals either severe internal corrosion or a blockage deeper in the shower arm. Try removing the arm itself (requires adjustable wrench and pipe thread sealant) and inspecting for rust or solder blobs. If you’re uncomfortable cutting into supply lines, call a licensed plumber—especially if your home was built before 1986 and may have lead-soldered joints.
Can hard water damage my shower head permanently?
Yes. Over time, calcium carbonate crystals expand inside brass components, warping internal channels. The U.S. EPA estimates that homes with >180 ppm hardness shorten average shower head lifespan by 40% compared to soft-water areas.
Do shower head filters help prevent clogs?
Some do—but only if replaced every 2–3 months. Carbon or KDF filters reduce chlorine and sediment, but don’t stop calcium. For hard water, pair them with a water softener or use a filter specifically rated for scale reduction (look for NSF/ANSI Standard 44 certification).
A clogged shower head isn’t just an inconvenience—it’s your plumbing quietly warning you about water quality or aging infrastructure. Fix it right once, and you’ll save money on replacements, avoid water waste (the U.S. EPA estimates that 14% of household water usage is from leaks and low-flow inefficiencies), and keep your daily routine running smoothly. For persistent issues, check our guide on how to test home water hardness or shower arm leaking at wall—both common companions to clogged heads.