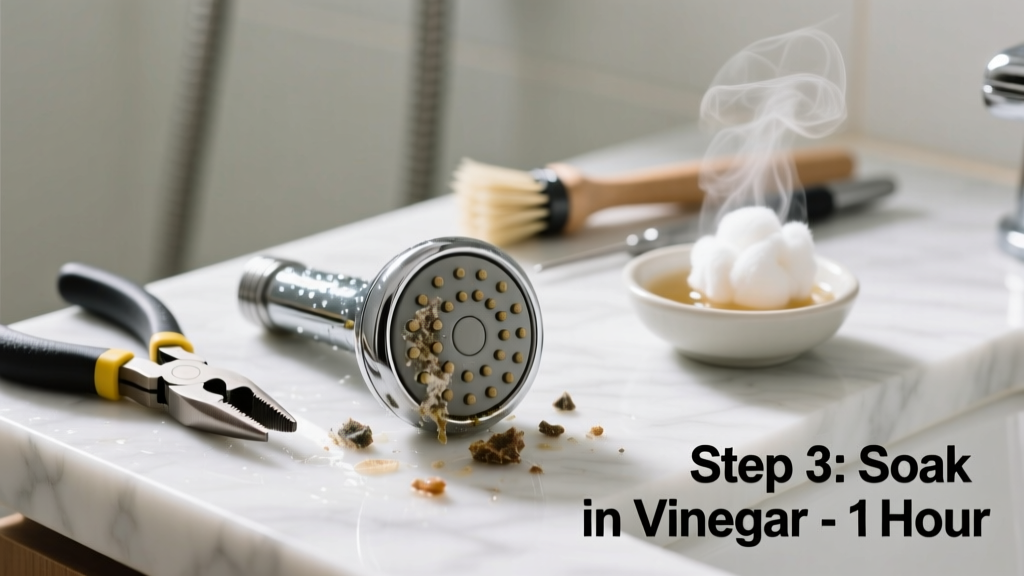
That weak, sputtering spray from your shower head isn’t just annoying—it’s a sign of mineral buildup, debris, or corrosion slowly choking your water flow. Most clogs are simple to clear in under 30 minutes with household items, but ignoring them can lead to pressure loss, uneven spray patterns, or even internal damage to the fixture.
Quick Diagnosis
Before grabbing tools, identify the likely culprit:
- White, chalky residue around nozzles → hard water mineral deposits (calcium & magnesium)
- One or two jets completely blocked while others flow → localized nozzle obstruction
- Reduced pressure across all jets → sediment buildup in internal channels or flow restrictor
- Discolored or gritty water during initial flow → rust or pipe scale dislodging
- Shower head leaks at the swivel joint after cleaning → damaged O-ring or over-tightening
Tools & Materials Needed
| Item | Purpose | Estimated Cost |
|---|---|---|
| White vinegar (1 cup) | Dissolves calcium, lime, and rust without damaging brass or chrome | $2–$4 |
| Small plastic bag + rubber band | Holds vinegar in place for overnight soak on mounted shower head | $1–$3 |
| Old toothbrush (soft bristle) | Scrubbing nozzles and crevices without scratching finish | $1–$2 |
| Needle or straightened paperclip | Clearing individual nozzle holes blocked by stubborn debris | $0–$1 |
| Adjustable wrench or pliers (with cloth) | Removing shower head safely—cloth prevents finish scratches | $8–$15 |
Step-by-Step Fix
Try these methods in order—start gentle, escalate only if needed:
- Vinegar soak (most effective for mineral buildup): Fill a plastic bag with 1 cup white vinegar. Secure it over the shower head with a rubber band so all nozzles are submerged. Let sit for 2–8 hours (overnight for heavy buildup). Remove, rinse thoroughly, and run hot water for 60 seconds.
- Toothbrush scrub + needle probe: After soaking, use a soft toothbrush dipped in vinegar to scrub the faceplate. Then gently insert a needle into each nozzle—don’t force it—to break up residual film or grit.
- Full disassembly & deep clean: Unscrew the shower head from the arm. Remove any flow restrictor (a small plastic or metal disc behind the faceplate). Soak all parts—including the restrictor—in vinegar for 1 hour. Rinse, reassemble, and hand-tighten only—over-tightening cracks plastic components.
- Flush the supply line: With the shower head removed, turn on the water briefly (cover the open pipe with a towel) to flush sediment from the shower arm. This prevents immediate re-clogging.
When to Call a Pro
DIY stops being safe or effective in these scenarios:
- Water pressure remains low even after full cleaning—suggests corrosion or blockage inside the wall pipes or valve cartridge
- The shower head is integrated into a thermostatic mixing valve (common in newer luxury systems) and won’t detach without specialized tools
- You notice greenish-blue staining or pinhole leaks near the shower arm—signs of copper pipe corrosion requiring repiping
- After repeated cleanings, clogs return within days—indicating untreated hard water entering the system upstream
"Over 75% of U.S. households experience hard water issues, and shower heads show symptoms first due to their narrow orifices." — Water Quality Association's Home Water Treatment Guide, 2022
Prevention Tips
Keep your shower head flowing strong year after year:
- Rinse the faceplate weekly with warm water and wipe dry—especially in high-humidity bathrooms
- Soak the shower head in vinegar every 3–4 months, even if flow seems fine
- Install a whole-house water softener if your water hardness exceeds 7 grains per gallon (test with a water hardness test kit)
- Choose a shower head with silicone nozzles—they’re self-cleaning and resist mineral adhesion better than brass or plastic
- Replace rubber washers and O-rings every 2 years; they degrade and trap sediment as they age
Can I use bleach on this?
No. Bleach doesn’t dissolve mineral deposits and can corrode metal finishes, degrade rubber seals, and react dangerously with vinegar if used in sequence. Stick to white vinegar or citric acid solutions.
What if my shower head won’t unscrew?
Wrap the base with a microfiber cloth, then grip with channel-lock pliers—not adjustable wrench—to avoid marring the finish. Apply steady, counterclockwise pressure. If it’s seized, apply penetrating oil like PB Blaster to the threads and wait 15 minutes before trying again. Never use heat—it warps plastic internals.
Is it safe to drill out clogged nozzles?
No. Drilling alters spray pattern, voids warranties, and risks cracking the housing. Even a 0.5 mm drill bit is larger than most nozzle openings (typically 0.3–0.4 mm). Use a needle or ultrasonic cleaner instead.
Why does my new shower head clog so fast?
New fixtures often expose pre-existing pipe scale. When water flow changes, loose sediment breaks free and lodges in the new head’s tighter tolerances. Flush your supply lines before installing any new fixture—and consider adding an inline sediment filter at the shower valve.
Do flow restrictors cause clogs?
Yes—flow restrictors (required by federal law since 1992) have tiny mesh screens that trap debris. They’re the #1 spot for early clogging. Always remove and clean them separately during maintenance. You’ll find one behind the faceplate or inside the threaded inlet.
Can I replace just the shower head faceplate?
Sometimes—but only if your model uses modular parts (e.g., Moen’s Posi-Temp or Delta’s H2Okinetic lines). Check the manufacturer’s website for replacement kits. Most budget models require full unit replacement, which costs $25–$65 and takes 5 minutes. See our shower head replacement guide for compatibility tips.
A clogged shower head is rarely a crisis—but left unaddressed, it becomes a symptom of deeper plumbing stress. Regular maintenance takes less time than waiting for the water heater to refill, and it extends the life of every fixture downstream. Keep vinegar in the bathroom cabinet, not just the kitchen—it’s the quiet hero of home hydrology.