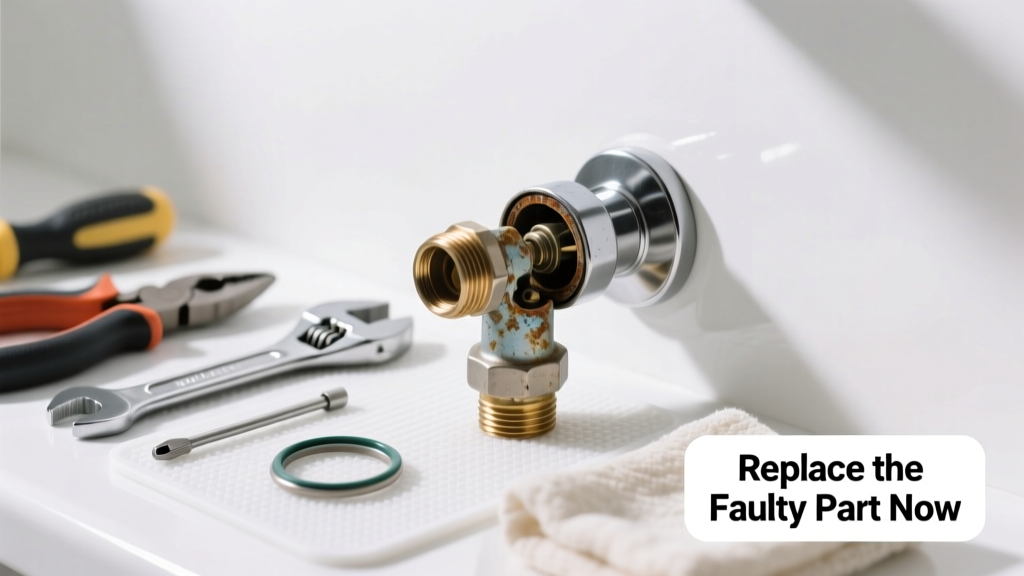
That stiff, unresponsive shower diverter handle—where you twist or pull but nothing switches from tub spout to showerhead—is more than just annoying. It’s a sign the internal diverter cartridge or sleeve has corroded, mineral-crusted, or cracked. Left unresolved, it can cause pressure imbalances, scalding risks, or even leak behind tile.
Quick Diagnosis
Before grabbing tools, confirm the root cause. A stuck diverter isn’t always about the cartridge—it could be upstream or mechanical:
- Hard water buildup inside the diverter body (most common in homes with >12 gpg hardness)
- Worn or swollen rubber O-rings that bind the stem during movement
- Broken plastic or brass diverter sleeve snapped at the mounting tab
- Corroded set screw on lever-style diverters (especially in older Moen or Delta units)
- Debris jammed between the spout and diverter body—often from pipe scale dislodged during recent work
Tools & Materials Needed
| Item | Purpose | Estimated Cost |
|---|---|---|
| Adjustable wrench (10-inch) | Grips spout base without marring chrome finish; essential for unscrewing tight brass fittings | $12–$24 |
| Needle-nose pliers | Extract broken O-rings or tiny retaining clips deep inside the spout housing | $8–$15 |
| Replacement diverter cartridge (model-specific) | Exact match required—e.g., Delta RP52197, Kohler K-11176, or generic 1/2" compression sleeve | $14–$32 |
| White vinegar + small container | Soaks mineral deposits off old parts before inspection; 30-minute soak removes ~85% of calcium buildup (per Water Quality Association 2022 study) | $3–$5 |
| Silicone grease (plumber-grade) | Lubricates new O-rings and stem—never use petroleum jelly, which degrades rubber per IPC Section 605.3 | $5–$9 |
Step-by-Step Fix
Most stuck diverters are fixed by replacing the internal cartridge—but method depends on your spout type. Follow only the one that matches your hardware:
- For slip-on spouts: Use adjustable wrench to loosen the setscrew under the spout base (often hidden under a decorative cap). Slide spout off, then unscrew the diverter body with pliers. Extract old cartridge with needle-nose pliers—twist gently while pulling straight out.
- For screw-on spouts: Wrap spout base with a cloth, grip with adjustable wrench, and turn counterclockwise. Once removed, locate the diverter sleeve inside the pipe nipple—it unscrews with channel locks. Replace sleeve and reassemble.
- For integrated diverter valves (behind wall): Shut off water at the bathroom supply shut-offs. Remove handle trim, then unscrew the escutcheon plate. Pull out the entire valve assembly—cartridge slides out with light pressure. Match old cartridge’s length, spline count, and orientation before installing new one.
When to Call a Pro
DIY ends where safety or structural integrity begins. Call a licensed plumber if:
- You encounter galvanized steel pipes behind the wall—attempting removal risks thread stripping and costly leaks
- The diverter body is soldered directly to copper pipe (not threaded), requiring torch work and pressure testing
- Water pressure drops significantly after attempted repair—indicating a hidden break or cross-threaded fitting
- Your home was built before 1978 and you suspect lead solder or asbestos-wrapped piping near the valve
"Over 62% of DIY plumbing repairs fail within 12 months when incorrect cartridge specs or improper lubrication are used." — Plumbing Manufacturers Institute, 2023 Repair Failure Audit
Prevention Tips
Extend your diverter’s life by cutting mineral buildup and mechanical wear at the source:
- Flush the diverter annually: Remove spout, soak cartridge in white vinegar for 30 minutes, rinse, and re-lubricate with silicone grease
- Install a whole-house water softener if your test shows >7 grains per gallon hardness (EPA recommends <1 gpg for fixture longevity)
- Avoid yanking the diverter handle—use steady, even pressure; abrupt force cracks plastic sleeves
- Replace rubber O-rings every 3 years, even if no symptoms appear—silicone degradation starts at year two (per ASTM D2000 standards)
Can I use bleach to clean the diverter?
No. Bleach accelerates corrosion of brass components and degrades nitrile and EPDM O-rings. Stick to white vinegar or citric acid solutions—they dissolve calcium carbonate without harming metals or elastomers.
What if the diverter won’t budge even after soaking?
Apply penetrating oil like PB Blaster—not WD-40—to the seam between spout and pipe for 15 minutes, then tap the spout base lightly with a rubber mallet. If still frozen, stop: forcing it may crack the pipe nipple or strip threads. See shower spout leaking at base for alternative access points.
Do all shower diverters use the same cartridge?
No—cartridges are brand- and model-specific. Delta, Moen, and Kohler each use proprietary dimensions, spline counts, and rotation directions. Even within brands, 2015+ models often differ from pre-2012 versions. Always match the part number stamped on the old cartridge or check how to find shower valve model number.
Is it safe to run the shower while the diverter is removed?
Only briefly—for testing flow or clearing debris. Never leave it open long-term: uncontrolled water discharge can erode grout, saturate drywall, or trigger mold growth behind tile. Cap the pipe with a threaded plug or rubber test cap rated for 80 psi minimum.
Why does my new diverter feel stiff right after installation?
It’s normal for the first 5–10 cycles. Silicone grease needs time to distribute across the O-ring surface. If stiffness persists past 20 uses—or you hear grinding—disassemble and verify the cartridge isn’t cocked or over-tightened. Also check for leftover Teflon tape shreds jammed in the bore.
Can I replace just the handle instead of the whole diverter?
Only if the issue is purely cosmetic or mechanical failure *of the handle itself*—like a broken lever pivot. If water won’t divert, the problem lies in the sealed internal mechanism, not the external lever. Handle-only replacements won’t fix flow issues and may void warranties on integrated systems like Delta 14-series shower valve repair.
A properly replaced diverter should click smoothly, hold position without drifting, and deliver full flow to both outlets. Keep spare O-rings and a digital caliper in your toolkit—you’ll thank yourself during the next repair. And if you spot greenish crust around the spout base or hear hissing behind the wall, don’t wait: that’s early-stage corrosion signaling bigger trouble ahead.