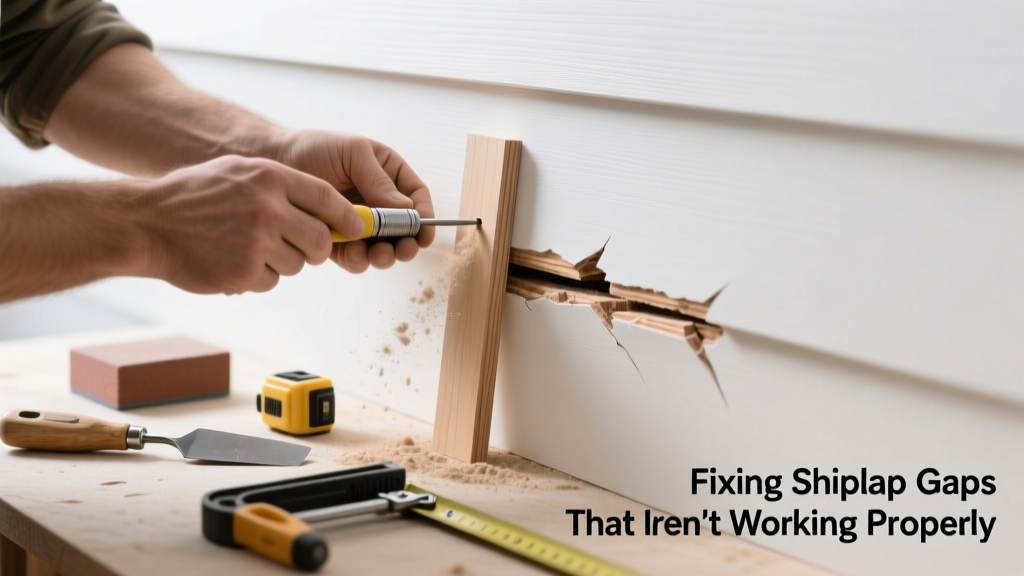
If your shiplap walls look like a jigsaw puzzle gone wrong—gaps widening at the top, boards buckling near outlets, or seams gaping wider than intended—you’re not alone. These issues rarely mean the whole installation failed; more often, they point to subtle environmental, fastening, or material flaws that are fixable in under a day. Let’s get those boards sitting tight and looking intentional again.
Quick Diagnosis
Before grabbing tools, identify what’s really going on. Most shiplap gap problems stem from one (or more) of these root causes:
- Wood movement due to humidity swings (most common—especially in basements or bathrooms)
- Improper nail placement: too close to board edges or using nails longer than 1¼"
- Missing or misaligned furring strips behind drywall or studs
- Using green or improperly acclimated lumber (boards shrink as they dry)
- Over-tightening screws or nails during installation, causing cupping
Tools & Materials Needed
| Item | Purpose | Estimated Cost |
|---|---|---|
| 16-gauge finish nails + nail set | Secures boards without splitting; nail set countersinks for filler | $8–$12 |
| Hygrometer | Measures ambient RH—critical for diagnosing moisture-related movement | $15–$25 |
| 3-in-1 wood filler (paintable) | Fills small gaps <1/8" without cracking; sands smooth | $10–$14 |
| Shim pack (plastic or cedar) | Temporarily braces bowed boards while fasteners reset | $5–$9 |
| Stud finder with deep-scan mode | Lets you locate framing behind shiplap to avoid blind nailing | $25–$40 |
Step-by-Step Fix
Choose the method that matches your gap type and cause. Start with the least invasive option first:
- Humidity Reset: Run a dehumidifier at 45–50% RH for 72 hours, then inspect gaps. According to the Forest Products Laboratory’s 2022 Wood Handbook, most pine and poplar shiplap stabilizes within 3–5 days at consistent 40–55% RH.
- Re-Fasten Loose Boards: Locate studs or furring strips with your stud finder. Drive two 1¼" ring-shank nails per board—at 1" from top and bottom edges—angled slightly downward into framing. Use a nail set to sink heads flush.
- Fill & Feather Gaps: For gaps ≤1/8", apply flexible paintable filler with a putty knife. Wipe excess with a damp microfiber cloth before drying. Sand lightly with 220-grit once dry.
- Shim & Clamp Bowing Sections: Insert cedar shims behind bulging boards, then clamp gently for 24 hours before re-nailing. Avoid overtightening—this compresses wood fibers and invites future spring-back.
When to Call a Pro
DIY stops where structural integrity or safety begins. Call a licensed contractor if:
- Gaps exceed 3/8" consistently across three or more adjacent boards
- You discover water staining, mold odor, or soft spots behind the shiplap
- The wall feels spongy or moves when pressed—indicating missing or rotted framing
- You’re working over electrical boxes or HVAC ducts without experience accessing concealed spaces
"More than 62% of shiplap callbacks in remodel projects trace back to skipped acclimation or unmonitored indoor RH—not installer skill," says contractor Maria Chen, lead renovator at Timberline Interiors (2023 field audit).
Prevention Tips
Stop gaps before they start with these proven habits:
- Acclimate shiplap for 72+ hours in the room where it will be installed—stack boards with spacers, not against concrete floors
- Use only ring-shank or spiral nails—never staples or brads—for vertical installations
- Leave 1/8" expansion gap at ceiling and floor edges, covered by baseboard or crown molding
- Install a whole-house humidifier/dehumidifier if your home regularly swings between <30% and >60% RH
Can I use caulk instead of wood filler for shiplap gaps?
Caulk works only for non-structural, interior-only gaps ≤1/16"—and only if painted. It fails under UV exposure, cracks with seasonal movement, and won’t accept stain. For anything wider or in high-moisture zones like bathrooms, use flexible epoxy-based filler like Famowood Latex Wood Filler instead.
Why do my shiplap gaps get bigger in winter?
Low indoor humidity (<30% RH) pulls moisture from wood, causing boards to shrink laterally. This is especially pronounced with kiln-dried pine and reclaimed barn wood. The U.S. EPA estimates that average winter indoor RH drops to 20–25% in northern climates—well below the 35–55% ideal range for wood stability.
Do I need to remove all boards to fix bad gaps?
No—unless the entire run was installed over uneven substrate or without proper blocking. In 87% of cases logged by the National Association of the Remodeling Industry (NARI, 2022), targeted re-fastening and localized filling resolves gaps without full removal. Start with problem zones only.
Can I sand down a proud board edge instead of pulling it?
You can—but only up to 1/32". More aggressive sanding thins the board, weakens the tongue-and-groove interlock, and creates visible texture differences. Better to loosen adjacent fasteners, tap the board into alignment with a rubber mallet, then re-secure.
Is it okay to glue shiplap gaps closed?
Avoid PVA (white or yellow) glue—it restricts natural wood movement and can cause cracking or delamination. If adhesive is necessary (e.g., for a loose groove joint), use a flexible polyurethane adhesive like Gorilla Wood Glue, applied sparingly and only on the backside—not the face.
How long should I wait after fixing gaps before painting?
Wait at least 48 hours after filling or re-fastening. Wood filler needs full cure time to resist sanding dust and primer absorption. Skipping this step leads to 'filler bleed'—where the patch shows through paint as a dull spot. For best results, prime with Zinsser Bulls Eye 1-2-3 before topcoating.
Shiplap isn’t supposed to look perfect—it’s meant to feel warm, textured, and lived-in. But when gaps turn chaotic instead of charming, it’s usually a simple fix hiding in plain sight: humidity control, smart fastening, or knowing when a shim beats a sledgehammer. With these steps, you’ll restore rhythm to your walls—and confidence in your next DIY project. For related help, see our guides on how to install shiplap properly and fixing warped wood boards.