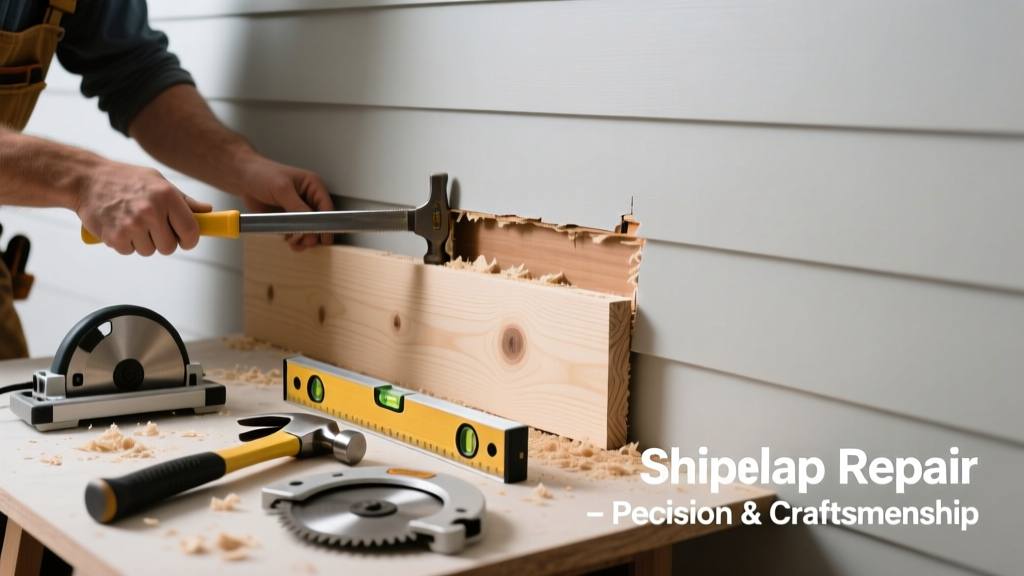
If your shiplap wall has developed uneven gaps—especially where one board bows, splits, or pulls away from its neighbor—it’s likely not the whole installation failing. More often, it’s a single compromised board or failed fastener that’s throwing off the entire run. This isn’t cosmetic; unchecked, moisture can creep behind the gap and rot framing or promote mold.
Quick Diagnosis
Before grabbing tools, confirm what’s actually broken. Most shiplap gap issues trace back to one of these:
- A warped or cupped board due to humidity swings (common in bathrooms or unconditioned attics)
- Loose or missing nails/screws at the top or bottom edge, letting the board sag
- Splitting along the tongue or groove from overdriven fasteners or dry-rot
- Water damage near a window, sink, or exterior wall causing localized swelling or decay
- Improper acclimation—boards installed before reaching equilibrium moisture content (EMC) with the room
Tools & Materials Needed
| Item | Purpose | Estimated Cost |
|---|---|---|
| 16-gauge finish nailer + 2" brad nails | Secures replacement board without splitting edges | $85–$140 (rental $25/day) |
| 10" miter saw or circular saw with fine-tooth blade | Cuts precise length and cleans up tongue/groove ends | $65–$220 |
| Wood filler (oil-based, stainable) | Fills small nail holes or minor grain gaps without shrinking | $12–$18 |
| Clamps (2x bar clamps, 24" minimum) | Holds board tight against adjacent pieces while nailing | $22–$38 |
| Replacement shiplap board (same species, profile, and thickness) | Matches existing grain, expansion rate, and visual continuity | $3.50–$7.25/ft |
Step-by-Step Fix
Replacing just the faulty board—not the whole wall—is faster and preserves character. Here’s how to do it right:
- Mark and cut access: Use a utility knife to score vertical lines 1/8" inside both edges of the damaged board. Then carefully chisel or oscillating tool along those lines to separate it from neighbors—don’t gouge the adjacent boards.
- Remove fasteners and lift out: Locate and extract all nails or screws holding the board—check behind the top and bottom edges. Gently pry loose with a thin pry bar, working from the center outward to avoid cracking neighboring boards.
- Test-fit the replacement: Dry-fit the new board, checking tongue-and-groove engagement on both sides. Trim length if needed—but leave 1/8" gap at top/bottom for seasonal expansion.
- Secure and blend: Apply construction adhesive to the back (optional but recommended for moisture-prone areas), then clamp and nail every 8" along top and bottom edges. Fill nail holes, sand lightly, and match finish using same sheen and color as surrounding boards.
When to Call a Pro
Don’t risk structural integrity or water intrusion by DIY-ing these scenarios:
- The gap runs across three or more boards and reveals bowed or rotted wall studs beneath
- You spot black staining, musty odor, or soft drywall behind the shiplap—signs of active mold or prolonged water exposure
- The wall is load-bearing and you’re removing boards near ceiling joists or header locations
- Your home was built pre-1978 and you uncover lead-painted wood during removal
Prevention Tips
Extend the life of your shiplap with these field-tested habits:
- Maintain indoor relative humidity between 35%–55% year-round—use a hygrometer and dehumidifier/humidifier as needed
- Leave 1/4" expansion gap behind baseboard and crown molding—never caulk shiplap tight to trim
- Use only corrosion-resistant fasteners (stainless steel or ring-shank galvanized) in bathrooms or laundry rooms
- Inspect annually behind furniture or artwork where airflow is restricted and moisture hides
"Over 68% of shiplap failures we see in service calls stem from improper fastener placement—not material defects." — National Wood Flooring Association Field Report, 2022
Can I use regular drywall compound to fill gaps between shiplap boards?
No. Drywall joint compound shrinks, cracks, and won’t accept stain or paint the same way wood does. Use a high-solids, stainable wood filler like Famowood or Timbermate instead—and always test on scrap first.
Do I need to remove the entire board if only the top 6 inches are split?
Yes—if the split compromises the tongue or groove connection, it will worsen. Partial repairs rarely hold. Cut cleanly and replace the full board to maintain alignment and prevent future gapping.
What if my replacement board doesn’t match the color or grain?
Re-staining is possible, but matching aged wood is extremely difficult. Source reclaimed or pre-finished shiplap from the same mill batch if possible—or consider refinishing the entire wall section for consistency. See our shiplap stain matching guide for blending techniques.
Can I glue the board instead of nailing it?
Glue alone isn’t sufficient—shiplap relies on mechanical fastening to resist seasonal movement. Use construction adhesive *in addition to* nails or screws, never as a substitute. Adhesive helps dampen vibration and seal against moisture, but doesn’t replace shear strength.
How long should I wait before painting or staining the replacement board?
Wait at least 48 hours after nailing and filling. Oil-based fillers need full cure time; water-based ones dry faster but still require 24 hours minimum. Sand lightly before finishing to ensure smooth adhesion—see our wood filler sanding tips for best results.
Is it okay to skip the expansion gap at the ceiling if the room is climate-controlled?
No—even in tightly controlled spaces, wood expands laterally with humidity spikes. Skipping the gap risks buckling, especially in longer runs. Always leave 1/8"–1/4" at top and bottom, and cover with appropriately sized trim.
A well-executed shiplap board replacement shouldn’t look like a patch—it should disappear into the rhythm of the wall. Take your time measuring, test-fitting, and matching finish, and you’ll preserve both function and aesthetic. If the gap reappears within six months, revisit your humidity control and fastener spacing—you’re likely fighting environmental forces, not faulty technique. For deeper moisture issues, check out our shiplap moisture detection checklist.