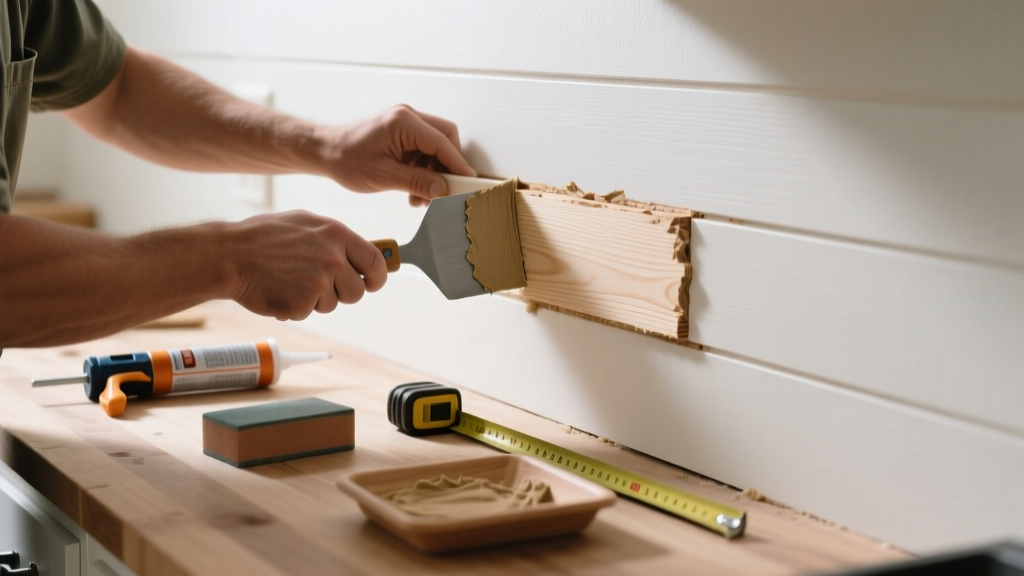
Kitchen shiplap gaps aren’t just unsightly—they’re red flags for moisture exposure, poor installation, or seasonal wood movement. Unlike living room shiplap, kitchen walls face steam, grease, and rapid temperature shifts that accelerate gap formation. Ignoring them invites grime buildup, mold risk, and compromised aesthetics.
Quick Diagnosis
Before grabbing tools, pinpoint the root cause. Most kitchen shiplap gaps stem from one (or more) of these:
- Seasonal wood shrinkage due to low winter humidity (<40% RH)
- Improper nail spacing—nails placed >16" apart increase board flex
- Missing or failed backer board behind drywall substrate
- Moisture infiltration behind boards from leaky sinks or unvented range hoods
- Use of non-kitchen-rated MDF or softwood without acclimation
Tools & Materials Needed
| Item | Purpose | Estimated Cost |
|---|---|---|
| 120-grit sanding sponge | Smooths filler edges without damaging adjacent boards | $4–$8 |
| Acrylic latex caulk (kitchen/bath rated) | Flexible, paintable sealant resistant to humidity and mild cleaning | $5–$12 |
| Painter’s tape (2" blue) | Creates clean lines; prevents caulk smearing on adjacent boards | $3–$7 |
| Small notched trowel (1/16") | Presses wood filler into narrow gaps without overfilling | $6–$10 |
| Dehumidifier (optional but recommended) | Maintains stable 45–55% RH during and after repair | $120–$250 |
Step-by-Step Fix
Choose the method based on gap width, location, and whether the wall sees frequent splash or cleaning:
- For hairline gaps (<1/16"): Clean with damp microfiber, then apply painter’s tape 1/8" from each side. Use a fine-tip caulk gun to lay a thin bead of kitchen/bath acrylic caulk. Smooth with a damp fingertip, remove tape immediately, and let cure 24 hours before wiping.
- For medium gaps (1/16"–1/8"): Fill in two passes—first with flexible wood filler (e.g., Minwax High-Performance Wood Filler), let dry 2 hours, then top with caulk for movement tolerance. Sand lightly with 120-grit only after full cure.
- For recurring or wide gaps (>1/8") near cabinets or backsplashes: Remove affected boards (mark nail locations first). Reinstall using 1-1/4" corrosion-resistant finish nails every 8" along studs—and add construction adhesive (Liquid Nails LN-903) to the back of each board.
When to Call a Pro
DIY stops where safety and structural integrity begin. Call a licensed contractor if you notice:
- Gaps accompanied by spongy drywall, discoloration, or musty odor behind boards (possible hidden water damage)
- More than three consecutive boards pulling away from studs—indicates framing movement or inadequate blocking
- Gaps widening more than 1/32" per month over three months (sign of ongoing substrate failure)
- Shiplap installed directly over green drywall or OSB without moisture barrier (requires full removal and vapor barrier retrofit)
"In kitchens, shiplap installed without a 2-mil polyethylene vapor barrier behind the substrate fails 3x faster in humid climates—per the NAHB Research Center's 2022 Moisture Performance Study."
Prevention Tips
Long-term success hinges on environment control and smart installation:
- Run your range hood for 15 minutes after cooking—even on low—to reduce steam accumulation
- Install a hygrometer and maintain indoor RH between 45–55% year-round
- Use only kiln-dried, interior-grade pine or poplar with ≤8% moisture content (verify with a moisture meter)
- Leave 1/8" expansion gap at ceiling and floor edges—cover with quarter-round or cove molding
- Prime and paint all shiplap boards before installation—not after—to seal end grain and reduce moisture absorption
Can I use regular wood glue to close shiplap gaps?
No. Wood glue dries rigid and brittle—it cracks when boards expand or contract with humidity swings. Kitchen environments demand flexible adhesives like PL Premium Polyurethane Construction Adhesive or Loctite PL S30, both rated for intermittent moisture exposure.
Will caulk yellow over time near the stove?
Yes—if you use standard white acrylic caulk. Choose a silicone-acrylic hybrid labeled "kitchen & bath" with UV inhibitors (e.g., GE Silicone II Kitchen & Bath). It resists heat up to 300°F and stays bright white for 7+ years when shielded from direct flame contact.
Do I need to repaint the whole wall after filling gaps?
Not necessarily. For small repairs, spot-prime the filled area with Zinsser Bulls Eye 1-2-3, then feather a matching eggshell paint with a 1" angled brush. Test on an inconspicuous board first—many modern shiplap paints have subtle sheen variations that show under raking light.
Can I install shiplap over existing tile backsplash?
Only if you first attach 1/4" cement board over the tile using thinset and tapcon screws—then screw shiplap to the cement board. Direct installation risks cracking grout lines and creates uneven surfaces that trap grease. See our guide on shiplap over tile backsplashes for load-bearing specs.
Is it safe to use expanding foam behind shiplap gaps?
No. Expanding foam generates pressure as it cures and can warp thin shiplap boards or force nails loose. It also off-gasses VOCs that linger in enclosed kitchen spaces. Stick to low-expansion window & door foam only if sealing behind backing—not within visible gaps.
How do I match the stain on existing shiplap after sanding?
Take a 2" scrap to a local Sherwin-Williams or Benjamin Moore store for digital color scanning. Bring natural light photos showing grain direction and sheen level. Their ColorSnap app often identifies close matches—but always test on a hidden board edge first. For best results, use gel stain (e.g., General Finishes Java Gel Stain) for even absorption on sanded end grain.
Shiplap gaps in the kitchen aren’t inevitable—they’re fixable, preventable, and often tied to simple environmental tweaks. Address the moisture first, choose flexible fillers over rigid ones, and treat every board like it’s part of a system—not just wall decor. If your gaps return within six months, revisit your ventilation setup before reaching for caulk again. For deeper issues like warped studs or missing blocking, consult our kitchen wall repair checklist or moisture detection tools guide.