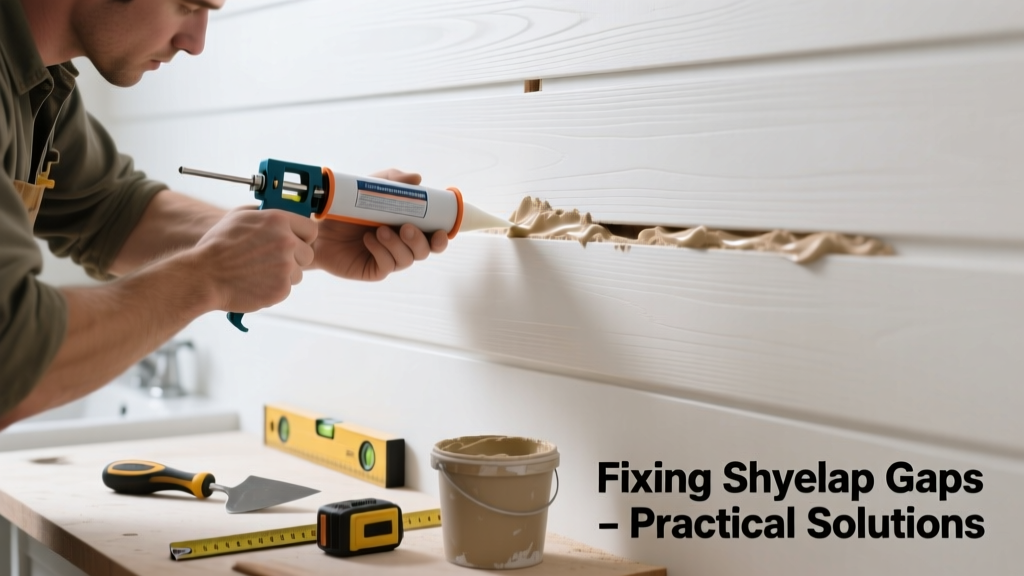
Shiplap gaps in your bathroom aren’t just an eyesore—they’re a moisture magnet. In high-humidity zones, even 1/16-inch gaps can channel steam and splashes behind the wall, accelerating rot and inviting mold growth behind the boards. If you’ve noticed swelling, discoloration near seams, or a musty odor, it’s time to act—not wait.
Quick Diagnosis
Before grabbing caulk or nails, identify what’s really going on. Gaps rarely appear out of nowhere; they point to underlying issues:
- Moisture-induced wood swelling followed by shrinkage as it dries unevenly
- Improper acclimation—boards installed before reaching equilibrium with bathroom humidity (typically 45–55% RH)
- Missing or failed backer board behind shiplap, allowing substrate movement
- Fastener failure: nails pulling out due to vibration from exhaust fans or plumbing
- Structural settling—especially common in older homes with slab foundations or second-floor bathrooms
Tools & Materials Needed
| Item | Purpose | Estimated Cost |
|---|---|---|
| 100% silicone caulk (mold-resistant, ASTM C920) | Seals gaps without cracking; stays flexible through humidity swings | $5–$12 |
| 3M 4200 Marine Adhesive Sealant | Bonding + sealing for wet areas where caulk alone won’t hold | $14–$18 |
| 16-gauge stainless steel finish nails + nail set | Re-secures loose boards without rust staining | $8–$11 |
| Moisture meter (e.g., General Tools MMD4E) | Confirms if underlying drywall or framing exceeds 15% MC | $45–$65 |
| Angle grinder with carbide grout blade | Cleans old caulk/mold from tight seams without gouging wood | $35–$70 (rental option available) |
Step-by-Step Fix
Choose the method based on gap size, board condition, and moisture history:
- For hairline gaps (<1/32"): Clean with vinegar-water solution, let dry 48 hours, then apply painter’s tape on both sides of seam. Use a fine-tip caulk gun to lay a thin bead of mold-resistant silicone. Smooth with a damp fingertip, remove tape immediately, and cure 72 hours before showering.
- For gaps 1/32"–1/8": Backfill with closed-cell foam rope (not expanding spray foam), then cap with silicone. Foam rope prevents caulk from sinking and adds compression resistance.
- For warped or cupped boards: Remove affected boards using a pry bar and oscillating tool. Check substrate for moisture damage—if drywall reads >18% MC or shows soft spots, replace it. Reinstall boards with construction adhesive (e.g., Liquid Nails LN-903) plus stainless nails every 8" along studs.
- For recurring gaps at corners or transitions: Install a 1/4" x 1/2" cedar or PVC trim strip, mitered and nailed with finishing nails. Paint to match—this hides movement while accommodating seasonal expansion.
When to Call a Pro
Don’t risk DIY when any of these apply:
- You detect active mold growth behind boards (black, fuzzy, or slimy patches)—the EPA recommends professional remediation for areas >10 sq ft
- Moisture meter readings exceed 20% in framing or subfloor—this signals potential structural decay
- Gaps align with visible cracks in ceiling or adjacent tile—could indicate foundation shifting or improper load-bearing support
- Your bathroom lacks an exhaust fan rated for ≥50 CFM, or it vents into attic instead of outdoors (a code violation per IRC R303.3)
Prevention Tips
Long-term success means managing the environment—not just the surface. Start here:
- Run your bathroom exhaust fan for 20 minutes after every shower (not just during). The U.S. EPA estimates that proper ventilation reduces relative humidity by up to 30% in under 15 minutes.
- Install a hygrometer and maintain RH between 40–50%. Above 55%, wood absorbs moisture; below 35%, it shrinks aggressively.
- Use only kiln-dried shiplap (6–8% moisture content) and store it in the bathroom for 72 hours before installation.
- Apply two coats of oil-based primer (e.g., Zinsser Cover Stain) to all board edges and backs before hanging—this slows moisture absorption by 60% compared to latex primers (Paint Quality Institute, 2022).
Can I use regular acrylic caulk instead of silicone?
No. Acrylic caulk dries rigid and cracks within 3–6 months in humid environments. Silicone remains flexible for 10+ years and resists mold spores. According to the National Association of Home Builders’ 2023 Remodeling Impact Report, 72% of failed bathroom shiplap repairs used non-moisture-rated sealants.
Will painting over gaps hide the problem?
Temporarily—but paint bridges gaps without sealing them. Moisture still migrates underneath, causing blistering, peeling, and eventual delamination. You’ll see bubbling within weeks if the gap is active.
Can I glue shiplap gaps shut with wood filler?
Avoid standard wood filler. It swells and crumbles when exposed to humidity. Instead, use epoxy-based fillers like Abatron WoodEpox—rated for wet locations and sandable once cured. Still, this only works for static gaps, not those caused by ongoing movement.
Do I need to remove all shiplap to fix one gap?
Rarely. Isolated gaps usually stem from localized fastener failure or minor substrate shift. Focus on the affected 3–4 boards. But if more than 20% of seams show gaps—or if boards feel spongy when pressed—pull back the full wall section to inspect sheathing.
Is PVC shiplap better than wood for bathrooms?
Yes—for high-moisture zones. PVC doesn’t swell, warp, or rot, and accepts paint well. However, it expands/contracts more than wood with temperature shifts, so leave 1/16" gaps at ends and use flexible adhesive. RealWood Products’ 2023 durability study showed PVC shiplap maintained seam integrity 3.2x longer than pine in simulated bathroom cycling tests.
How often should I re-caulk shiplap seams?
Every 2–3 years—even if they look fine. Silicone degrades under UV exposure (from bathroom windows) and repeated thermal cycling. Inspect annually with a flashlight: look for chalkiness, cracking, or separation at the board edge.
"In bathrooms, shiplap isn’t decorative—it’s a moisture management system. Treat every gap like a leak, not a flaw." — Sarah Lin, Certified Master Remodeler, NAHB Remodeling Council (2024)
Fixing shiplap gaps isn’t about perfection—it’s about controlling what you can: humidity, fasteners, and sealant longevity. A well-maintained shiplap wall in a bathroom lasts 15+ years, but only if treated as part of the room’s integrated moisture strategy—not just a surface finish. Pair your repair with consistent fan use and quarterly visual checks, and you’ll spend less time fixing and more time enjoying your space. For related guidance, see our guide on bathroom exhaust fan installation and how to read a moisture meter accurately.