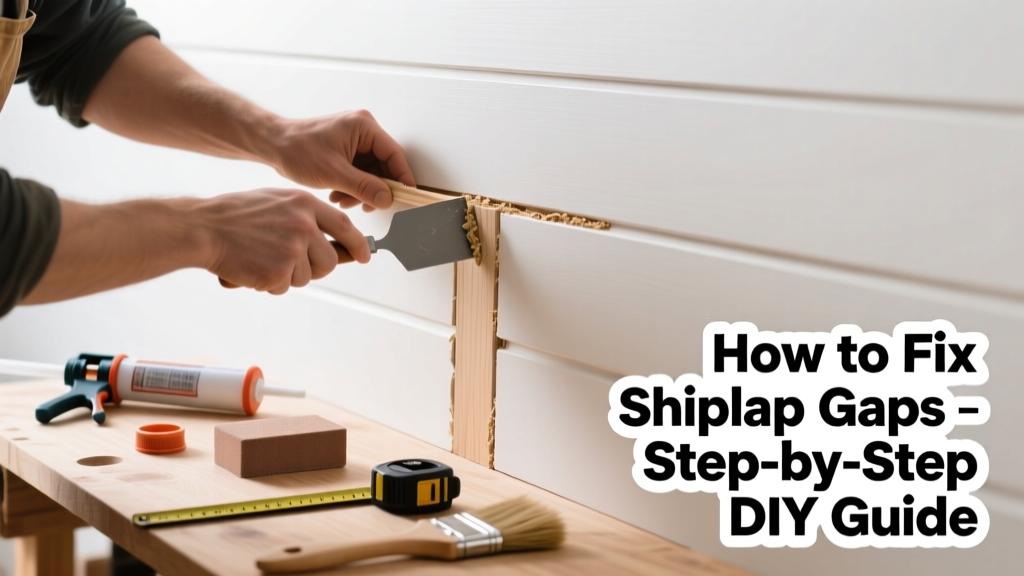
Shiplap gaps wider than 1/8 inch aren’t just an eyesore—they’re a red flag for moisture intrusion, drafts, or structural movement. Whether you installed it yourself or inherited it with the house, uneven gaps often worsen over time if ignored. The good news? Most are fixable in a weekend with basic tools and a little patience.
Quick Diagnosis
- Seasonal wood shrinkage (most common—especially in dry winter months)
- Improper nail placement or missing fasteners behind boards
- Substrate warping or wall framing that shifted post-installation
- Using unacclimated lumber (wood not conditioned to indoor humidity for 72+ hours)
- Over-tightening screws or nails during installation, causing board cupping
Tools & Materials Needed
| Item | Purpose | Estimated Cost |
|---|---|---|
| 100-grit sandpaper + sanding block | Smooths filler seams and blends repairs | $4–$8 |
| Paintable acrylic caulk (e.g., DAP Alex Plus) | Fills narrow gaps without cracking; accepts paint | $3–$6 |
| Wood filler (vinyl spackling or Elmer’s Carpenter’s Wood Filler) | Bridges wider gaps (1/4"+) where caulk lacks structural support | $5–$12 |
| 16-gauge finishing nails + nail set | Secures loose boards without visible heads | $7–$10 |
| Stud finder with deep-scan mode | Locates framing behind drywall or sheathing to re-secure boards | $25–$45 |
Step-by-Step Fix
- Assess gap width and cause: Use a feeler gauge or credit card edge—gaps under 1/8" usually need only caulk; 1/8"–3/8" require filler + caulk; over 3/8" signal board movement needing re-securing.
- Re-secure loose boards: Locate studs with a stud finder, then drive 16-gauge finishing nails every 16" along problem boards. Set nails slightly below surface with a nail set.
- Fill and seal: For gaps ≤1/8", apply paintable acrylic caulk with a fine-tip nozzle. For larger gaps, pack vinyl spackling first, let dry 2 hours, then top with caulk for flexibility.
- Sand and finish: Once caulk cures (24 hrs), lightly sand flush with 100-grit paper. Wipe dust, then spot-paint with matching wall paint using a small angled brush.
When to Call a Pro
- Gaps appear suddenly in multiple locations across different walls—not just one room
- You hear creaking or notice adjacent drywall cracks or ceiling bowing
- Moisture readings exceed 15% on adjacent framing (use a pinless moisture meter)
- Gaps widen more than 1/16" per month—indicating active structural shift
Prevention Tips
Acclimate shiplap boards indoors for at least 72 hours before installation—ideally at the same temp/humidity as the finished space. Leave a 1/8" expansion gap at ceilings and corners, never butt boards tightly. Use construction adhesive *in addition to* fasteners on boards over 8 feet long. Maintain indoor humidity between 35–55% year-round using a hygrometer and humidifier/dehumidifier as needed.
"Shiplap installed at 25% relative humidity will shrink nearly 1/4 inch across a 10-foot span when indoor RH drops to 15%—a common winter scenario," says the Forest Products Laboratory’s Wood Handbook, 2023 Edition.
Can I use regular silicone caulk instead of paintable acrylic?
No. Standard silicone doesn’t accept paint and yellows over time. Paintable acrylic caulk (like DAP Alex Plus or GE Painter’s Quick Dry) bonds well to wood, remains flexible, and holds paint for 5+ years when applied correctly.
Will wood filler crack if the board moves again?
Yes—if used alone in gaps over 1/8". That’s why pros layer it: wood filler provides bulk, but a top coat of flexible paintable caulk absorbs seasonal movement. Skipping the caulk layer leads to hairline cracks within 3–6 months.
Do I need to remove existing paint before filling gaps?
Only if the paint is peeling or chalky at the gap edge. Otherwise, clean the area with a damp microfiber cloth, let dry, and apply filler or caulk directly over intact paint—it adheres fine. Sanding the gap edge lightly helps adhesion.
Can I fix shiplap gaps on a vaulted ceiling myself?
Yes—but only if you have a stable 24-foot extension ladder with standoff arms and a helper to steady it. For ceilings over 12 feet, consider renting scaffolding. Never overreach: falls from heights account for 42% of home repair injuries reported to the CPSC in 2022.
What’s the fastest way to hide small gaps while I plan a full fix?
A thin, matte-black or white painter’s tape (like Frogtape Delicate Surface) cut to 1/16" width and pressed into the gap gives a clean, intentional line for up to 6 weeks. It’s not permanent, but buys time without muddying the repair decision.
Does humidity control really make that much difference?
Absolutely. According to the U.S. Department of Energy, homes maintaining 40–50% relative humidity see 68% fewer reported cases of wood flooring and wall paneling gaps than those fluctuating between 20–60%. A $30 hygrometer pays for itself in avoided repairs.
Fixing shiplap gaps isn’t about perfection—it’s about catching small issues before they become moisture traps or energy leaks. Even a 1/16" gap across 20 linear feet wastes over 12 cubic feet of conditioned air per hour. Tackle these methodically, document changes over time, and don’t hesitate to reach out to a drywall specialist if gaps accompany bulging or soft spots—or consult a foundation inspector if you suspect underlying movement. Your walls—and your utility bill—will thank you.