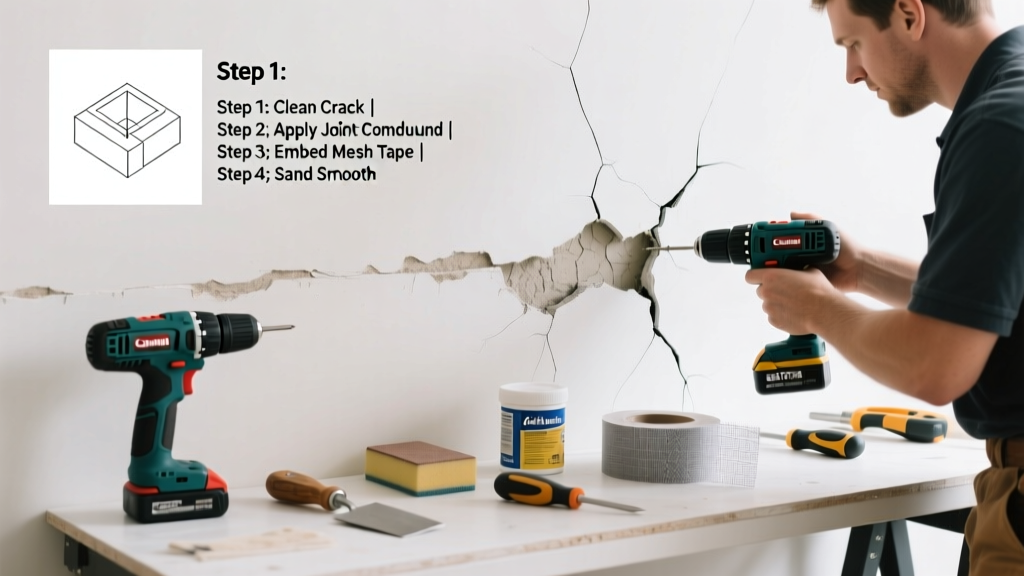
Settling cracks aren’t always cosmetic—sometimes they signal a failing component like a cracked foundation anchor, compromised sill plate, or deteriorated control joint insert. If you’ve noticed widening gaps, uneven floors, or new cracks appearing near the same spot after minor tremors or heavy rains, the underlying part may need full replacement—not just patching.
Quick Diagnosis
Not all cracks mean structural failure—but these causes often demand part replacement:
- Cracks wider than 1/4 inch in load-bearing walls or basement walls
- Horizontal cracks in concrete block foundations (often indicates lateral pressure)
- Cracks radiating from window or door corners with visible shifting of framing members
- Cracks accompanied by sagging drywall tape, nail pops, or doors that no longer latch properly
- Recurring cracks in the same location despite previous patching or sealing
Tools & Materials Needed
| Item | Purpose | Estimated Cost |
|---|---|---|
| Rotary hammer drill with masonry bit (1/2") | Drilling anchor holes into concrete or CMU without cracking surrounding material | $85–$140 |
| Stainless steel L-shaped anchor bolts (1/2" × 8") | Replacing corroded or bent foundation-to-sill anchors | $12–$22 per set |
| Epoxy anchoring adhesive (e.g., Simpson SET-XP) | Bonding new anchors securely into existing concrete | $18–$26 per tube |
| Level (48" aluminum) | Verifying sill plate alignment before re-securing | $22–$38 |
| Impact driver + Torx T40 bit | Tightening anchor nuts without stripping threads | $75–$110 |
Step-by-Step Fix
Replacing the faulty part—most commonly a failed anchor, control joint filler, or expansion joint gasket—requires precision and load management. Follow these methods based on your crack’s origin:
- For failed sill plate anchors: Remove rotted wood sections around anchor points; drill out old anchor sleeves using a carbide-tipped bit; inject epoxy into fresh 1/2" holes; insert new stainless bolts; torque to manufacturer spec (typically 90–110 ft-lbs).
- For damaged expansion joint inserts: Cut out brittle rubber or foam filler with utility knife; clean debris and moisture from joint cavity; press in new pre-compressed neoprene gasket (e.g., Tremco 121); seal top with flexible polyurethane caulk.
- For cracked concrete control joints: Use a diamond blade to widen joint to 3/4" minimum; remove loose material; install backer rod at proper depth; apply self-leveling urethane joint sealant (e.g., SikaFlex-1a) with caulking gun and finishing tool.
When to Call a Pro
DIY replacement crosses into unsafe territory when:
- The crack extends across multiple stories or runs through load-bearing beams
- You observe vertical displacement greater than 1/8 inch between adjacent surfaces
- You lack access to shoring equipment needed to temporarily support framing during anchor replacement
- A structural engineer’s report (required in many jurisdictions for permits) has flagged the issue as high-risk
According to the Insurance Institute for Business & Home Safety's 2023 report, homes with unrepaired horizontal foundation cracks are 3.2× more likely to suffer catastrophic wall failure during seismic events.
Prevention Tips
Stop recurrence before it starts:
- Maintain consistent soil moisture year-round—install soaker hoses 18" from foundation and run them 2 hours weekly in droughts
- Extend downspouts at least 5 feet away from the house and slope grading away at 1 inch per foot for first 6 feet
- Inspect anchor bolts annually for rust or thread deformation—replace any showing pitting deeper than 0.015 inches
- Re-caulk expansion joints every 5 years using UV-resistant sealants rated for >100% elongation
Can I use regular caulk instead of specialty joint sealant?
No. Standard acrylic or silicone caulk lacks the elongation capacity (typically <25%) needed for settling joints. Urethane or polysulfide sealants like SikaFlex-1a offer 50–100% movement accommodation—critical where differential settlement occurs. Using the wrong product leads to premature bond failure and water intrusion within 12–18 months.
How do I know if the crack is still actively settling?
Place 2-inch-wide plaster or fiberglass drywall tape strips across the crack, sealing all edges. Check monthly: if tape splits cleanly down the center, movement is ongoing. Also monitor with a digital crack width gauge (e.g., CrackCheck Pro)—any increase >0.005 inches/month warrants professional evaluation.
Do I need a permit to replace anchor bolts?
Yes—in 42 states and most municipalities, replacing structural anchors requires a building permit and third-party inspection. California, Washington, and Tennessee mandate engineered drawings for any anchor replacement affecting shear wall continuity. Always check with your local building department before drilling into foundation walls.
Is epoxy anchoring safe for older concrete (pre-1960)?
Yes—but only if compressive strength exceeds 2,500 psi. Test with a rebound hammer (Schmidt hammer); readings below 28 indicate degraded concrete unsuitable for epoxy anchoring. In those cases, consider mechanical sleeve anchors like Red Head Kwik Bolt TZ, which rely on wedge expansion rather than bond strength.
Can I replace the part without removing drywall or siding?
Sometimes—but rarely for structural anchors. Interior sill plate anchors usually require cutting a 12" × 12" access panel in drywall near the baseboard. Exterior CMU anchors may be reachable via removal of one or two mortar-joint sections (grind-and-replace method), but never compromise wall integrity. For hidden expansion joints behind brick veneer, consult a mason—removing cladding improperly risks spalling.
What’s the typical lifespan of a replacement anchor or joint insert?
Stainless steel anchor bolts last 50+ years if installed correctly and shielded from chloride exposure. Neoprene expansion joint inserts last 20–25 years; urethane sealants 10–15 years. According to the National Association of Home Builders’ 2022 Durability Benchmark Study, 68% of premature joint failures stem from improper compression during installation—not material defects.
Replacing the right part at the right time stops small problems from becoming expensive emergencies. You don’t need to wait for a crack to widen to 3/8 inch—or for doors to stick—to act. Catch it early, match the fix to the cause, and protect your home’s long-term stability. For related guidance, see our guide on foundation crack sealing techniques and sill plate repair best practices.