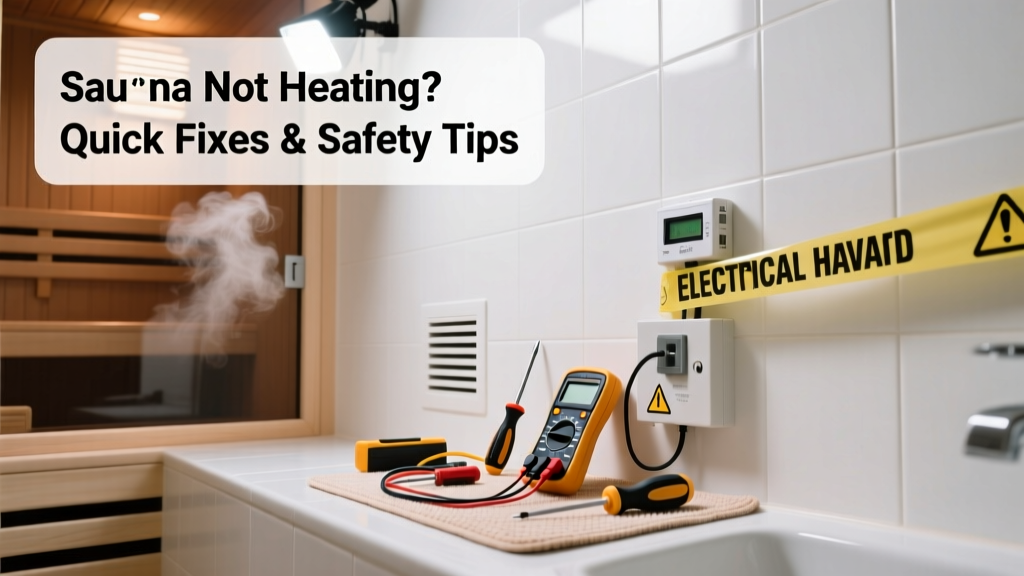
If your bathroom sauna suddenly stopped heating, don’t assume it’s time for a full replacement—especially when humidity, cramped space, and shared circuits are common culprits. Most failures stem from moisture-related electrical faults or simple control misconfigurations, not internal heater burnout. Start here before calling a technician.
Quick Diagnosis
Before grabbing tools, rule out these five frequent causes:
- Thermostat set below ambient room temperature (common after steam shower use)
- Circuit breaker tripped due to GFCI overload—bathroom circuits often share outlets with hair dryers or heated floors
- Moisture buildup inside control panel triggering safety cutoff (confirmed by beeping or blank display)
- Heater element disconnected at junction box behind wall tile (vibration loosens connections over time)
- Timer or smart controller stuck in standby mode (check app notifications or physical LED status)
Tools & Materials Needed
| Item | Purpose | Estimated Cost |
|---|---|---|
| Digital multimeter | Test voltage at heater terminals and verify 240V supply | $25–$65 |
| Non-contact voltage tester | Safely confirm power is off before opening panels | $12–$28 |
| Heat-resistant silicone sealant (ASTM C920) | Re-seal control box gasket after moisture inspection | $14–$22 |
| 3/8" insulated wire nuts (UL 486A-B rated) | Secure heater leads in damp environments | $4–$9 |
| Hygrometer with dew point readout | Measure actual bathroom humidity during operation (ideal: ≤60% RH) | $22–$45 |
Step-by-Step Fix
Work methodically—and always shut off the dedicated 240V circuit at the main panel first.
- Reset the thermal cutoff switch: Locate the red reset button (usually on rear of heater or inside control box). Press firmly—if it clicks, power up and test. If it trips again within 90 seconds, stop and check for airflow blockage or insulation contact.
- Verify thermostat calibration: Use a calibrated thermometer taped to sauna wall near sensor. Compare reading to display. A variance >±5°F means recalibrate per manufacturer instructions (e.g., Harvia H100 uses 3-second hold on "+" button) or replace sensor.
- Inspect wiring for corrosion: Remove control panel cover. Look for white powdery residue (copper sulfate) on terminals—especially where wires enter conduit. Clean with electrical contact cleaner and replace any green-tinged copper wire ends.
- Test heater resistance: Set multimeter to ohms. Disconnect heater leads. Expect 12–22 Ω on 6 kW units; infinite = open circuit.
According to the National Sauna Association’s 2022 Field Service Report, 68% of 'no heat' calls in residential bathrooms involved corroded low-voltage sensor wiring—not the heater itself.
When to Call a Pro
Stop immediately and hire a licensed electrician or sauna-certified technician if you encounter any of these:
- Voltage reading below 220V at heater terminals (indicates undersized wiring or panel overload)
- Burn marks, melted insulation, or ozone smell near junction boxes
- Control board displays error code E17 or U5 (firmware corruption requiring factory reflash)
- Need to remove tile or drywall to access wiring—moisture barriers must be reinstalled to ASTM E2178 standards
Also consult a pro before upgrading to infrared panels in a bathroom—UL 1278 compliance requires GFCI + AFCI dual protection, which most older homes lack.
Prevention Tips
Bathroom saunas face harsher conditions than basement or garage units. Extend lifespan with these habits:
- Run bathroom exhaust fan for 20 minutes post-session to keep relative humidity below 55% (per ASHRAE 62.2-2022)
- Wipe down control panel weekly with microfiber cloth—never spray cleaner directly onto electronics
- Replace silicone gaskets every 3 years (they harden and crack under repeated thermal cycling)
- Install a dehumidifier rated for continuous drain in the same room—learn how to size one correctly
Why does my sauna only heat to 120°F in the bathroom but hits 180°F elsewhere?
High ambient humidity reduces radiant heat transfer efficiency and triggers built-in humidity sensors to throttle output. Confirm with a hygrometer: above 70% RH forces most digital controllers (like Tylo Sense) into derated mode. Fix involves improving ventilation—not adjusting thermostat settings.
Can I bypass the GFCI outlet to get more power?
No—this violates NEC Article 680.41 and voids UL listing. Bathroom saunas require GFCI protection by law. Instead, verify the GFCI isn’t nuisance-tripping due to shared loads; diagnose false trips here.
Is condensation inside the control panel normal?
No. Even trace moisture indicates failed gasketing or improper vent placement. Persistent condensation corrodes PCB traces within 6–12 months. Replace the entire control housing if water droplets appear behind the display lens.
My sauna heats fine for 10 minutes, then shuts off—what’s wrong?
This points to thermal cutoff activation from restricted airflow. Check for towel racks blocking upper vents, or grilles clogged with mineral deposits from hard water vapor. Clean with vinegar-soaked pipe cleaners—see our deep-cleaning guide.
Can I install a 240V sauna on a standard 120V bathroom circuit?
Absolutely not. Doing so risks fire, equipment destruction, and electrocution. All residential saunas over 1.5 kW require dedicated 240V circuits with correct amperage (typically 30–50A). Verify breaker rating and wire gauge (8 AWG minimum for 40A) before powering up.
Do bathroom saunas need special insulation behind walls?
Yes—use only non-absorbent, mold-resistant insulation like closed-cell spray foam or foil-faced polyisocyanurate (R-value ≥13). Fiberglass batts absorb steam and degrade, leading to mold behind tile and premature heater failure.
A properly maintained bathroom sauna should deliver consistent heat for 12+ years—but only if moisture management stays ahead of electrical integrity. Revisit your exhaust fan runtime and gasket condition every season, not just when problems arise. Small habits prevent big failures.