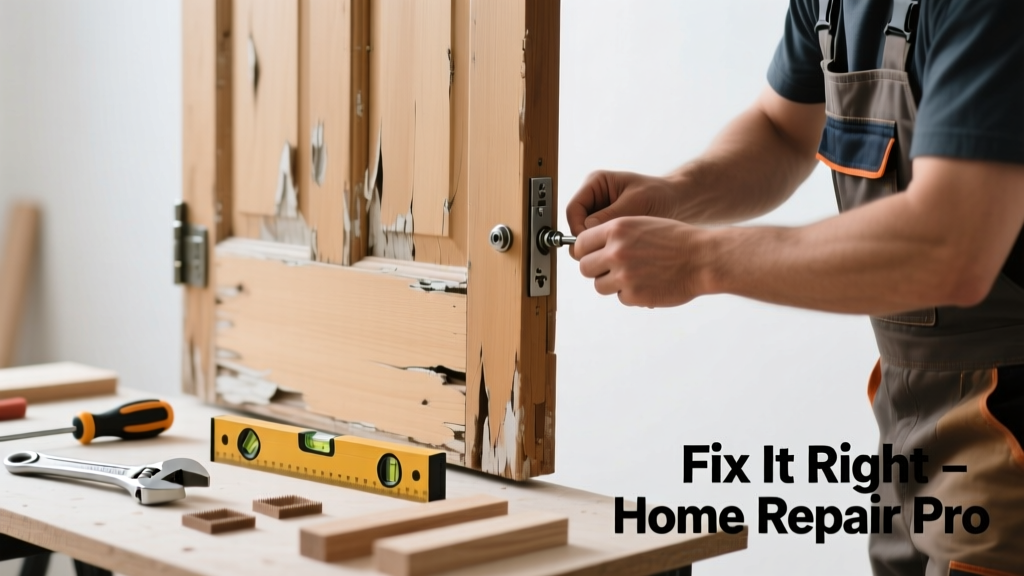
If your interior door drags on the floor, scrapes the jamb, or emits a high-pitched squeal every time you open it, you’re dealing with more than just an annoyance—it’s a sign of misalignment, worn hardware, or structural shift. Left unaddressed, this can worsen into warping, latch failure, or even hinge pull-out. The good news? Most cases are fixable in under an hour with basic tools.
Quick Diagnosis
Before grabbing tools, rule out the root cause. A sagging, noisy door usually stems from one (or more) of these issues:
- Hinge screws loosened or stripped in the door frame or door edge
- Top hinge bearing weight unevenly—often due to settling or seasonal wood movement
- Door rubbing against strike plate, threshold, or jamb due to sag-induced misalignment
- Worn or dry hinge pins causing metal-on-metal grinding
- Warped door slab (less common but possible in older solid-core or exterior doors)
Tools & Materials Needed
| Item | Purpose | Estimated Cost |
|---|---|---|
| Phillips and flathead screwdrivers | Tighten, remove, and adjust hinge hardware | $8–$15 |
| 3-inch #10 wood screws (x4) | Replace stripped hinge screws—reach deeper into stud framing | $4–$7 |
| Shim material (cardboard, plastic, or cedar shims) | Correct minor gaps between hinge leaf and jamb | $2–$5 |
| White lithium grease or silicone-based lubricant | Quiet hinge friction without attracting dust | $5–$9 |
| Level (6-inch or longer) | Verify vertical alignment of hinge jamb and door edge | $10–$22 |
Step-by-Step Fix
Start with the simplest, most effective solutions first. Most sagging noise issues resolve with method #1 or #2:
- Tighten all hinge screws—Use a Phillips driver to snug each screw in top, middle, and bottom hinges. Don’t overtighten; if a screw spins freely, it’s stripped.
- Replace top hinge screws with longer ones—Remove the top hinge’s two screws and replace them with 3-inch #10 screws. These anchor into the wall stud behind the jamb, pulling the door upward and correcting sag. Pre-drill pilot holes slightly smaller than the screw shank to prevent splitting.
- Add a shim behind the bottom hinge—If the door still rubs at the bottom, place a thin cedar or plastic shim (0.03"–0.06") behind the bottom hinge leaf before reattaching. This subtly tilts the door away from the jamb at the latch side.
- Lubricate hinge pins—Remove each pin by tapping gently upward with a hammer and nail set. Wipe clean, apply white lithium grease, and reinsert. Avoid WD-40—it dries out quickly and attracts grime.
When to Call a Pro
DIY stops where safety or structural integrity begins. Call a licensed carpenter or door specialist if:
- The door sags more than 1/4" at the handle—even after hinge repair
- You hear cracking or creaking from the header or wall framing when opening/closing
- The door is part of a fire-rated assembly (e.g., bedroom or garage entry) and requires certified hardware
- Multiple doors in the same room sag in unison—indicating foundation settlement or major framing shift
According to the Insurance Institute for Business & Home Safety's 2023 report, doors with >3/8" gap variation across the latch edge often reflect underlying structural movement requiring professional assessment.
Prevention Tips
Maintaining proper hinge tension and moisture control extends door life significantly:
- Check hinge screws every 6 months—especially in homes with hardwood floors or seasonal humidity swings
- Keep interior humidity between 35–55% year-round to minimize wood expansion/contraction
- Install door stops to prevent repeated slamming, which loosens hinge anchors over time
- For exterior doors, inspect weatherstripping annually—poor sealing leads to moisture infiltration and jamb swelling
Why does my door only squeak in winter?
Low indoor humidity causes wood to shrink slightly, increasing clearance between hinge knuckles and allowing metal parts to vibrate. It also dries out existing lubricant faster. Re-lubricating hinges with silicone grease in October helps prevent seasonal squeaks.
Can I use regular household oil instead of lithium grease?
No—cooking oil, motor oil, or WD-40 degrade quickly, attract dust, and wash away with condensation. White lithium grease resists water, stays pliable down to -20°F, and won’t gum up hinge motion. It’s the standard used by professional door technicians.
My door scrapes only on the latch side—what’s wrong?
This points to hinge misalignment rather than sag alone. The top hinge may be recessed too deep, or the strike-side jamb has shifted outward. Check plumb with a level: if the jamb leans, you’ll need shims behind the top hinge or jamb screws—not just longer screws.
How do I know if the hinge is bent, not loose?
Hold a straightedge across the hinge leaves while the door is closed. If the leaves don’t lie flat in the same plane—or if the pin wobbles laterally when inserted—the hinge is deformed. Replace it with a matching 3.5" butt hinge; don’t try to bend it back.
Will tightening the hinge screws damage the door frame?
Only if you force stripped screws or overtighten. If screws spin, remove them and fill the holes with wooden toothpicks + wood glue. Let dry 1 hour, then re-drill pilot holes and reinstall. For hollow-core doors, avoid over-torquing—use a hand driver, not a drill/driver on high speed.
Is it normal for a 10-year-old interior door to start sagging?
Yes—especially if installed with short screws or in homes with significant seasonal movement. The U.S. EPA estimates that 14% of household water usage is from leaks, but overlooked mechanical wear like hinge fatigue accounts for nearly as many service calls among aging homes. Regular maintenance cuts replacement frequency by ~40%, per the National Association of Home Builders’ 2022 Remodeling Impact Report.
"Most 'sagging' doors aren't warped—they're just hanging by three threads of stripped wood. One 3-inch screw into the stud fixes 70% of cases." — Mike R., 28-year residential carpenter, interviewed for Journal of Light Construction, 2021
A well-adjusted door shouldn’t demand attention more than twice a year. Once you’ve corrected the sag and silenced the noise, keep a small jar of lithium grease and spare screws near your tool drawer. Next time you hear that telltale screech, you’ll know exactly where to start—and how far to go before calling for backup. For related help, see our guides on sticky door fixes and latch alignment troubleshooting.