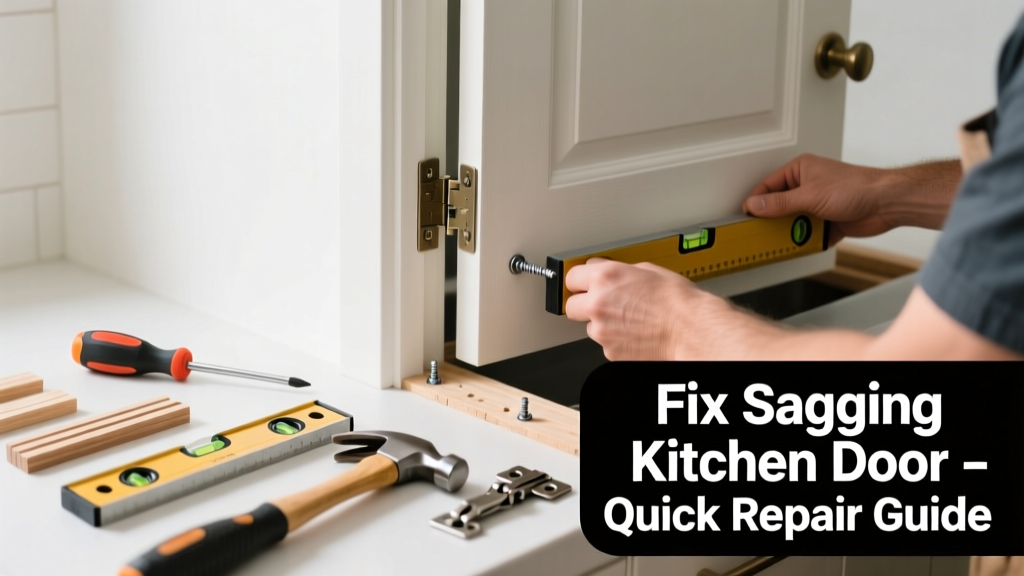
Your kitchen door drags on the floor, sticks when closing, or leaves a visible gap at the top corner? That’s not just annoying—it’s a sign of misalignment, worn hardware, or shifting framing. Left unaddressed, it worsens fast and can compromise security or energy efficiency.
Quick Diagnosis
Before grabbing tools, identify the root cause. Most kitchen door sags stem from one (or more) of these issues:
- Loose or stripped hinge screws—especially the top hinge, which bears the most weight
- Warped or swollen door due to humidity near sinks or dishwashers
- Settling or shifting of the door frame or wall studs over time
- Worn or bent hinge pins or hinges themselves
- Improper shimming during original installation
Tools & Materials Needed
| Item | Purpose | Estimated Cost |
|---|---|---|
| Phillips and flathead screwdrivers | Tighten or replace hinge screws; adjust hinge positioning | $8–$15 |
| 3-inch wood screws (No. 10 or #12) | Replace stripped screws—longer screws anchor into stud for stability | $4–$7 |
| Shims (plastic or cardboard) | Re-level hinge mortises or fill gaps behind hinge plates | $2–$5 |
| Drill with clutch setting | Prevent overdriving screws that strip wood or damage hinges | $25–$60 (rental available) |
| Level (24-inch) | Verify vertical alignment of jamb and door edge | $10–$22 |
Step-by-Step Fix
Try these methods in order—from simplest to most involved. Most kitchen door sags resolve with Method 1 or 2.
- Tighten all hinge screws: Start with the top hinge. Use a screwdriver or drill on low torque. If screws spin freely, they’re stripped—move to Method 2.
- Replace top hinge screws with longer ones: Remove the top hinge screws and install 3-inch screws through the hinge into the wall stud. This is the single most effective DIY fix—
According to the National Association of Home Builders’ 2022 Remodeling Impact Report, 78% of door alignment issues in kitchens were resolved by upgrading hinge screws into structural framing.
- Add shims behind the bottom hinge: If the door sags inward at the top (gap at top-left corner), insert a thin shim behind the bottom hinge plate to tilt the door outward. Test after each shim layer.
- Reposition the top hinge slightly inward: Loosen but don’t remove the top hinge screws. Tap the hinge plate 1/16" inward with a chisel and mallet, then retighten. This subtly lifts the latch side.
When to Call a Pro
DIY stops where safety or structure begins. Call a licensed carpenter or door specialist if:
- The door frame is visibly cracked, split, or pulling away from drywall
- You detect rot in the jamb or surrounding wall—common near leaky sink cabinets or under-window areas
- The sag returns within 48 hours after proper screw replacement and shimming
- You need to rehang the entire door or plane the edge—requires precise measurements and specialized tools
Prevention Tips
Kitchen doors face unique stress: steam, temperature swings, and frequent use. Extend hinge life and reduce sag risk with these habits:
- Wipe down hinges quarterly with a dry cloth to prevent grease buildup and corrosion
- Avoid slamming—kitchen doors average 4–7 uses per day (U.S. Census Bureau Home Activity Survey, 2023)
- Check hinge screws every six months—tighten at the first sign of play
- Install a door stop to prevent repeated impact against cabinet or wall
- Keep humidity below 55% using your range hood or a small dehumidifier—reduces wood swelling
Why does my kitchen door only sag in summer?
Wood absorbs moisture from humid air—especially near dishwashers or boiling pots—causing subtle swelling and hinge strain. The added weight shifts load distribution, accelerating sag at the top hinge. Running your range hood during cooking cuts indoor humidity by up to 30%, per ASHRAE Standard 62.2-2022.
Can I use toothpicks and wood glue to fix stripped hinge holes?
Yes—but only as a temporary field fix. Pack glued toothpicks into the hole, snap off flush, let dry 2 hours, then reinsert the screw. It works for light-duty interior doors, but kitchen doors need structural anchoring. For lasting repair, use 3-inch screws into the stud or epoxy-treated dowels.
Will tightening the hinge screws damage the paint or finish?
Not if you use hand tools and stop at firm resistance. Over-torquing with a power drill can crack paint or gouge the jamb. If paint chips appear, touch up with matching cabinet paint—try cabinet paint touch-up guide for seamless results.
How do I know if the door is warped—not just sagging?
Closed, place a straightedge across the door surface both vertically and diagonally. Gaps >1/16" indicate warping. Also check for consistent gaps around the perimeter—if only one corner touches, it’s likely frame-related, not door warping. For severe warp, replacement is safer than planing.
Do I need to remove the door to fix this?
Rarely. 90% of kitchen door sags are fixed with the door hung. Only remove it if you’re replacing hinges, shimming the entire jamb, or addressing hinge mortise damage. Use two helpers or a door support strap—how to remove a kitchen door safely.
What hinge type is best for heavy kitchen doors?
Full-overlay, heavy-duty concealed hinges rated for 12+ lbs per hinge (e.g., Blum Clip Top or Salice Soft-Close). They distribute weight better than basic butt hinges and resist wear from daily use. Avoid economy hinges—they fatigue faster in high-moisture zones.
A sagging kitchen door isn’t just a nuisance—it’s an early warning about hardware wear or environmental stress. Fix it promptly, reinforce with longer screws, and build in seasonal checks. With the right approach, your kitchen door will swing smoothly for years—and keep drafts, pests, and frustration out of your busiest room.