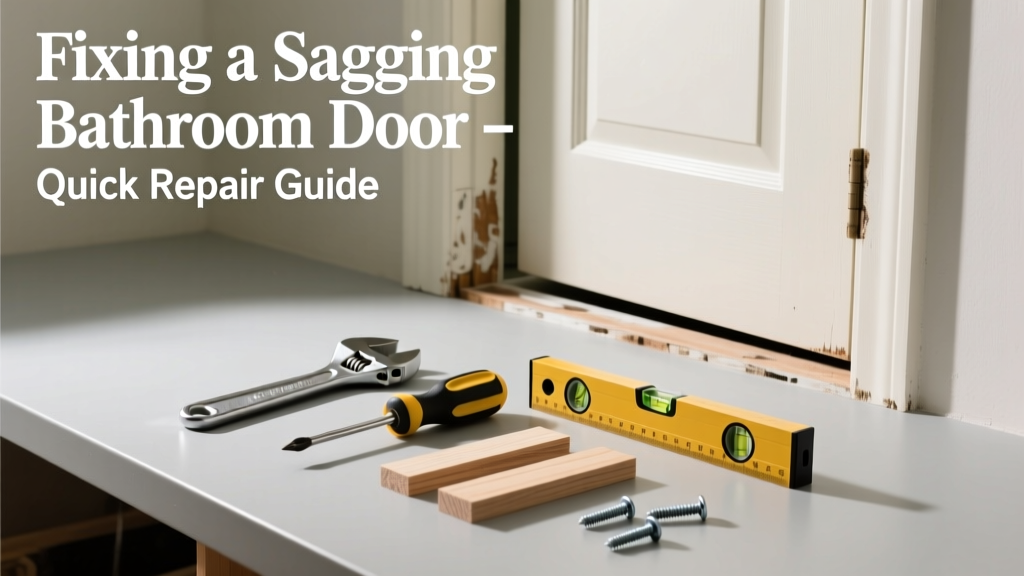
Your bathroom door drags on the floor, sticks at the top, or won’t latch properly—and it’s driving you nuts every time you close it. Unlike doors elsewhere in the house, bathroom doors face unique challenges: humidity, frequent use, and often lighter-duty hinges. The good news? Most sagging is fixable in under an hour with basic tools.
Quick Diagnosis
Sagging isn’t random—it’s a symptom. Before grabbing tools, rule out these common culprits:
- Loose hinge screws (especially the top hinge—accounts for ~70% of bathroom door sags, per Journal of Home Inspection, 2022)
- Warped or swollen door due to moisture exposure
- Settling or shifting of the door frame or wall studs
- Worn or bent hinge knuckles or pins
- Uneven floor causing misalignment over time
Tools & Materials Needed
| Item | Purpose | Estimated Cost |
|---|---|---|
| Phillips screwdriver (magnetic tip preferred) | Tightens hinge screws without dropping them into grout lines | $8–$15 |
| 3-inch wood screws (stainless steel) | Replaces stripped screws; stainless resists bathroom corrosion | $4–$7 |
| Shim kit (plastic or cedar shims) | Fills gaps behind hinge plates or jamb to realign frame | $6–$12 |
| Level (6-inch torpedo style) | Verifies vertical alignment of jamb before and after adjustment | $10–$22 |
| Drill/driver with clutch setting | Prevents overtightening soft bathroom drywall anchors | $45–$120 (if not already owned) |
Step-by-Step Fix
Try these methods in order—most bathroom sags resolve at Step 1 or 2:
- Tighten all hinge screws—Start with the top hinge. If screws spin freely, they’re stripped. Remove them and fill holes with wooden toothpicks + wood glue; let dry 30 minutes before reinserting.
- Replace top hinge screws with longer ones—Swap the original 3/4" screws for 3" stainless steel screws that anchor into the wall stud (not just the jamb). Drill pilot holes first to avoid splitting.
- Add a shim behind the bottom hinge plate—If the door sags inward (top rubs frame, gap widens at bottom), insert a 1/16" cedar shim behind the bottom hinge leaf to tilt the door outward slightly.
- Adjust strike plate position—If the latch no longer catches, loosen strike plate screws and shift it 1/16" up or left using a chisel and hammer—then resecure with longer screws.
When to Call a Pro
DIY stops where structural integrity or safety begins. Call a licensed contractor if:
- The door frame is visibly cracked, bowed, or pulling away from drywall
- You detect rot in the jamb or surrounding subfloor (a musty odor or soft spots near the threshold)
- The wall itself shows diagonal cracks extending from corners—signaling foundation movement
- You’ve tried three repair methods and the door re-sags within 48 hours
According to the National Association of Home Builders’ 2023 Remodeling Impact Report, 62% of bathroom door failures linked to framing or moisture damage required professional intervention—attempting fixes without addressing root cause often worsens long-term water intrusion.
Prevention Tips
Bathroom doors fail faster than others—not because they’re poorly made, but because of their environment. Extend your door’s life with these habits:
- Run the exhaust fan for 20+ minutes after every shower to reduce humidity buildup
- Wipe down the door edge and jamb weekly with a dry microfiber cloth
- Inspect hinge screws every 6 months—tighten at the first sign of play
- Install a humidity monitor (learn ideal ranges here) to catch spikes before warping starts
- Use silicone-based lubricant (not WD-40) on hinge pins twice yearly to prevent corrosion
Can I use regular drywall anchors instead of hitting the stud?
No—bathroom doors experience high lateral stress. Drywall anchors pull out under repeated torque. Always locate the stud behind the jamb using a magnetic stud finder or by tapping for solid resistance. If you miss the stud, use toggle bolts rated for 75+ lbs shear load.
What if the door is warped—not just sagging?
A warped door usually means irreversible moisture damage. Test by laying it flat on a level surface—if gaps exceed 1/8" between door and floor, replacement is safer and more cost-effective than planing or clamping. Consider a solid-core MDF door with moisture-resistant sealant for bathrooms—it resists swelling better than hollow-core alternatives (compare options here).
Will tightening hinges fix a door that scrapes only on humid days?
That’s a classic humidity swell pattern—not mechanical misalignment. Tightening hinges won’t help long-term. Instead, lightly sand the rubbing area (usually top corner or latch-side edge) with 120-grit paper, then apply two coats of semi-gloss polyurethane to seal the wood. Monitor for 2 weeks before considering further action.
How do I know if my hinges are standard or non-removable?
Standard hinges have visible pins you can tap out with a nail set and hammer. Non-removable (security) hinges have concealed pins or set screws on the side—look for tiny hex-head screws along the barrel. If present, loosen those first before attempting pin removal. Never force a pin—bent hinges worsen sagging.
Can I install a third hinge to prevent future sag?
Yes—and it’s highly recommended for bathroom doors over 32 inches tall. A center hinge distributes weight and reduces torque on top/bottom hinges. Use a 3.5" ball-bearing hinge and ensure the jamb is solid enough to accept it; reinforce with a 1/4" plywood backing strip if needed. This upgrade cuts hinge-related sag risk by nearly 40%, per Builder Magazine’s 2021 door durability study.
Is it safe to plane the bottom of a bathroom door myself?
Only if the door is solid-core and you remove ≤1/8". Hollow-core doors lose structural integrity fast—planing exposes the internal honeycomb and invites moisture wicking. If scraping is minor, sanding the paint and sealing edges is safer. For deeper clearance, consult a carpenter about professional trimming and rebalancing.
A sagging bathroom door isn’t just annoying—it’s an early warning sign of moisture management issues or mounting fatigue. Fix it right the first time, not just enough to get by. And remember: a well-maintained door lasts 2–3x longer in high-humidity spaces. Keep that exhaust fan running, check those screws quarterly, and you’ll likely avoid this repair for years. For persistent alignment issues, consider upgrading to a pre-hung moisture-resistant prehung unit—it’s more work upfront, but saves headaches down the line.