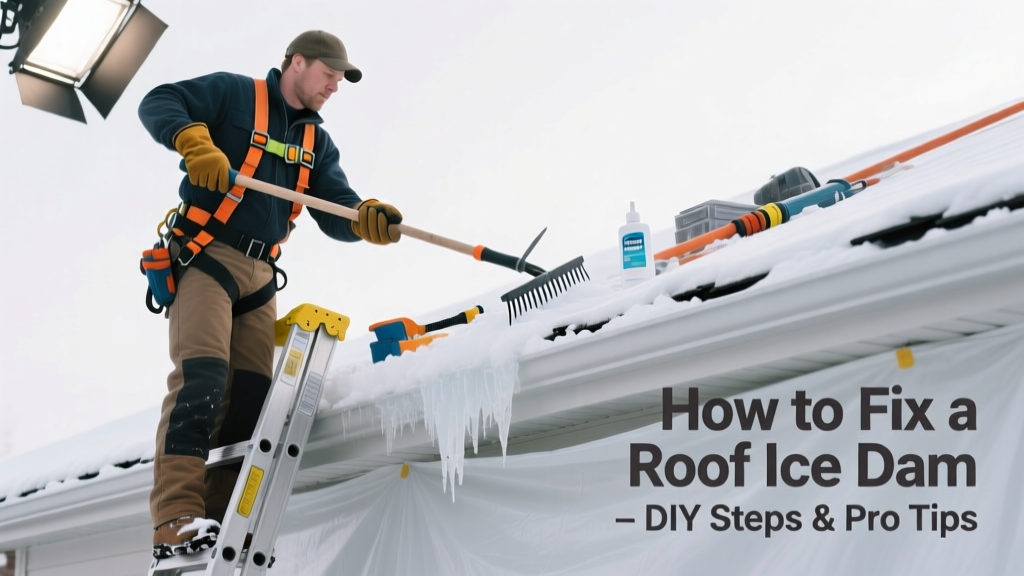
Ice dams form when heat escapes your attic, melts snow on the roof, and refreezes at the colder eaves — trapping water that backs up under shingles. Left untreated, they cause leaks, rot, and insulation damage. Most homeowners can address small ice dams safely — but timing, tools, and technique matter.
Quick Diagnosis
Ice dams aren’t random — they’re symptoms of underlying issues. Here are the most common root causes:
- Inadequate attic insulation (R-30 or less in cold climates)
- Poor attic ventilation — especially missing soffit vents or blocked ridge vents
- Heat sources in the attic (recessed lights, ductwork, chimneys)
- Roof valleys or complex geometry that traps snow and slows melt runoff
- North-facing roof sections that stay shaded and cold longer
Tools & Materials Needed
| Item | Purpose | Estimated Cost |
|---|---|---|
| Rooftop rake (aluminum, extendable) | Removes snow before it melts and refreezes at the eave | $45–$85 |
| Calcium chloride ice melt socks | Melts channels through ice without damaging shingles or gutters | $12–$22 |
| Insulated attic hatch cover | Seals heat loss through pull-down stairs — a major contributor to uneven roof temps | $35–$65 |
| Infrared thermometer | Identifies hot spots on roof surface to locate insulation gaps | $25–$50 |
| LED work light (battery-powered) | Safe, cordless lighting for attic inspection after dark | $18–$32 |
Step-by-Step Fix
Use these methods in order of safety and effectiveness — start non-invasive and escalate only if needed:
- Remove snow from lower 3–4 feet of roof using a roof rake from the ground. Never climb onto a snowy or icy roof.
- Create melt channels by laying calcium chloride-filled tube socks across the ice dam, perpendicular to the eave. Place one over the gutter and one just above it — this lets water drain off instead of backing up.
- Apply heat cables (only as a temporary measure) along the eave and into gutters. Use UL-listed, self-regulating cables installed per manufacturer specs — never staple or nail them to shingles.
- Clear downspouts and gutters of ice and debris so melted water has an exit path. Use a plastic gutter scoop or warm water poured slowly — never boiling water, which can crack shingles or gutters.
When to Call a Pro
Some ice dam situations demand professional help — not just for safety, but to prevent worsening damage:
- You see water stains on ceilings or walls — indicating active leakage behind drywall
- The ice dam is thicker than 2 inches or extends more than 3 feet up the roof slope
- Your roof has slate, tile, or wood shakes — materials easily damaged by DIY removal attempts
- You lack safe ground access (e.g., second-story roof with no ladder reach or steep pitch >6:12)
- You’ve had recurring ice dams for two or more winters — signaling chronic insulation/ventilation failure
Prevention Tips
Fixing the dam is urgent — preventing the next one saves money and stress. Focus on three key areas:
- Boost attic insulation to R-49 (or R-60 in Climate Zones 6–8), paying special attention to joist bays near exterior walls and around chimneys.
- Install continuous soffit ventilation (1 sq. in. per sq. ft. of attic floor) paired with ridge vent — ensure baffles keep insulation from blocking intake air.
- Seal all attic bypasses: recessed lights, plumbing stacks, HVAC boots, and attic hatches. Use fire-rated caulk and foam where appropriate.
- After heavy snow, inspect the roof line weekly. If snow melts unevenly — bare spots near the peak but ice at the eaves — act fast.
Can I use rock salt (sodium chloride) on my roof?
No. Sodium chloride corrodes metal gutters, fasteners, and flashing, and damages nearby shrubs and concrete. According to the National Roofing Contractors Association’s Winter Roof Maintenance Guide (2022), calcium chloride is the only ice melt compound rated safe for asphalt shingle roofs when used in sock form.
Will heat cables prevent ice dams long-term?
They’re a bandage, not a cure. Heat cables only melt narrow paths — they don’t stop heat loss or improve ventilation. In fact, improper installation can create new freeze points downstream. They’re best reserved for historic homes where insulation upgrades aren’t feasible.
How do I know if my attic ventilation is working?
On a cold, windy day, go into the attic and hold a thin piece of tissue near soffit vents — it should flutter inward. Then check the ridge vent: a smoke pencil or incense stick held near the ridge should show smoke being drawn upward. If airflow is weak or absent, inspect for blocked baffles or insufficient net free vent area.
Can I chip away the ice myself?
Strongly discouraged. Using axes, hammers, or ice picks risks puncturing shingles, tearing underlayment, or cracking gutters. The Insurance Institute for Business & Home Safety’s 2023 report found that 68% of DIY ice removal attempts resulted in collateral roof or gutter damage requiring repair.
Do gutter guards cause ice dams?
Not directly — but solid-top guards can trap snow and slow melt runoff, contributing to localized buildup. Micro-mesh guards are safer in snowy climates because they allow some drainage while keeping debris out. Still, guards won’t fix poor insulation or ventilation.
Is steam removal worth the cost?
For severe cases, yes — but only when done by certified roofers using low-pressure, temperature-controlled steam equipment. It’s precise, non-destructive, and clears ice without chemicals. Expect $300–$600 per job, depending on dam size. Compare that to potential water damage repairs averaging $2,100 (per ServiceMaster Restore 2023 claims data).
"The most effective ice dam solution isn’t what you put on the roof — it’s what you keep out of the attic. Every BTU that escapes into the attic space is fuel for the next dam." — Dr. Sarah Lin, Building Science Engineer, Building Science Corporation, 2021
Fixing an ice dam gives immediate relief, but lasting protection comes from balancing insulation, air sealing, and ventilation. Take notes during your inspection — snap photos of attic framing, vent locations, and insulation depth. That documentation helps contractors quote accurately and ensures your next repair isn’t just another temporary fix. For deeper attic upgrades, explore our attic insulation guide and roof ventilation checklist.