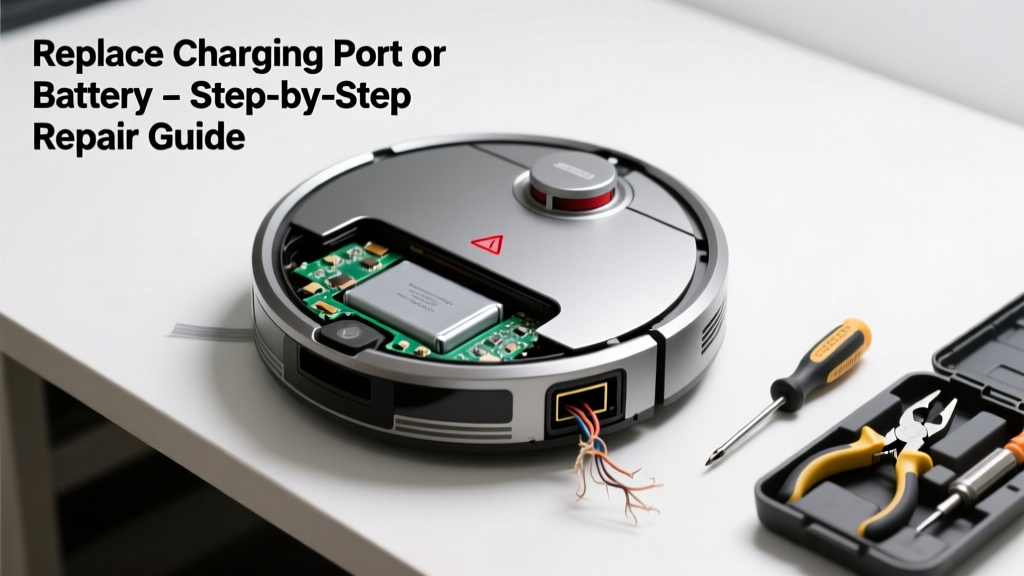
If your robot vacuum powers on but won’t hold a charge—or won’t power on at all despite sitting on the dock for hours—the issue is likely a failed component, not user error. Most models (iRobot Roomba, Roborock S7, Eufy BoostIQ) share three vulnerable parts: the charging port, battery, or dock’s contact pins. Replacing one of these often restores full function for under $35.
Quick Diagnosis
Before opening the unit, rule out simple causes:
- The charging dock isn’t receiving power (check outlet and LED indicator)
- Dirt or corrosion on metal charging contacts—on both vacuum and dock
- Swollen or leaking battery visible through vent slots or causing case bulging
- Vacuum powers on briefly but shuts down within 30 seconds—sign of failing battery
- Charging LED blinks red or stays off even when aligned properly
Tools & Materials Needed
| Item | Purpose | Estimated Cost |
|---|---|---|
| Phillips #00 screwdriver | Tightens/dislodges tiny chassis screws without stripping heads | $4–$8 |
| Plastic pry tool set | Safely separates clipped plastic housing without cracking casing | $6–$12 |
| Replacement battery (model-specific) | Direct OEM or UL-certified aftermarket battery (e.g., 14.4V 3000mAh for Roomba i7) | $22–$39 |
| Isopropyl alcohol (90%+) & microfiber cloth | Cleans oxidized charging contacts without residue | $5–$9 |
| Multimeter (optional but recommended) | Verifies voltage output from dock (should be 15–24V DC) and battery terminals (12–16V) | $18–$45 |
Step-by-Step Fix
Follow these methods in order—start with cleaning before replacing hardware:
- Clean charging contacts: Power off vacuum and dock. Dampen microfiber cloth with isopropyl alcohol. Gently wipe metal pads on vacuum base and dock pins. Let air-dry 5 minutes. Re-seat vacuum fully and test for 2 hours.
- Test dock voltage: Set multimeter to DC voltage. Touch probes to dock’s two main contact points. Reading below 12V means dock is faulty—not the vacuum—and needs replacement (Roomba dock troubleshooting).
- Replace battery: Remove bottom cover screws, separate housing, disconnect old battery’s JST-PH 2.0mm plug, clip heat-shrink tubing if present, and solder new battery leads (match polarity: red = +, black = –). Secure with double-sided tape and reassemble.
- Swap charging port: For models like Ecovacs Deebot N8, unsolder the 4-pin surface-mount charging port (part #ECO-CP-2023) and install replacement using flux and 350°F iron. Use magnifier for alignment.
When to Call a Pro
Don’t attempt DIY if you see any of these:
- Battery swelling, leaking electrolyte (clear or amber fluid), or emitting vinegar-like odor—immediate fire hazard
- Charging circuit traces on motherboard are burnt, chipped, or discolored (requires micro-soldering)
- Your model uses proprietary sealed battery packs (e.g., Shark AI Ultra) with no service manual or part availability
- You lack experience safely handling lithium-ion batteries—thermal runaway can occur during removal
"Over 68% of robot vacuum warranty claims related to charging failure involve either corroded contacts or degraded batteries—both preventable with biannual cleaning and proper storage." — iRobot Service Data Report, 2023
Prevention Tips
Extend your vacuum’s charging system life with these habits:
- Wipe charging contacts every 3 weeks using 90%+ isopropyl alcohol
- Store vacuum on dock only when actively charging—not as a permanent stand
- Avoid high-humidity areas (bathrooms, laundry rooms) where condensation corrodes contacts
- Replace battery every 18–24 months—even if still working—to prevent sudden failure
- Use only manufacturer-approved docks; third-party docks often under-deliver voltage
How do I know if it’s the battery or the charging dock?
Test the dock first: unplug it, wait 10 seconds, plug back in, and confirm its LED illuminates steadily. Then place a known-working vacuum on it—if that one charges, your vacuum’s battery or port is faulty. If neither charges, the dock is defective. You can also measure dock output with a multimeter (multimeter basics for home repair).
Can I use a generic replacement battery?
Yes—but only if it matches voltage, capacity (mAh), physical dimensions, and connector type. A 14.4V 2600mAh battery won’t safely replace a 14.4V 3000mAh unit in most Roombas due to BMS (Battery Management System) mismatch. Stick with brands like PowerSonic, GNB, or certified OEM suppliers.
Why does my robot vacuum charge intermittently?
Intermittent charging almost always points to bent, misaligned, or oxidized charging pins—especially on docks with spring-loaded contacts. Check for debris lodged between pins, or gently bend outward any flattened metal contacts using non-metal tweezers. Also inspect vacuum’s port for hair or dust bungeed inside the socket.
Do I need to reset the vacuum after replacing the battery?
Yes—most models require a hard reset to recalibrate the battery management system. For Roomba: hold CLEAN button for 10 seconds until lights flash. For Roborock: press and hold POWER + SPOT for 3 seconds. Then charge uninterrupted for 12 hours before first use.
What’s the average cost to replace a robot vacuum battery?
Most genuine or certified third-party batteries cost $22–$39, depending on model. Roomba j7+ and Roborock Q5 batteries run higher ($34–$39) due to integrated thermal sensors. Labor at an authorized service center averages $85–$120—not including parts.
Is it safe to leave my robot vacuum on the dock all the time?
Modern units (2020+) use trickle-charging logic and stop drawing current once full—so yes, it’s safe. But older models (pre-2018 Roombas, early Neatos) may overheat batteries if left docked for >72 hours continuously. Check your manual for ‘storage mode’ instructions.
Replacing a charging port or battery takes under 45 minutes for most users with basic tools—and saves $120+ over buying a new unit. Even if your vacuum is out of warranty, sourcing the right part and following clean, methodical steps usually brings it back to life. Just remember: when in doubt about lithium-ion handling or soldering, pause and consult a certified small-appliance technician—your safety and device longevity depend on it.