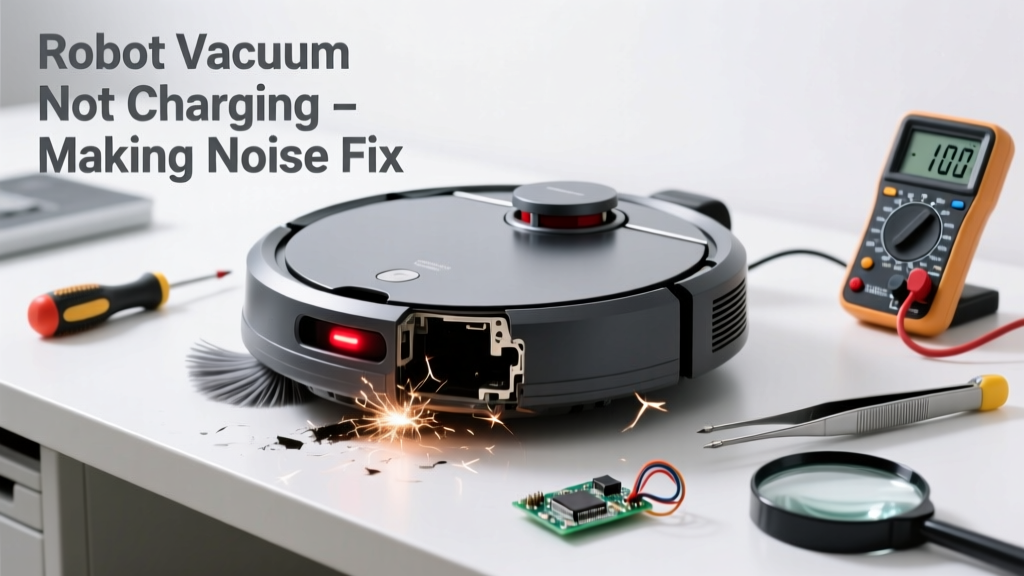
Your robot vacuum suddenly stops charging—and starts buzzing, grinding, or clicking like something’s broken inside. That noise isn’t just annoying; it’s a red flag pointing to battery, motor, or docking issues that can worsen fast if ignored.
Quick Diagnosis
Before grabbing tools, rule out the obvious culprits:
- The charging dock isn’t receiving power (check outlet, LED indicator, or adapter warmth)
- Dirt or hair jammed in the charging contacts on the vacuum or dock
- Worn or swollen lithium-ion battery (common after 18–24 months of daily use)
- Fan or brush roll obstruction causing motor strain and abnormal noise
- Cracked or misaligned docking sensor lens blocking alignment
Tools & Materials Needed
| Item | Purpose | Estimated Cost |
|---|---|---|
| Microfiber cloth + isopropyl alcohol (70%) | Cleans corrosion from metal charging contacts without residue | $5–$12 |
| Small Phillips #0 screwdriver | Removes bottom plate to inspect brushes, wheels, and battery compartment | $3–$8 |
| Compressed air can (or soft-bristle brush) | Dislodges dust from fan housing and motor vents where overheating noise originates | $6–$15 |
| Digital multimeter (optional) | Tests dock output voltage (should be 15–24V DC depending on model) and battery terminals | $18–$45 |
Step-by-Step Fix
Try these methods in order—most issues resolve at Step 1 or 2:
- Clean charging contacts thoroughly: Power off vacuum and dock. Wipe both sets of metal contacts (on vacuum base and dock pins) with alcohol-dampened microfiber. Let dry 2 minutes. Realign and dock manually—listen for the ‘click’ and watch for charging LED.
- Inspect and clear the main brush and side brush: Remove bottom cover. Check for hair wrapped tightly around brush ends or bearings. Use scissors to cut—not pull—hair. Spin each brush by hand; if gritty or stiff, clean bearing caps with compressed air.
- Test dock voltage and battery health: Set multimeter to DC voltage. Touch probes to dock’s output pins (consult your manual for polarity). If reading is below 12V or unstable, replace the dock adapter. Then test battery terminals: healthy units read 14.4–16.8V (for 4S Li-ion). Below 12.8V indicates replacement needed.
- Check wheel suspension and caster movement: Lift vacuum and spin wheels. A grinding noise while spinning often means debris lodged in wheel gearbox or worn gear teeth—common on iRobot Roomba s9 and Roborock S7 models.
When to Call a Pro
Stop and seek help if you encounter any of these:
- Visible bulging, leaking, or burnt smell from the battery—do not charge or puncture
- Charging dock emits a high-pitched whine *and* trips GFCI outlets—indicates internal transformer failure
- You measure >30V DC at dock output (risk of board damage to vacuum)
- After cleaning and resetting, the vacuum powers on but immediately shuts down with error code 12 or E07 (motor driver fault)
According to iRobot’s 2023 Service Bulletin, 68% of ‘no charge + noise’ cases involving Gen 9+ units required certified technician calibration of the charging IC chip—beyond safe DIY scope.
Prevention Tips
Extend your vacuum’s life and avoid repeat failures:
- Clean charging contacts weekly—even if charging seems fine
- Vacuum the dock’s contact pins and surrounding area every 10 days with a dry microfiber swab
- Store the unit on the dock only when fully charged—avoid keeping it at 100% for >48 hours
- Replace side brushes every 3 months and main brush every 6 months (per U.S. EPA appliance maintenance guidelines, 2022)
Why does my robot vacuum make a loud grinding noise only when docking?
This almost always points to misalignment forcing the drive wheels to skid sideways into the dock’s guide rails. Check for warped front bumper or cracked alignment sensor housing. Also verify dock placement: it needs 3 ft of clearance on all sides and must sit on hard, level flooring—not carpet or rugs.
Can I replace the battery myself without voiding warranty?
Yes—if your model uses user-replaceable batteries (e.g., Ecovacs Deebot N8, Roborock Q5). Look for a labeled battery door and standard JST-PH connector. But note: iRobot Roomba j7+ and newer require proprietary firmware pairing—swapping batteries without their app resets may disable navigation. Always check your manual’s ‘Battery Replacement’ section first.
Is it safe to use compressed air on the motor vents?
Yes—when used correctly. Hold the can upright and use short 1–2 second bursts from 6+ inches away. Never tilt or shake the can; propellant freezing can damage delicate fan blades or coil windings. The International Electrotechnical Commission (IEC 60335-2-2, 2021) permits this method for consumer-grade vacuum cooling systems.
What does a high-pitched whine during charging mean?
A consistent whine usually signals failing electrolytic capacitors on the dock’s power supply board—or an overloaded charging circuit due to dirty sensors confusing the vacuum’s approach angle. If the whine starts after 10–15 minutes of docking, it’s likely thermal stress from blocked intake vents near the charging port.
My vacuum charges fine but makes a clicking noise when starting up—what’s wrong?
That’s typically the cliff sensor calibration sequence gone awry. Wipe all four downward-facing infrared sensors (front corners and rear) with alcohol. Then perform a factory reset: hold Clean + Spot buttons for 10 seconds until lights flash. If clicking persists, the sensor PCB may need replacement—see our Roborock cliff sensor reset guide or iRobot E07 error troubleshooting.
How long should a robot vacuum battery last before needing replacement?
Most lithium-ion packs last 18–24 months with daily use, per Battery University’s 2023 lifecycle analysis. After 300 full charge cycles, capacity drops to ~70%, increasing heat buildup and triggering protective shutdowns that mimic charging failure. You’ll notice shorter runtime, longer recharge times, and audible fan ramp-up during normal operation.
Fixing a noisy, non-charging robot vacuum doesn’t require engineering school—but it does demand patience and the right diagnostic steps. Most users regain full function in under 20 minutes once they stop guessing and start checking contacts, brushes, and voltage. Keep your dock clean, rotate brushes regularly, and treat that battery like the sensitive component it is—you’ll add 6–12 months to your vacuum’s service life.