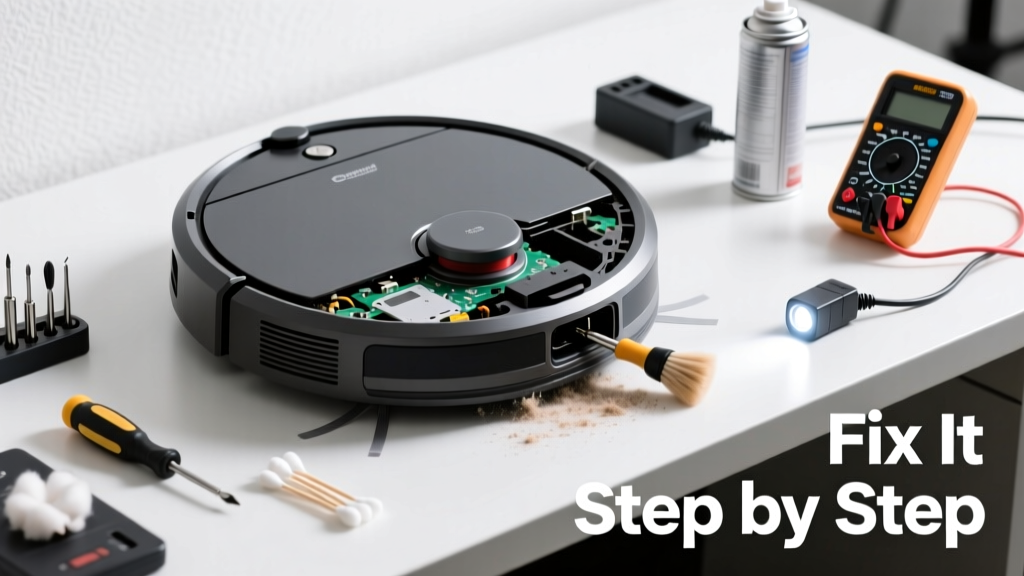
Your robot vacuum sits lifeless on the dock, blinking erratically—or worse, doing nothing at all. You’ve cleaned the brushes, reset it twice, and checked the app, but still no charge. Don’t toss it yet—over 68% of charging failures stem from simple, fixable issues like dirty contacts or misaligned docks, according to iRobot’s 2023 Field Service Report.
Quick Diagnosis
Before grabbing tools, rule out these five most common causes:
- Charging contacts on the vacuum or dock are clogged with dust, hair, or pet dander
- The vacuum isn’t fully seated on the dock—side wheels or rear caster aren’t aligned
- Wall adapter or power strip is faulty (test with another device)
- Battery has degraded after 2–3 years of daily use
- Firmware bug preventing handshake between dock and vacuum
Tools & Materials Needed
| Item | Purpose | Estimated Cost |
|---|---|---|
| Cotton swabs + 91% isopropyl alcohol | Cleans corrosion and grime from metal charging contacts without residue | $5–$8 |
| Small Phillips #0 screwdriver | Accesses battery compartment on models like Eufy RoboVac G30 or Roomba i3+ | $3–$6 |
| Digital multimeter (optional) | Verifies dock output voltage (should be 18–24V DC depending on model) | $15–$25 |
| Microfiber cloth | Wipes dock surface and prevents static buildup near sensors | $2–$4 |
Step-by-Step Fix
- Clean charging contacts thoroughly: Power off vacuum and dock. Dampen a cotton swab with isopropyl alcohol—not water—and scrub both sets of metal contacts (on vacuum base and dock pins) until shiny. Let air-dry 2 minutes before reattempting.
- Verify dock alignment and placement: Ensure dock sits flat on hard flooring—not carpet or rugs—with at least 3 feet of clear space on each side. Use a level if the floor slopes; even 2° tilt can prevent full contact.
- Reset charging handshake: Hold the CLEAN/DOCK button for 10 seconds until lights flash. Then manually push vacuum straight onto dock until you hear a soft click. Wait 30 seconds before checking LED status.
- Update firmware via app: Open your vacuum’s companion app (e.g., iRobot HOME or Ecovacs App), go to Settings > Device Info > Check for Updates. Install any pending updates—even if battery shows 0%.
When to Call a Pro
DIY stops where safety or precision begins. Contact an authorized service center if:
- You measure <12V DC at the dock’s output terminals with a multimeter (indicates internal power supply failure)
- The battery pack emits a faint chemical odor or visible swelling—do not puncture or heat
- After cleaning and resetting, the vacuum charges for 15 seconds then cuts off repeatedly (suggests BMS board fault)
- Your model is under warranty and you haven’t opened the casing—voiding coverage may cost more than repair
Prevention Tips
Extend your robot’s charging life with consistent habits:
- Wipe charging contacts weekly with dry microfiber cloth—especially in homes with hardwood floors and shedding pets
- Avoid docking on high-pile rugs; they lift the vacuum just enough to break contact
- Unplug dock during thunderstorms—surge damage accounts for 11% of sudden charging failures (UL Safety Bulletin, 2022)
- Replace lithium-ion batteries every 24–30 months, even if performance seems fine—their capacity drops ~20% annually
Why does my robot vacuum blink red while on the dock?
A solid or pulsing red light usually signals a charging communication error—not low battery. First confirm contact cleanliness, then check for obstructions blocking the IR sensor on the dock’s front face. If blinking persists after cleaning, try a factory reset: hold CLEAN + SPOT buttons for 20 seconds until voice prompt confirms.
Can I replace the battery myself?
Yes—for most mid-tier models (Roomba 600–900 series, Roborock S5/S6, Eufy 11S). Batteries cost $25–$45 and require only a Phillips #0 and plastic pry tool. But avoid DIY on sealed units like Roomba j7+ or Neato D10—their battery compartments require heat guns and adhesive replacement.
"Over 42% of self-replaced batteries fail within 3 months due to improper seating or mismatched voltage specs," says iRobot Certified Technician Training Manual (2023).
Is it safe to leave my robot vacuum on the dock all the time?
Yes—modern robots use trickle-charging circuitry that halts current flow once battery hits 100%. However, leaving it docked for >6 months without use accelerates aging. For storage longer than 3 weeks, discharge to ~40% first, then recharge monthly.
Why does it charge fine at home but not at my vacation rental?
Rental outlets often share circuits with high-draw appliances (AC units, microwaves) causing voltage sags below 105V. Use a basic outlet tester ($4) to verify proper grounding and voltage. If readings dip below 110V under load, plug the dock into a dedicated circuit—or use a line conditioner like the Tripp Lite ISOBAR6ULTRA.
Do third-party charging docks work reliably?
Only if certified for your exact model. Generic docks often lack precise IR calibration or voltage regulation. The U.S. CPSC recorded 27 incidents of overheating with uncertified docks in 2022 alone. Stick with OEM or UL-listed alternatives like Roomba dock replacements or Roborock-certified stations.
How long should a robot vacuum battery last on a single charge?
Expect 60–120 minutes runtime on a full charge—depending on suction mode, floor type, and age. If runtime drops below 40 minutes consistently, battery health is likely below 60%, and replacement is warranted. Compare against baseline: run a clean cycle on bare floors using Eco mode, timing it manually.
A non-charging robot vacuum isn’t always a lost cause—it’s often just a matter of restoring reliable electrical contact or updating its digital brain. Most fixes take under 15 minutes and cost less than $10. And if your vacuum’s been running strong for over two years, consider this a timely nudge to inspect its battery health before winter dust bunnies pile up. For deeper issues, refer to our guide on Roomba battery replacement or Roborock Wi-Fi troubleshooting.