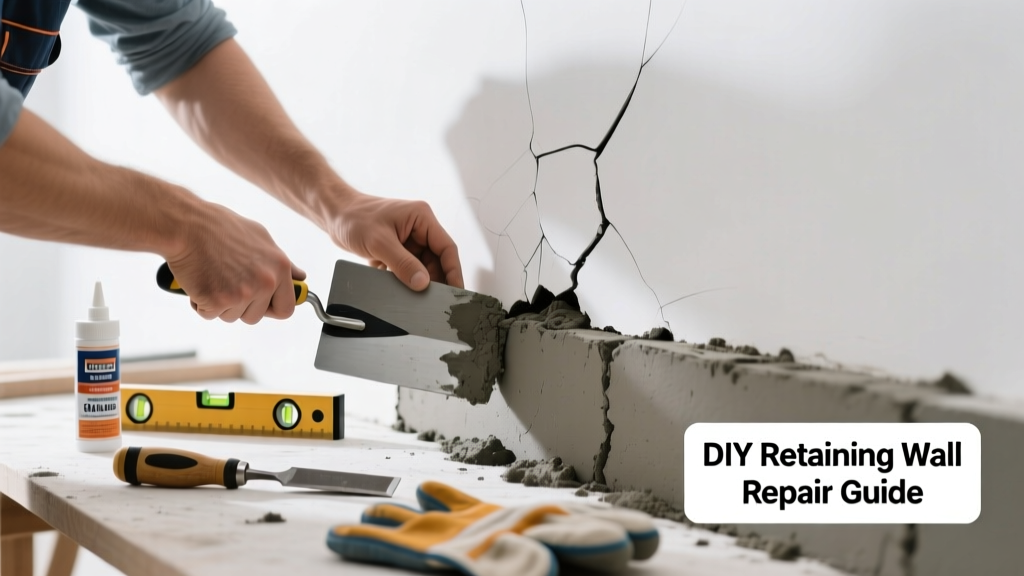
That hairline crack near the base of your retaining wall? It’s not just cosmetic—it’s often the first warning sign of shifting soil, poor drainage, or structural overload. Left unaddressed, even a 1/8-inch fissure can widen into a 2-inch gap within a single rainy season, risking collapse. Don’t wait until mortar crumbles or the wall leans—catch it early and act.
Quick Diagnosis
Cracks rarely appear without cause. Pinpointing the root helps determine whether you’re dealing with a surface repair—or a foundational emergency.
- Vertical cracks near corners or ends: Often from thermal expansion or inadequate control joints
- Horizontal cracks at mid-height: Classic sign of lateral soil pressure exceeding design limits
- Stair-step cracks in block walls: Indicates differential settlement or frost heave
- Cracks widening after heavy rain: Points to poor drainage or saturated backfill
- Crack accompanied by bulging or tilting: Suggests active movement—immediate pro assessment needed
Tools & Materials Needed
| Item | Purpose | Estimated Cost |
|---|---|---|
| Angle grinder with diamond blade | Cuts clean grooves along crack for epoxy injection or patch adhesion | $85–$140 |
| Epoxy injection kit (low-viscosity) | Fills deep structural cracks; bonds concrete internally | $45–$75 |
| Hydraulic cement or polymer-modified patch mix | Fast-setting, waterproof repair for surface cracks and spalls | $12–$28 |
| Backer rod (closed-cell foam) | Provides depth control and flexibility behind sealant in wider cracks | $8–$15 |
| Drainage mat & perforated 4" PVC pipe | Essential for fixing underlying hydrostatic pressure issues | $35–$65 |
Step-by-Step Fix
Not all cracks demand the same approach. Match your method to crack width, location, and wall type (segmental block, poured concrete, or mortared stone).
- Clean & prep (all cracks): Remove loose debris with wire brush and compressed air; rinse with water and let dry fully. For cracks >1/4", use angle grinder to undercut edges into a V-groove—this prevents patch delamination.
- Epoxy injection (cracks ≤ 1/4" wide, non-moving): Drill injection ports every 6–8 inches along crack, seal surface with clay or epoxy paste, then inject low-viscosity epoxy under pressure using hand pump. Let cure 24 hours before loading.
- Hydraulic cement patch (surface cracks <1/2", no movement): Mix cement with cold water to peanut butter consistency; force into cleaned groove with pointing trowel. Smooth flush and mist lightly for 2 hours to prevent flash cracking.
- Sealant + backer rod (widening or flexible joints): Insert closed-cell backer rod to 1/2 depth, then tool in polyurethane sealant (e.g., Sikaflex-1a) with concave finish. Trim excess after 15 minutes.
When to Call a Pro
Some cracks are red flags—not repair projects. Ignoring these can risk property damage or personal injury.
- Wall has shifted more than 1 inch horizontally or tilted more than 2 degrees (use a level and plumb bob to verify)
- Crack is actively widening (>1/16" per week), especially after rain
- You see exposed rebar, rust stains, or crumbling concrete around the crack
- The wall supports a driveway, patio, or structure—or is taller than 4 feet without engineered design
- Soil behind the wall is consistently saturated or eroding visibly at the base
"Over 68% of retaining wall failures begin with undiagnosed drainage issues—not material defects." — American Society of Civil Engineers, Retaining Wall Design Manual, 2022
Prevention Tips
Fixing the crack is only half the job. Prevent recurrence by managing what’s pushing against the wall.
- Install or clean existing weep holes every 4–6 feet—clogged weeps increase hydrostatic pressure by up to 300% (ASCE, 2022)
- Redirect downspouts and surface runoff at least 5 feet away from the wall face
- Replace silt-heavy backfill with ¾" crushed stone (minimum 12" layer behind wall)
- Trim tree roots within 6 feet of the wall—oak and willow roots exert up to 300 psi pressure on masonry
- Inspect annually in spring and fall: look for new cracks, efflorescence, or soil bulging
Can I just caulk over the crack without prep?
No. Skipping cleaning, undercutting, or backer rod leads to sealant failure within 3–6 months. Moisture trapped beneath will freeze-thaw and widen the crack further. Always prepare the substrate—it’s 70% of lasting repair success.
Will hydraulic cement work on a wet crack?
Yes—but only if water is seeping slowly. For active leaks, use a fast-setting hydraulic cement like Xypex Concentrate or Thorocrete, applied with firm pressure while damp (not pooling). If water is gushing, stop and install a drainage solution first.
How long does epoxy injection last?
Properly injected low-viscosity epoxy lasts 20+ years in stable, non-settling conditions. However, it won’t stop movement—if the wall continues to shift, the epoxy will fracture again. Always pair with drainage fixes and load reduction.
Is a hairline crack in a segmental block wall serious?
Usually not—if isolated and vertical. Segmental walls rely on friction and mass, not mortar, so minor cracks often reflect normal settling. But if multiple blocks show horizontal separation or front-face spalling, check for blocked weep holes or undersized base gravel.
Can I add more blocks on top to stabilize a cracked wall?
No. Adding height increases lateral pressure exponentially—every foot of added soil multiplies thrust by ~15%. This often accelerates failure. Instead, consult an engineer about tiebacks or soil nailing before modifying load.
What’s the best sealant for outdoor retaining wall cracks?
Use a high-movement polyurethane sealant rated for concrete (e.g., SikaFlex-1a or Sonneborn NP1). Avoid silicone or acrylic—they lack adhesion strength and UV resistance for vertical, load-bearing surfaces. Always prime with concrete bonding agent if sealing over patched areas.
A cracked retaining wall isn’t just an eyesore—it’s a stress test your landscape is failing. Address the symptom with a proper repair, but never skip diagnosing the cause. Whether you patch it yourself or bring in a licensed structural engineer, treat that first crack like the urgent signal it is. And remember: improving drainage solves more wall failures than any other single fix. Pair your repair with a long-term sealant strategy, and revisit your grading plan to keep pressure off the wall for good.