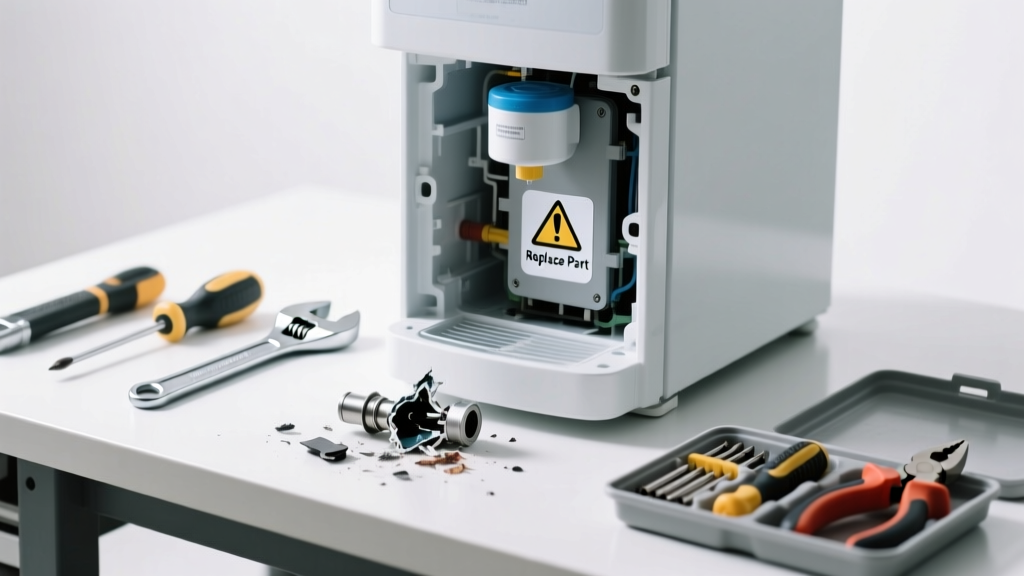
If your refrigerator water dispenser suddenly stops flowing—or sputters, drips, or makes a clicking noise without dispensing—it’s likely not a clog or filter issue, but a failed internal component. Most often, the problem lies in one of three replaceable parts: the water inlet valve, dispenser switch, or door-mounted actuator assembly. Replacing the right part takes under an hour and costs less than $75 for most models.
Quick Diagnosis
Before ordering parts, rule out simple causes:
- No power to the dispenser (check if interior light turns on when you press the paddle)
- Frozen water line inside the door (common in models with through-the-door ice/water in garages below 55°F)
- Expired or incorrectly installed water filter (even if it looks clean, it may be blocked internally)
- Low household water pressure (<40 PSI—test with a pressure gauge at an outdoor spigot)
- Clicking sound with no water flow = likely faulty water inlet valve or dispenser switch
Tools & Materials Needed
| Item | Purpose | Estimated Cost |
|---|---|---|
| Phillips #2 screwdriver | Removes control panel and dispenser housing screws | $8–$12 |
| Multimeter (digital) | Tests continuity of dispenser switch and inlet valve coil | $25–$45 |
| Replacement water inlet valve (e.g., WR57X10071) | Replaces failed solenoid valve that opens to allow water flow | $32–$54 |
| Dispenser switch kit (e.g., WPW10329686) | Replaces worn-out microswitch activated by paddle | $18–$29 |
| Door gasket lubricant (food-grade silicone) | Prevents freezing in cold environments and eases reassembly | $6–$10 |
Step-by-Step Fix
Identify the failed part first—then replace only what’s needed. Here are the three most effective methods:
- Test the dispenser switch: Unplug fridge, remove front dispenser cover, disconnect switch wires, and use multimeter in continuity mode. Press paddle—if no beep, replace switch.
- Check inlet valve voltage: With fridge plugged in and paddle pressed, test for 120V at valve terminals. No voltage = bad switch or wiring; voltage present but no water = faulty valve.
- Replace frozen line section (if applicable): On GE, Whirlpool, and Samsung models with door water lines, thaw using a hair dryer on low heat for 10–15 minutes before disassembling—never use open flame. Then install a heater kit (WR13X23730) to prevent recurrence.
When to Call a Pro
Don’t attempt these repairs yourself:
- You detect burning smells, melted plastic, or charring near the dispenser control board
- Your model uses a proprietary sealed door assembly (e.g., some LG Linear Cool models where the entire door liner must be replaced)
- Water leaks persist after replacing inlet valve and switch—this suggests cracked internal tubing or a faulty main control board
- You lack a multimeter or feel uncertain testing live voltage—even low-voltage control circuits can deliver a jolt
According to the U.S. EPA estimates that 14% of household water usage is from leaks—including those caused by failed refrigerator valves—so timely repair also conserves water.
Prevention Tips
- Replace water filters every 6 months—even if the indicator hasn’t lit up (carbon saturation reduces flow long before taste changes)
- Keep garage-installed fridges above 55°F; add a door-line heater kit if ambient temps dip below that
- Turn off water supply and depressurize the line before any dispenser service—prevents sudden spray during disassembly
- Label wire connections with tape and a marker before unplugging anything—control boards vary widely between brands
Can I bypass the water filter to test if it’s the issue?
Yes—but only temporarily. Most refrigerators have a filter bypass plug (often included with replacement filters) or let you twist the old filter 90° to lock it in ‘bypass’ position. If water flows normally afterward, replace the filter. Never run without a filter or bypass plug longer than 24 hours—sediment can damage the inlet valve.
Why does my dispenser work intermittently after replacing the switch?
Intermittent operation usually means poor contact at the switch mounting bracket or loose ribbon cable connection to the display board. Re-seat all connectors, check for bent pins on the control board header, and verify the switch isn’t over-tightened—excess torque cracks its plastic housing.
Do I need to shut off the water supply before starting?
Yes—always. Locate the saddle valve or inline shutoff behind the fridge (usually within 3 feet of the wall connection), turn it clockwise until snug, then dispense water until pressure drops. Skipping this risks soaking insulation behind the dispenser panel or triggering a leak at the quick-connect fitting.
Is the water inlet valve the same as the ice maker valve?
No—they’re separate solenoids on most modern units. Some older models share one dual-valve assembly, but since 2015, nearly all major brands (Samsung, Whirlpool, Maytag, GE) use independent valves. Test each separately: if ice maker works but dispenser doesn’t, focus on the dispenser valve (typically labeled ‘cold water’ or ‘door’ on the valve body).
How do I find the correct replacement part number?
Use your fridge’s full model number (found on the interior left wall or behind the crisper drawer)—not just the series. Enter it into the manufacturer’s parts site or sites like RepairClinic.com or Encompass Parts. Cross-reference with photos: inlet valves vary by coil resistance (e.g., 500–1,200 ohms), so match both part number and electrical specs.
What if water flows but tastes or smells odd after repair?
Flush the system: dispense 2–3 gallons (about 15–20 full glasses) to clear air pockets and residual debris from new parts. If odor persists, sanitize the reservoir and tubing with a solution of 1 tbsp food-grade hydrogen peroxide per quart of water—never use bleach, which degrades rubber seals and leaves toxic residues. See our guide on refrigerator water filter replacement for full sanitizing steps.
A properly diagnosed and repaired dispenser should last 5–7 years before the next failure—especially if you maintain consistent water pressure and avoid temperature swings. Keep your multimeter handy; it’ll pay for itself in two more repairs. For persistent issues, consult our refrigerator not making ice troubleshooting page—it shares many root causes with dispenser failure.